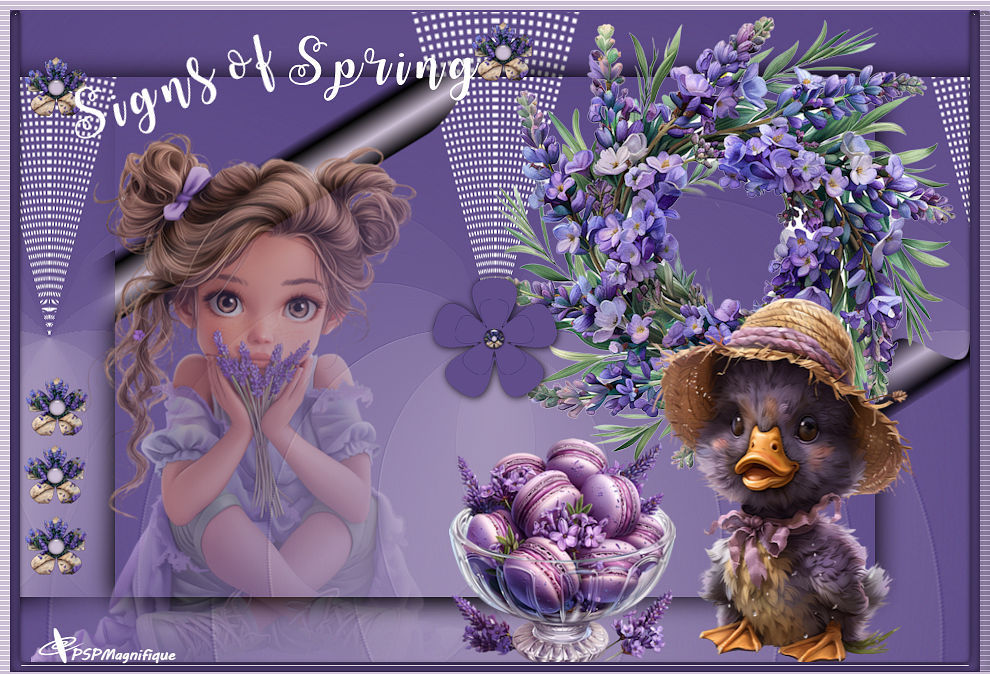
| Signs of Spring

This tutorial was made with PSP 2020 Ultimate
but can be done with other versions of Psp
The colours may vary significantly depending on the Psp used. . .
Permission tubes
Here
Filters Reneegraphisme
Here
Filters
AAA Filters – Custom - Sharp
MuRa’s Meister - Pole Transform
Carolaine And Sensibility-cs Texture
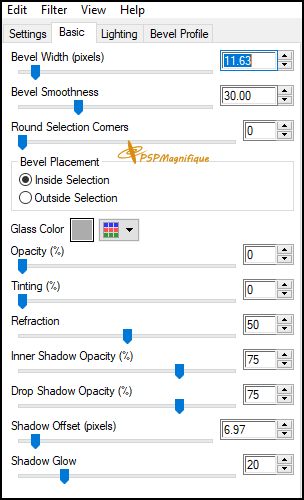
Alien Skin Eye Candy 5: Impact - Glass
RCS Filter pak1.0-
RCS TripleExposure
Material
The Tube(S) are from scrapkit Adrienne's Design, EFairy
Tubes will be customized in the lesson.
I
thank the tubers for their lovely material
Without them, this lesson would not be possible.
Leave the watermark of the tube intact
The copyright belongs to the original artist. Leave credit with the creator.
*****
The colors, blend mode and layer opacity in this lesson, are
chosen for these materials
Using your other materials, adjust blend mode/opacity in your layers
palette as you see fit.
****
Step 1
Take from your tube a light Foreground color and a dark Background color
Preparation
Material Properties: Set your Foreground color to color #f1d685
Set your Background color to color
#ad7a21
Step 2
Open Alpha Channel- Alfa_Signs of Spring
Shift + D we work on the copy
Step 3
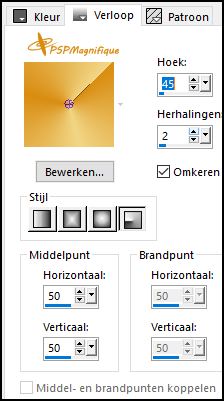
Replace your Foreground color with a Foreground/Background Radial Gradient configured like this
Step 4
Flood Fill Tool – Fill the layer with the Gradient
Step 5
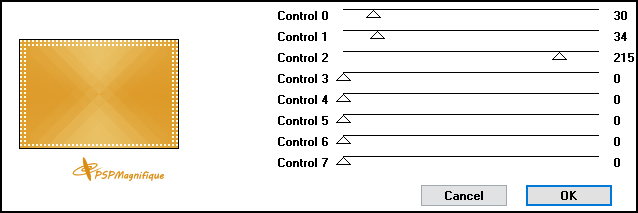
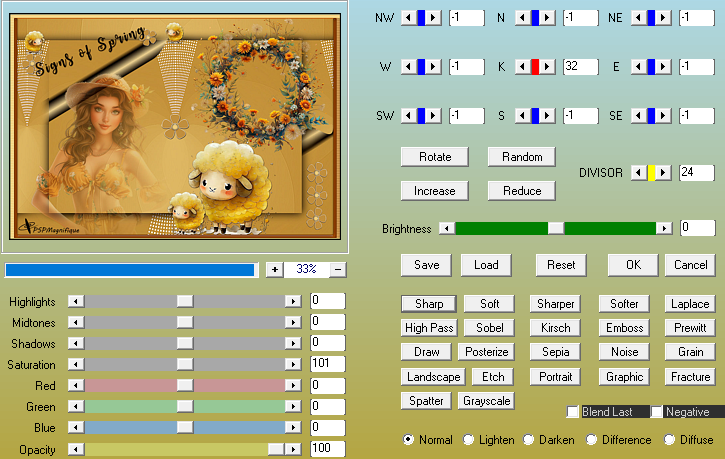
Effects-Plugins - RCS Filter pak1.0- RCS TripleExposure
with these setting

Step 6
Edit-
Repeat: RCS Filter -RCS TripleExposure
Step 7
Effects -Edge Effects -Enhance
Step 8
Layers -Duplicate
Step 9
Image - Mirror - Mirror Horizontal (Image - Mirror in older versions of PSP)
Step 10
Layers-Properties-Reduce the opacity of this layer to 50%
Step 11
11
Layers- Merge- Merge Down
Step 12
Layers- Duplicate
Step 13
Image - Mirror - Mirror vertical ( Image - Flip in older versions of PSP)
Step 14
Layers-Properties-Reduce the opacity of this layer to 50%
Step 15
Layers- Merge- Merge Down
Step 16
Effects- Plugins - AFS IMPORT- sqborder2 use the settings below
Step 17
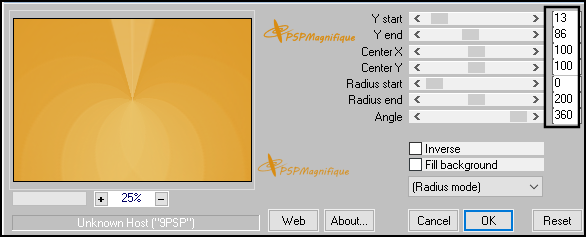
Effects- Plugins- MuRa's Meister - Pole Transform use the settings below
Step 18
Adjust-Sharpness-Sharpen More
Step 19
Layers- Duplicate
Step 20
Image- Resize 80%
Resize all layers not checked
Step 21
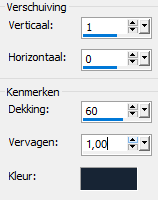
Effects- 3D-Effects-Drop Shadow with these settings- color black
Step
22
Layers- Duplicate
Step
23
Activate the layer underneath (copy
of raster 1
Step 24
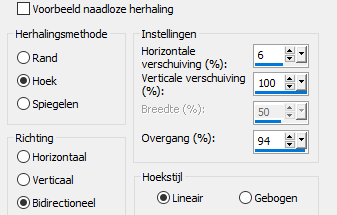
Effects- Image Effects- Seamless Tiling use the settings
below-Side by side
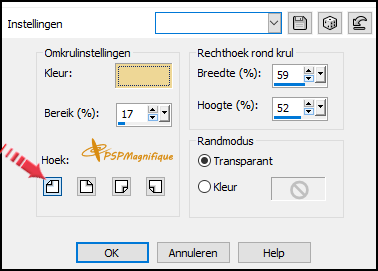
Step 25
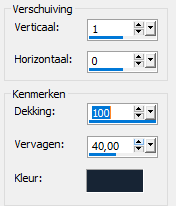
Effects- Image Effects- Page curl use the settings below color #1
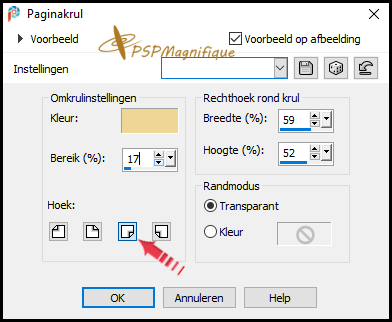
Step 26
Activate the top of the layer palette
(copy 2 of raster 1)
Step 27
Effects- Image Effects- Page curl use the settings below color #1
Step 28
The layers palette now looks like this
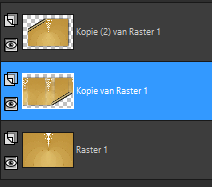
Step
29
Activate the bottom of the layer palette = Raster
1
Image - Mirror - Mirror vertical ( Image - Flip in older
versions of PSP)
Step
30
Activate the top of the layer palette
Step 31
Activate your main Tube - Dandelion Wishes Tubes 2 (1)
Edit- Copy
Activate your work.
Edit- Paste as new layer
Step 32
Place at bottom right (see finished image)
Step 33
Effects- Image Effects- Seamless Tiling use the settings below-Side by side
Step 34
Selections/Load/Save Selection/Load Selection from Alpha Channel-
Selection 2

Step
35
Press
Delete
If you use another Tube and the selection does not look good
then place the Tube and set the opacity to +- 60 see what comes
out nicely
Selections-
Deselect All
Step 36
Pick Tool: (K) on your keyboard -Enter these parameters on the
Toolbar
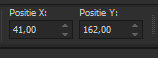
Press
( M ) to close the Tool
Step 37
Activate Tube -
Dandelion Wishes Element (39)
Edit-
Copy .
Activate
your work.
Edit - Paste as new layer
Put
it on the top right
Effects - 3D - Effects - Drop shadow of your choice.
Step 38
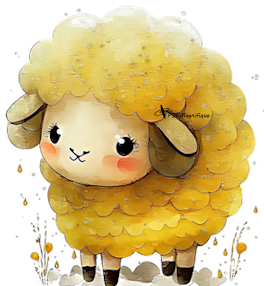
Activate Tube: Element - sheep001
Remove the watermark
Edit- Copy .
Activate your work.
Edit - Paste as new layer
Step 39
Pick Tool: (K) on your keyboard -Enter these parameters on the Toolbar
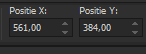
Press ( M ) to close the Tool
Effects - 3D - Effects - Drop shadow of your choice.
Step 40
Layers- Duplicate
Image- Resize 50%
Resize all layers not checked
Place of your choice
Step 41
Activate Tube -Tekst
Edit- Copy .
Activate your work.
Edit - Paste as new layer
Put it at the top left ( see finished image)
Step 42
Image- Free Rotate -20-Left
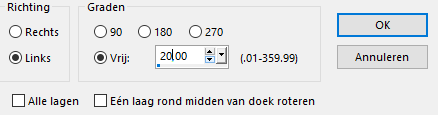
Effects- 3D- Effects- Drop Shadow with these settings-color black
Step 44
Activate Tube: Element - small_sheep001
Edit- Copy .
Activate your work.
Edit - Paste as new layer
Place at the top ( see finished image)
Layers- Duplicate
Image - Mirror - Mirror Horizontal (Image - Mirror in older versions of PSP)
Move the tube in the right place
( see finished image)
Step 45
Activate Tube : Element bloem
Activate Raster 1 - of the large flower
Edit- Copy .
Activate your work.
Edit - Paste as new layer
Do not move, it is in the right place
Step 45
Effects - 3D - Effects - Drop shadow with the same settings
Step 47
Activate- Raster 2 of the tube
Edit- Copy .
Activate your work.
Edit - Paste as new layer
Place the Tube to the right
(se finished image)
Step 48
Effecten - 3D - effecten - Slagschaduw instellingen staan nog goed
Step 49
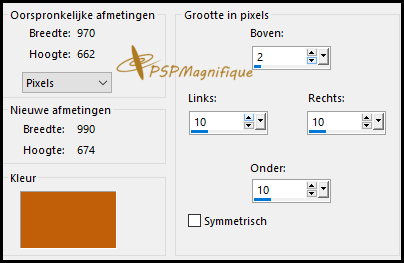
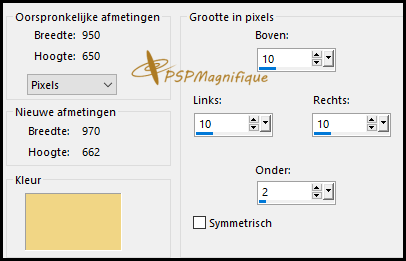
Image - Add borders-Symmetric not checked use the settings below-color 2:
Step 50
Activate your Magic Wand - select the border
Step 51
Effects- Plugins -Alien Skin Eye Candy 5: Impact -Glass use the settings below
Step 52
Selections - Deselect All
Step 53
Image - Add borders-Symmetric not checked use the settings below-color 1
Step 54
Activate your Magic Wand - select the border
Step 55
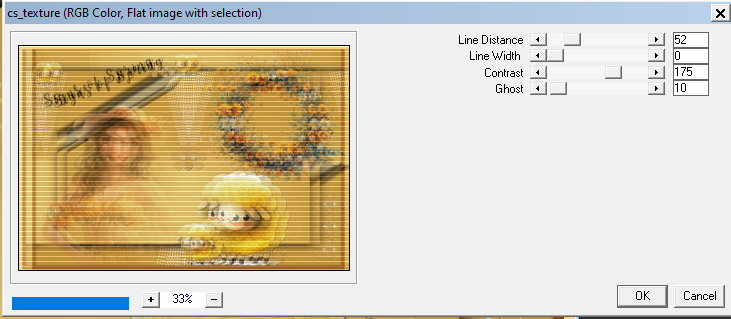
Effects- Plugins -Carolaine And Sensibility-cs Texture use the settings below
Step 56
Selections- Deselect All
Step 57
Layers- New Raster Layer
Add you watermark
Step 58
Image - Add borders-Symmetric checked- 1 Pixel-Color #000000
Step 59
Effects- Plugins - AAA Filter- Custom- Sharp
select Sharp and OK
 Step 60
Did you create a lesson and want to show it off?
Image-Resize, 800 Pixels width, resize all layers checked
Step 61
File - Export - JPG, name and save your image.
*
Your lessons should be no larger than 800 Px for the Gallery
Did you create a lesson and want to show it off
pspmagnifique@gmail.com
If you mail me your version, you can see it here,
please not bigger than 800 Px,
*****
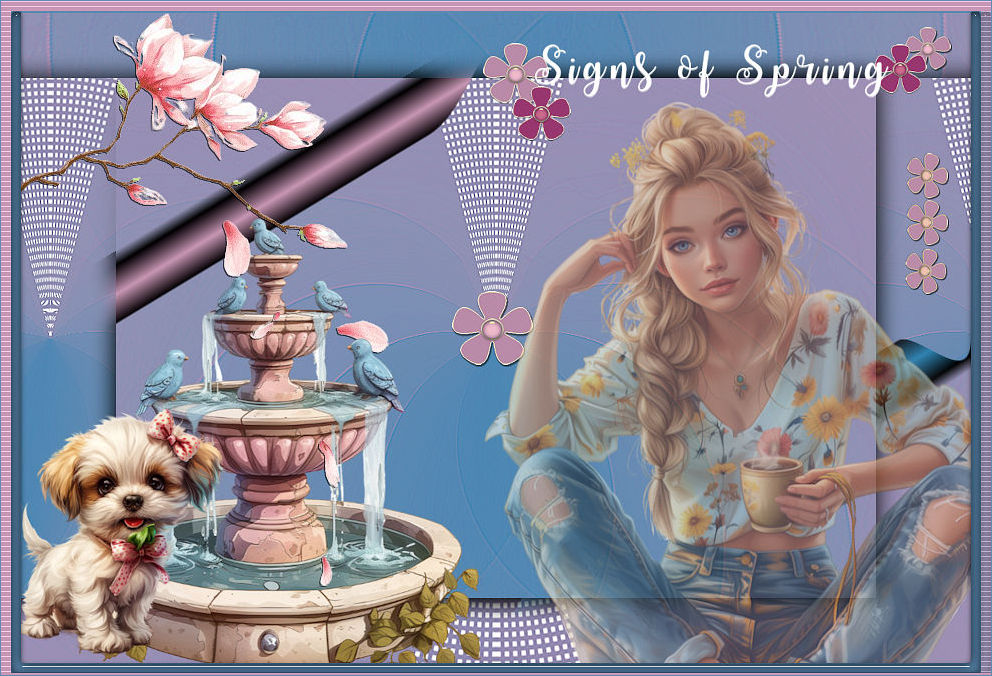
Additional example- Tubes scrapkit Adrienne's Design
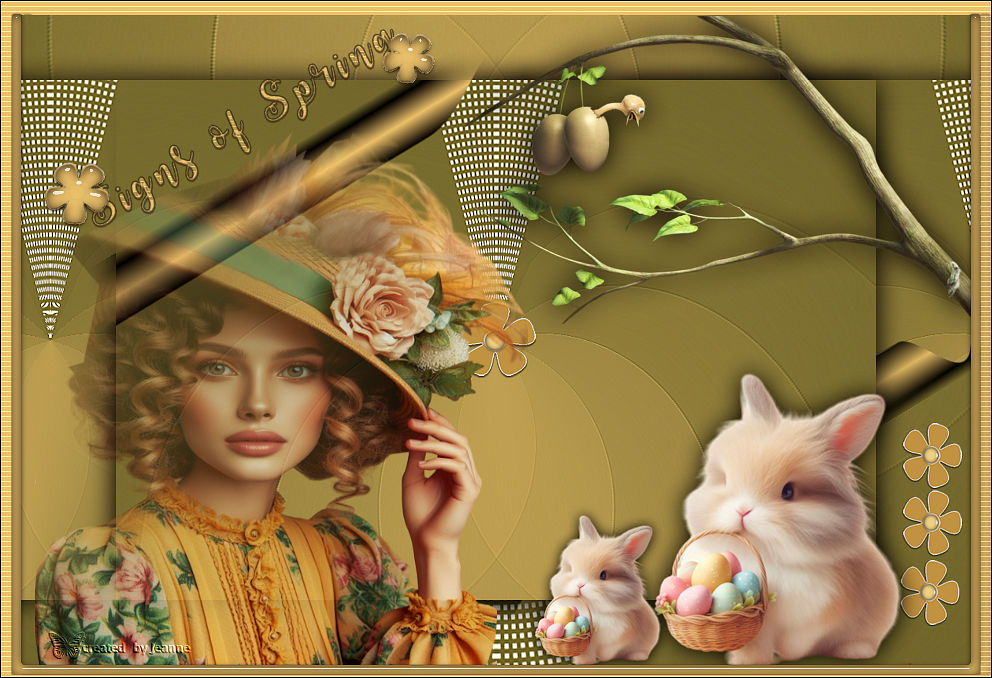
Thanks for testing the lesson
Jeanne

Thanks for testing the lesson
Ireen
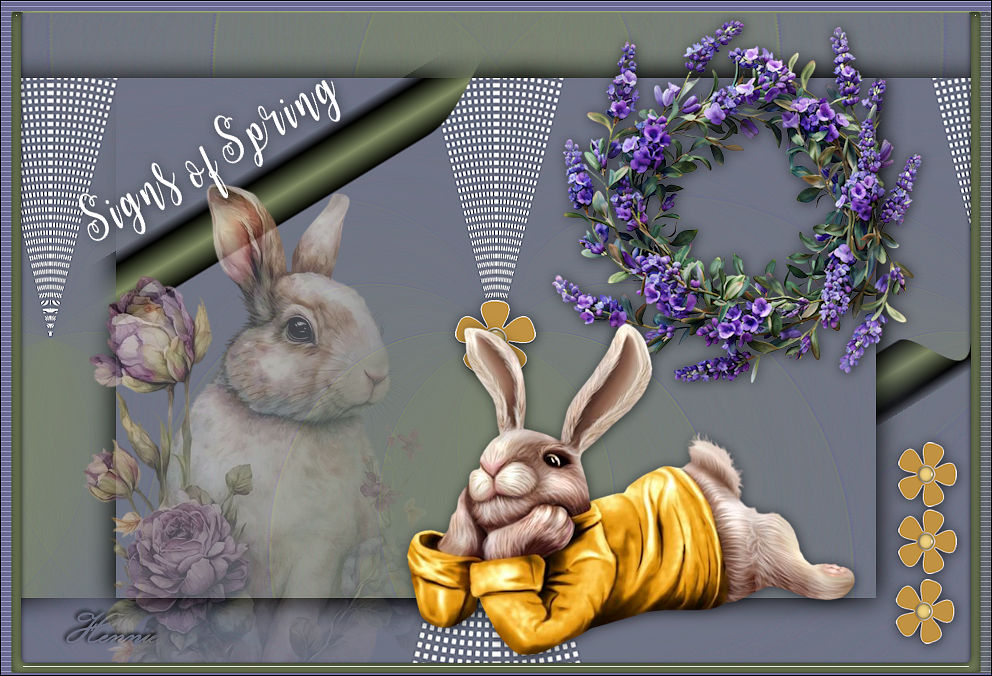
Thanks for testing the lesson
Hennie:
Thanks to Marion and Alex Sylviane for translating the lesson
Result Translators:
Thanks for your beautiful versions!
Your sent creation of the lesson is displayed below.
This lesson was written by Gerrie on March 4, 2024
This lesson is and remains the property of Gerrie
It is forbidden to copy or distribute them, without my written permission.
All my lessons are self-designed so any similarity is purely coincidental.
All my lessons are registered with TWI prowd member
Proud member of

Seizoen Zomer Lente
Home
|