Mask: sharlimarMask94-
Open the mask and minimize the mask
in PSP
Permission to use Tubes.Here
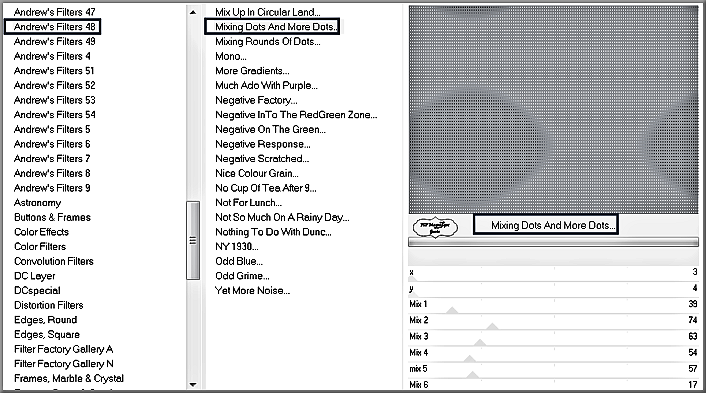
Filters
Unlimited 2.0
Andrews 48 - Mixing
Dots And More Dots
Materials
Tube(s) are from Alejandra
Rosales, Tust, Jet
The Tubes were custom made for this lesson
Is
there a Tube of yours please let me know so I can put your name on it.
Without
them, this lesson would not be possible.
Respect their work, don't change anything about the tubes and don't say they
are your tubes
The copyright belongs to the original artist.
Leave credit with the creator.
****
Note: When working with your own colors - play with the Blend
Mode and/or Opacity at your own discretion
Do you want other colors:
Adjust Hue and Saturation - Colorize with your choice of color
If you work with your own images and/or
tubes make them the same size !!!
Change the blend mode/opacity in your layer palette to your own liking.
adjust if necessary
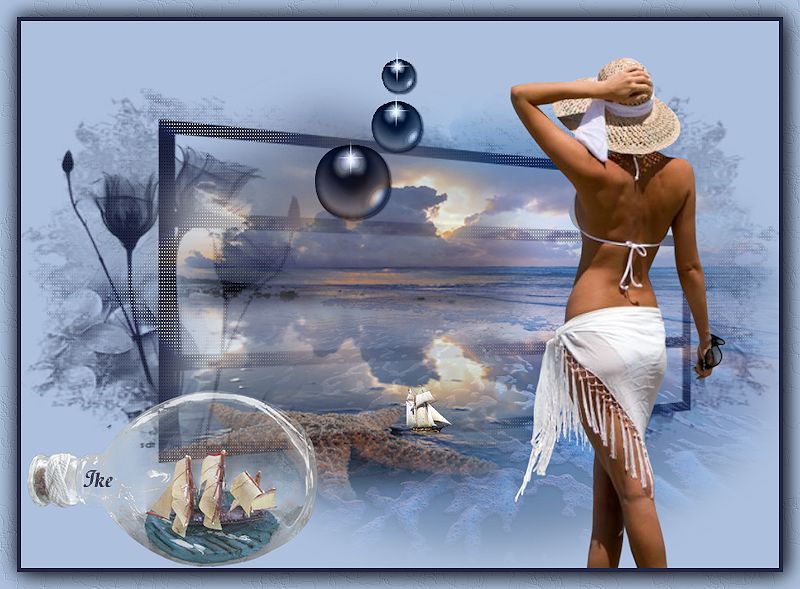
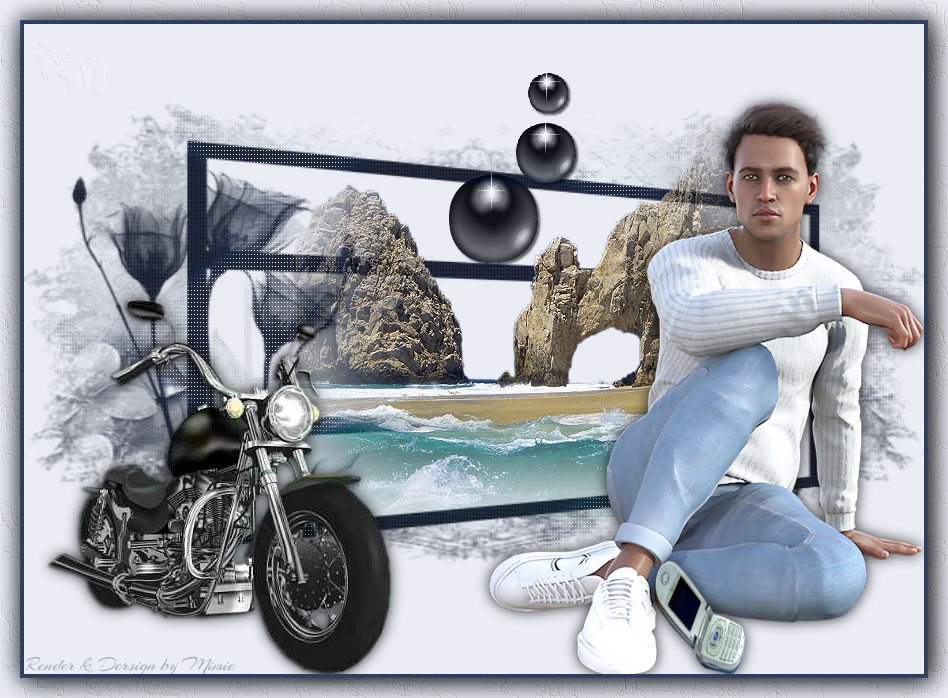
Step 1
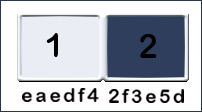
Material Properties:
Find
a light foreground color and a dark background color
from your Tube
Material
Properties: Set your Foreground color to color #
eaedf4
Set your Background color to color
#2f3e5d
Step 2
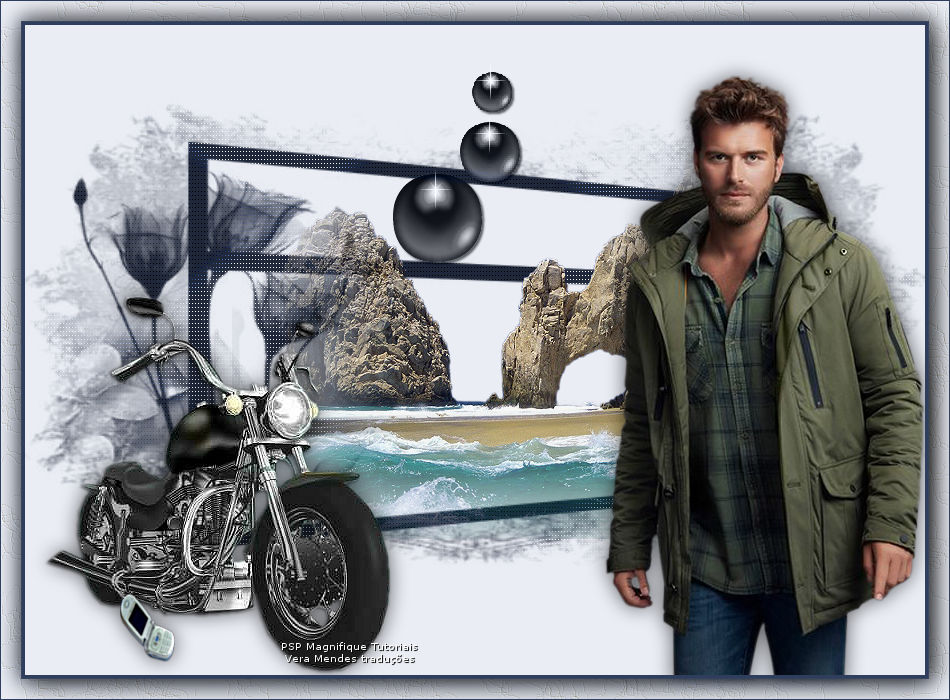
File-Open a New Transparent Image in this size : 900 x 650
pixels
Step 3
Flood Fill Tool – Fill the layer with the Background color
#2f3e5d
Step 4
Effects - Plugins-Filters in Unlimited- Andrew,s Filter 48 - Mixing
Dots And More Dots using the default settings
Step 5
Layers- New Raster Layer
Step 6
Flood Fill Tool – Fill the layer with the Foreground color #eaedf4
Step 7
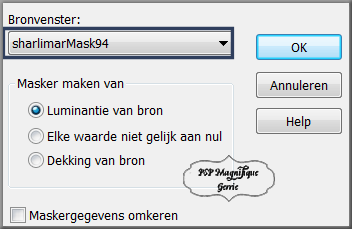
Layers- New Mask Layer-From Image and select mask: -
sharlimarMask94
-
Luminance
of source checked -Invert mask data not checked
Step 8
Layers- Merge- Merge Group
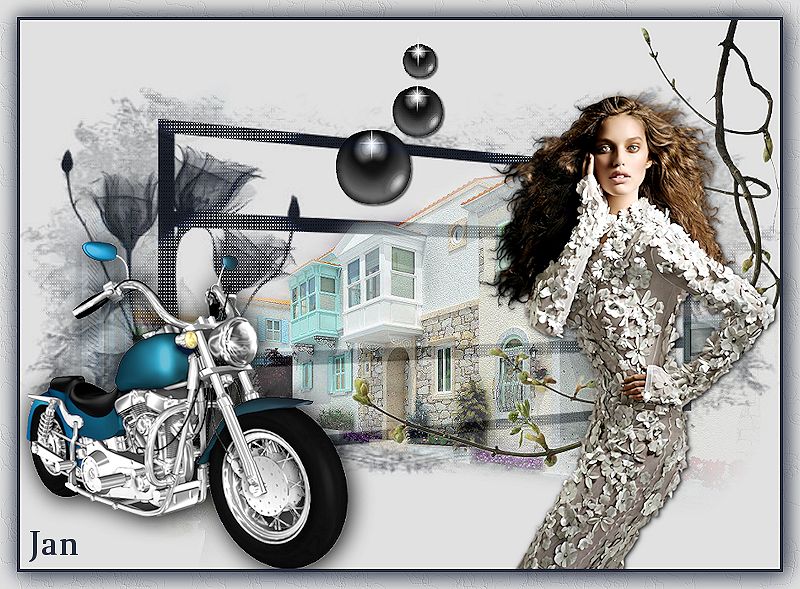
Step 9
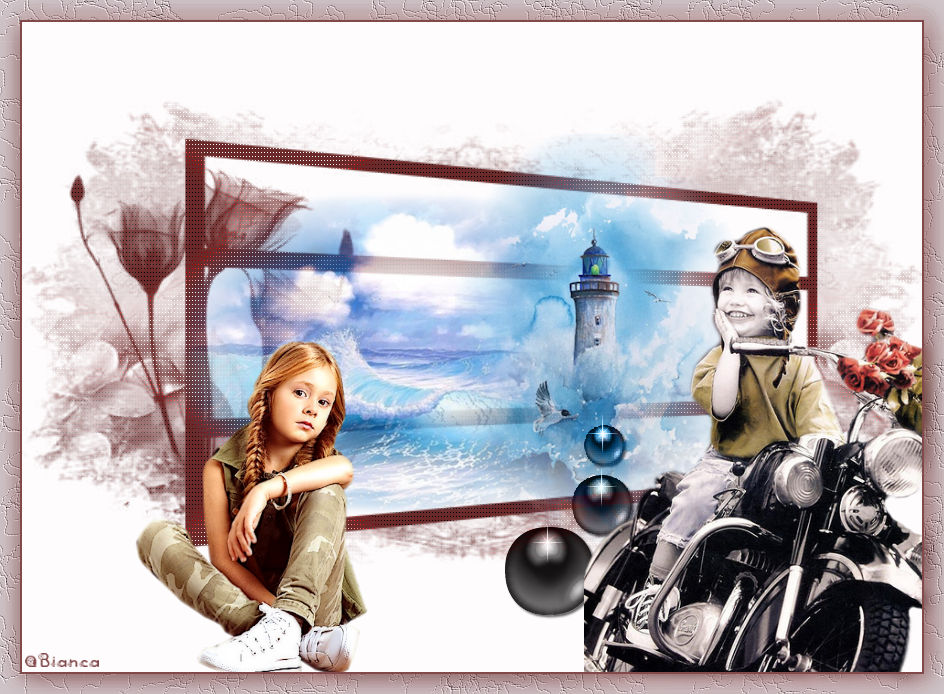
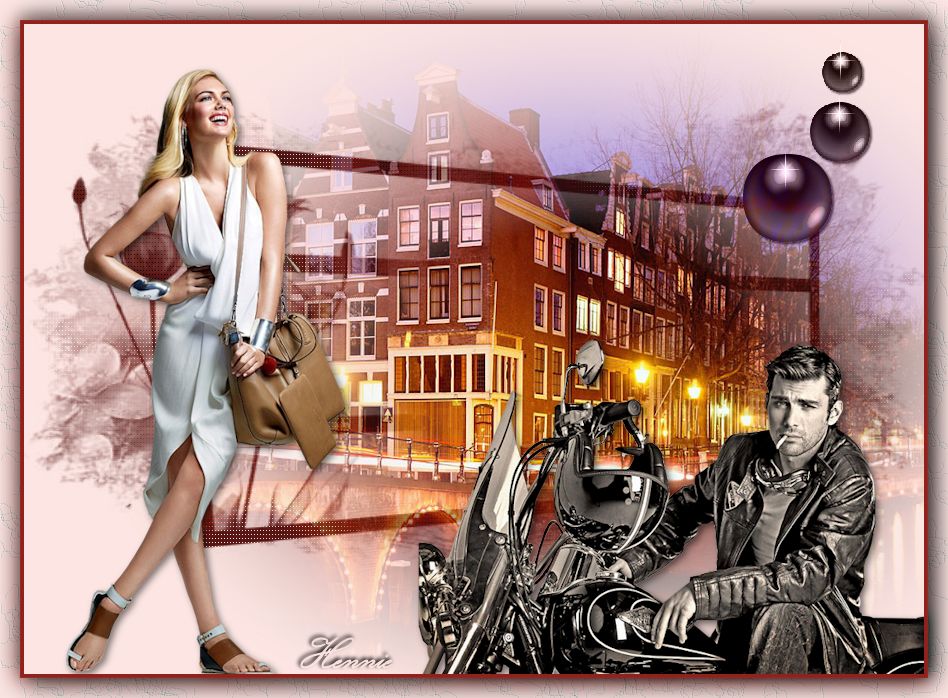
Open the Tube: misted achtergrond_01
Edit-Copy
Step 10
Activate your work
Edit-Paste as new layer
Pick Tool: (K) on your keyboard -Enter these parameters
on the Toolbar
Position
X 241 - Position Y 93
Press
( M ) to close the Tool
Step 11
Layers- Duplicate
Adjust-Sharpness-Sharpen More
Step 12
Open the Tube:
misted - k@rine_ dreams _Misted_Landscape
Edit-Copy
Step 13
Activate your work
Edit-Paste as new layer
Pick Tool: (K) on your keyboard -Enter these parameters
on the Toolbar
Position X 225 - Position Y 252
Press
( M ) to close the Tool
Step 14
Open the Tube:
tube Black Chopper
Edit-Copy
Step 15
Activate your work
Edit-Paste as new layer
Pick Tool: (K) on your keyboard -Enter these parameters
on the Toolbar
Position X 2
-- Position Y 268
Press
( M ) to close the Tool
Step 16
Drop shadow to your own choice
Step 17
Open the Tube:- jet-man2-januari-2008
- 410 pixels high.
Edit-Copy
Step 18
Activate your work
Edit-Paste as new layer
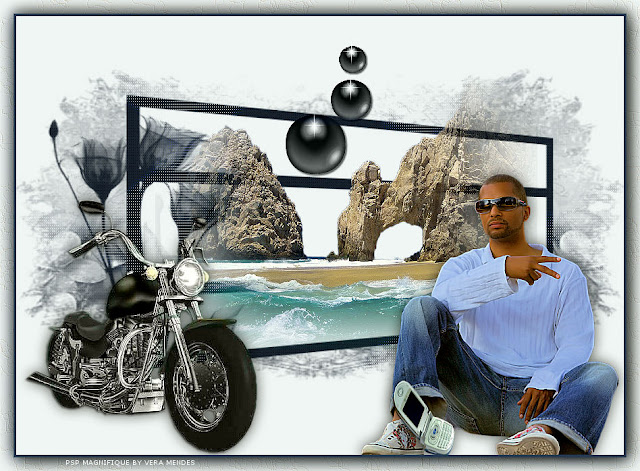
Place the Tube in the lower right corner(see finished
image)
Step 19
Drop shadow to your own choice
Step 20
Open the Tube:
accent tube - Tel.
Edit-Copy
Step 21
Activate your work
Edit-Paste as new layer
Pick Tool: (K) on your keyboard -Enter these parameters
on the Toolbar
Position
X 581 -- Position Y 538
Press
( M ) to close the Tool
Step 21
Drop shadow to your own choice
Step 22
Open the Tube: accent tube - 3 ballen
Edit-Copy
Step 23
Activate your work
Edit-Paste as new layer
Pick Tool: (K) on your keyboard -Enter these parameters
on the Toolbar
Position X
461 -- Position Y 36
Press
( M ) to close the Tool
Step 24
Layers- New Raster Layer
Place your name or watermark .
Step 25
Image - Add Borders-Symmetric checked: 4 Pixels #2f3e5d
-Background
color
Image - Add Borders-Symmetric checked: 20 Pixels #eaedf4
-Foreground
color
Step 26
Activate your Magic Wand – Tolerance at 1 and Feather at 0
-Click with the magic wand in the last added border

Step 27
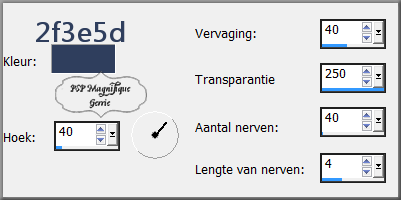
Effects-Texture Effects- Fine Leather use the settings below
Background color # 2f3e5d
Angle 40 - Blur 4 - Transparancy op 250 - Numers
of Furrows 40 - Lenght of Furrows 4.
Step 28
Selections- Invert
Step 29
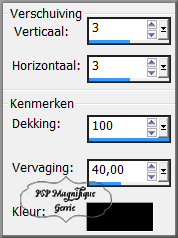
Effects-3D-Effects-Drop Shadow with these settings:
Horizontal and Vertical op 3 - Opacity 100 - Blur 40 - Background
color
Step
30
Selections - Deselect all
Step 31
Image Resize
- 800 pixels width
Step 32
Save as JPG and Give a name.
Please send me an
EMAIL to pspmagnifique@gmail.com
and I
will post your lesson in my gallery
Please do include your name and the lesson number and
title.
Your lessons should not exceed 800 PX for the Gallery
Do not
forget to thank
the people who work
with us and for
us - I have appointed the
tubeurs and translators
Thanks
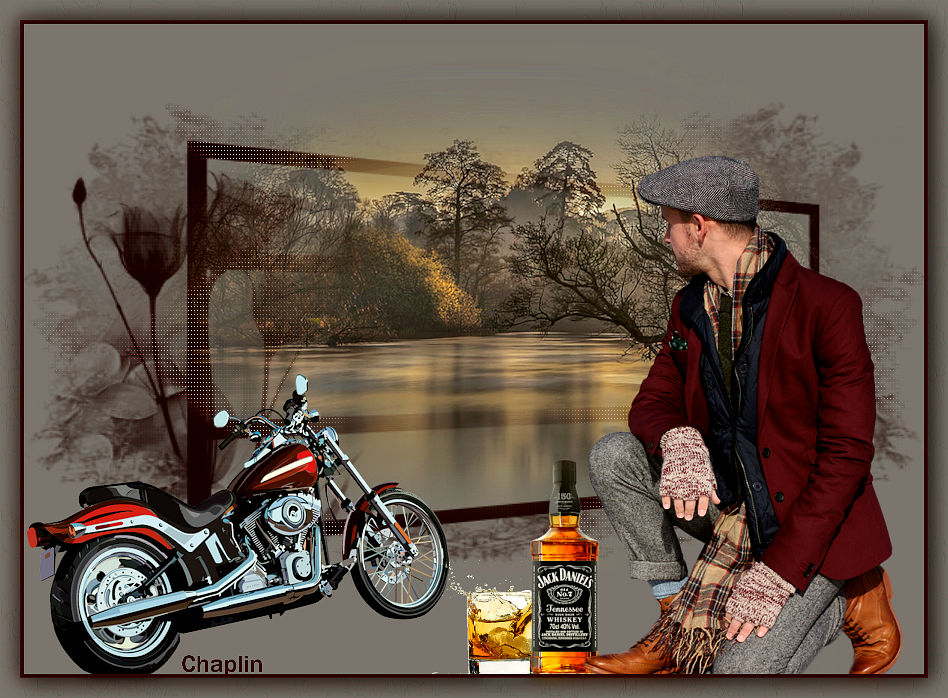
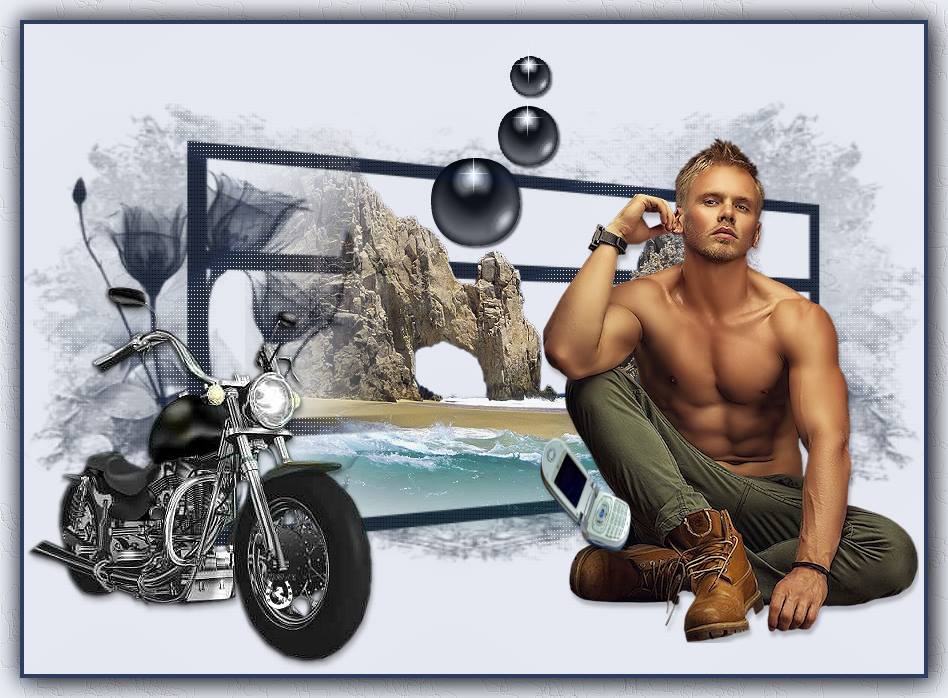
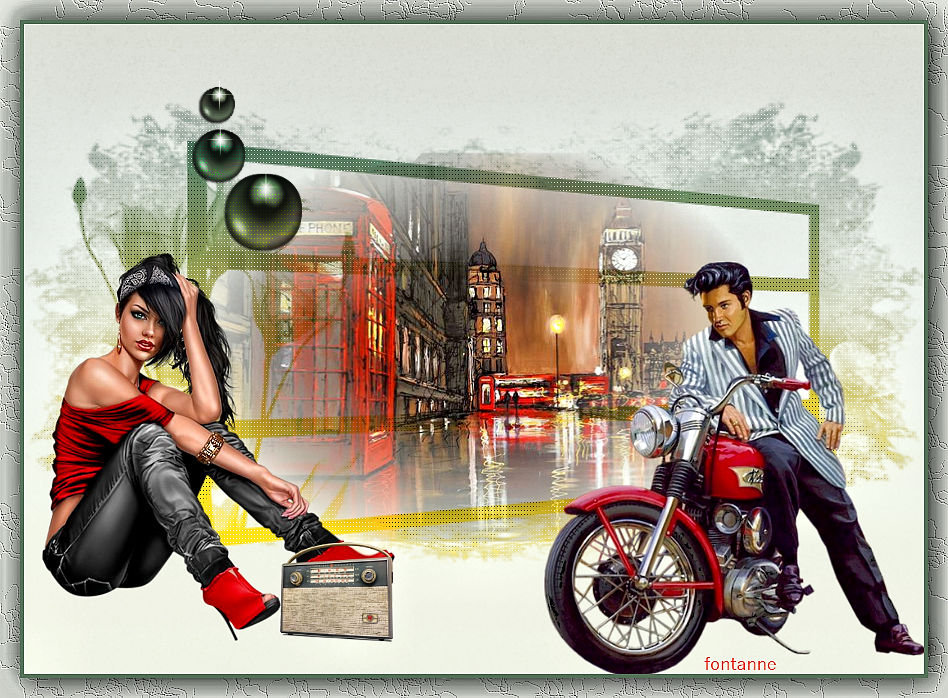
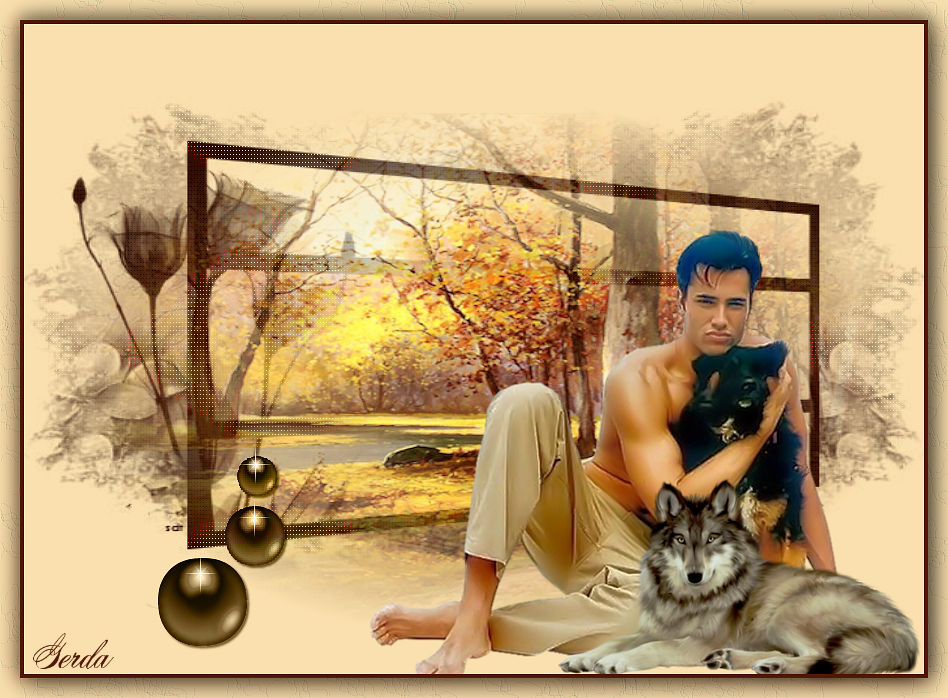
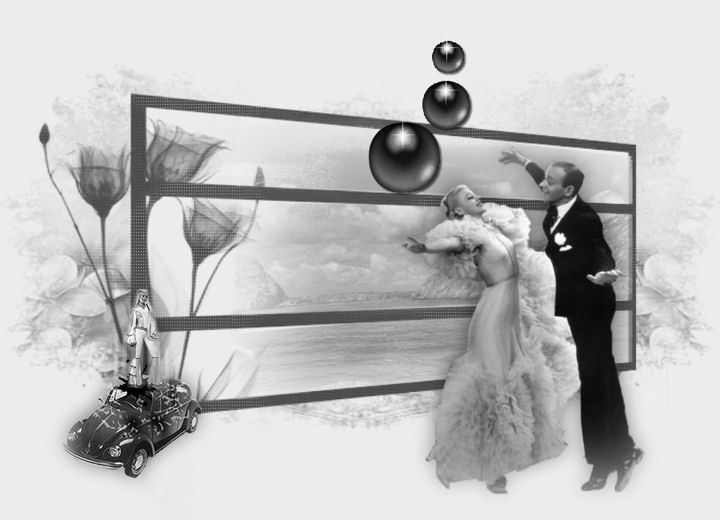
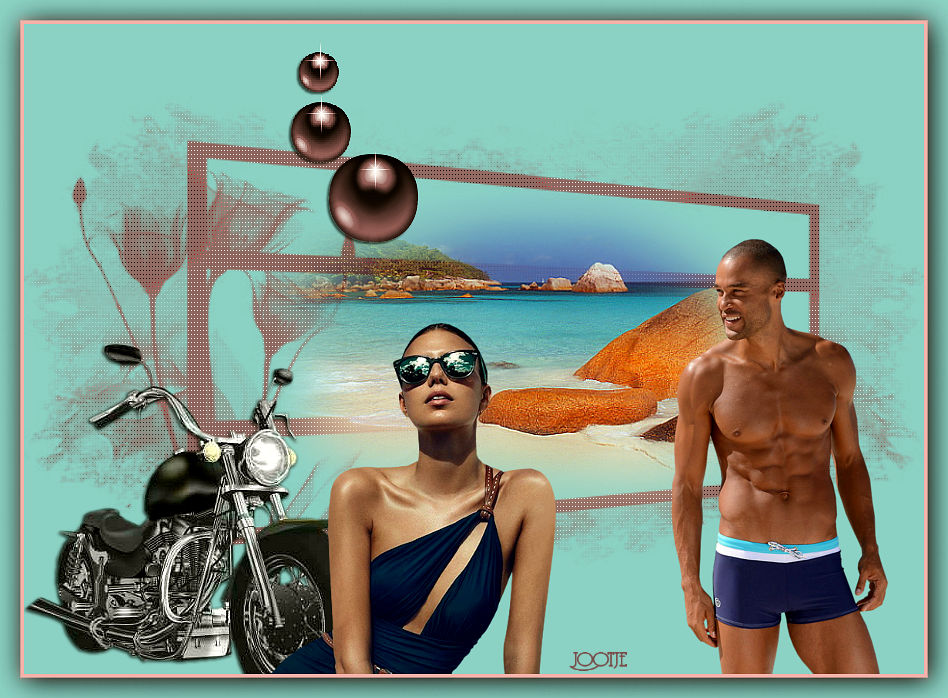
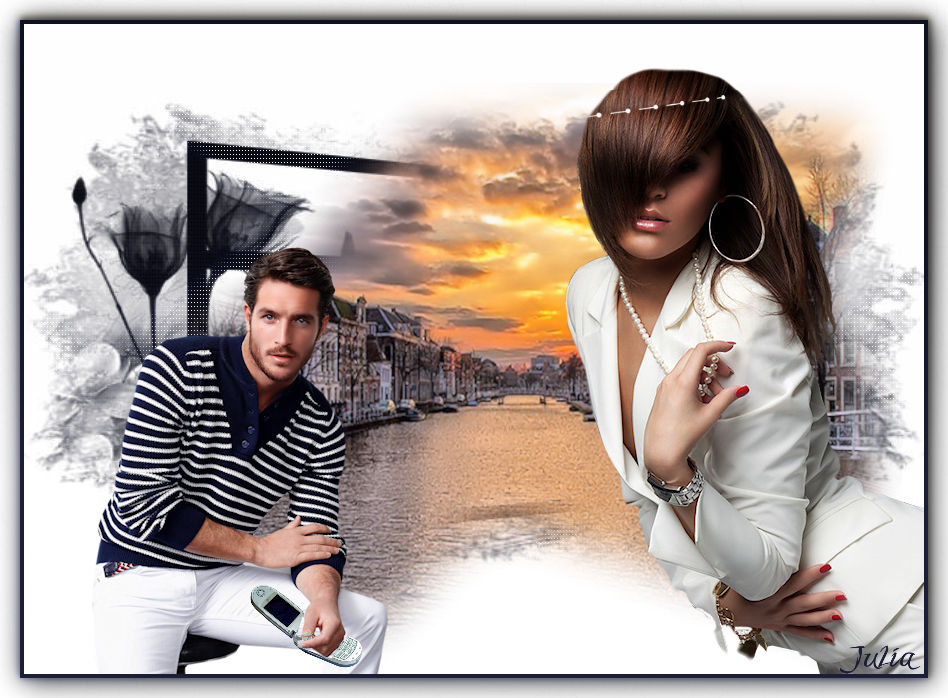
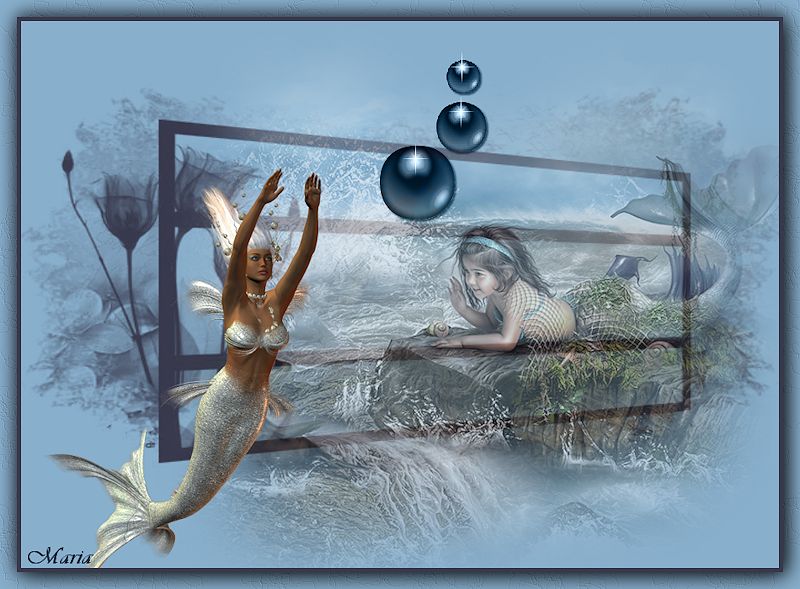
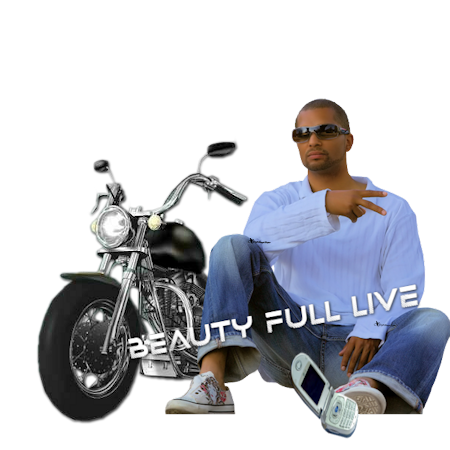
Additional Example
Thanks for testing the lesson Hennie
Thanks to Marion , Alex and Sylviane for translating the
lesson
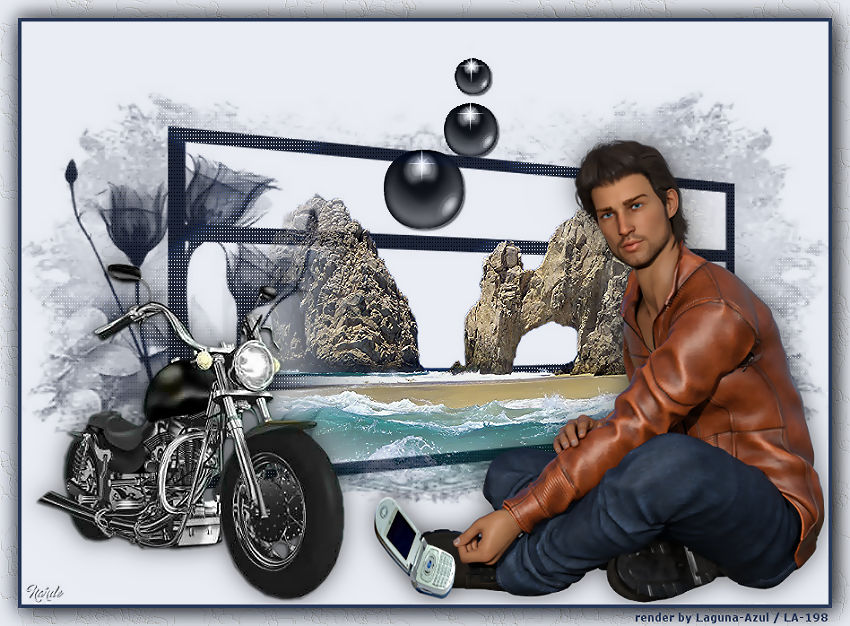
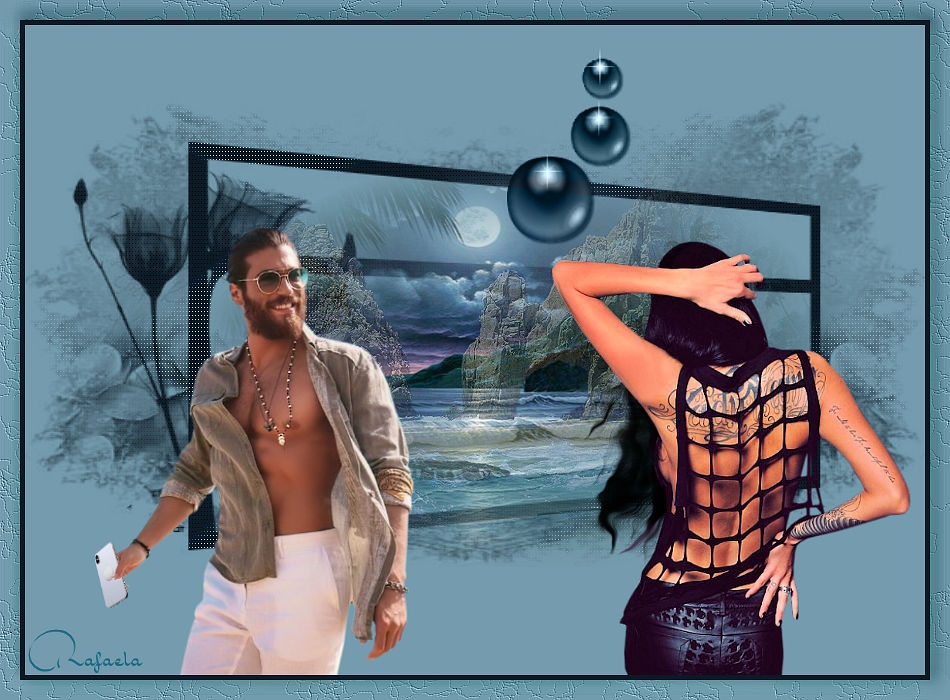
Thanks for your beautiful versions!
Your sent creation of the lesson is displayed below.
This lesson was written by Gerrie on Feb. 23, 2009
This lesson is and will remain the property of Gerrie
It is prohibited to copy or distribute them without my
written permission.
All my lessons are self-designed.... so any similarity
is therefore purely coincidental.
All my lessons are registered with TWI
proud member

Seizoen Zomer Lente
Home