|
Magic of skating
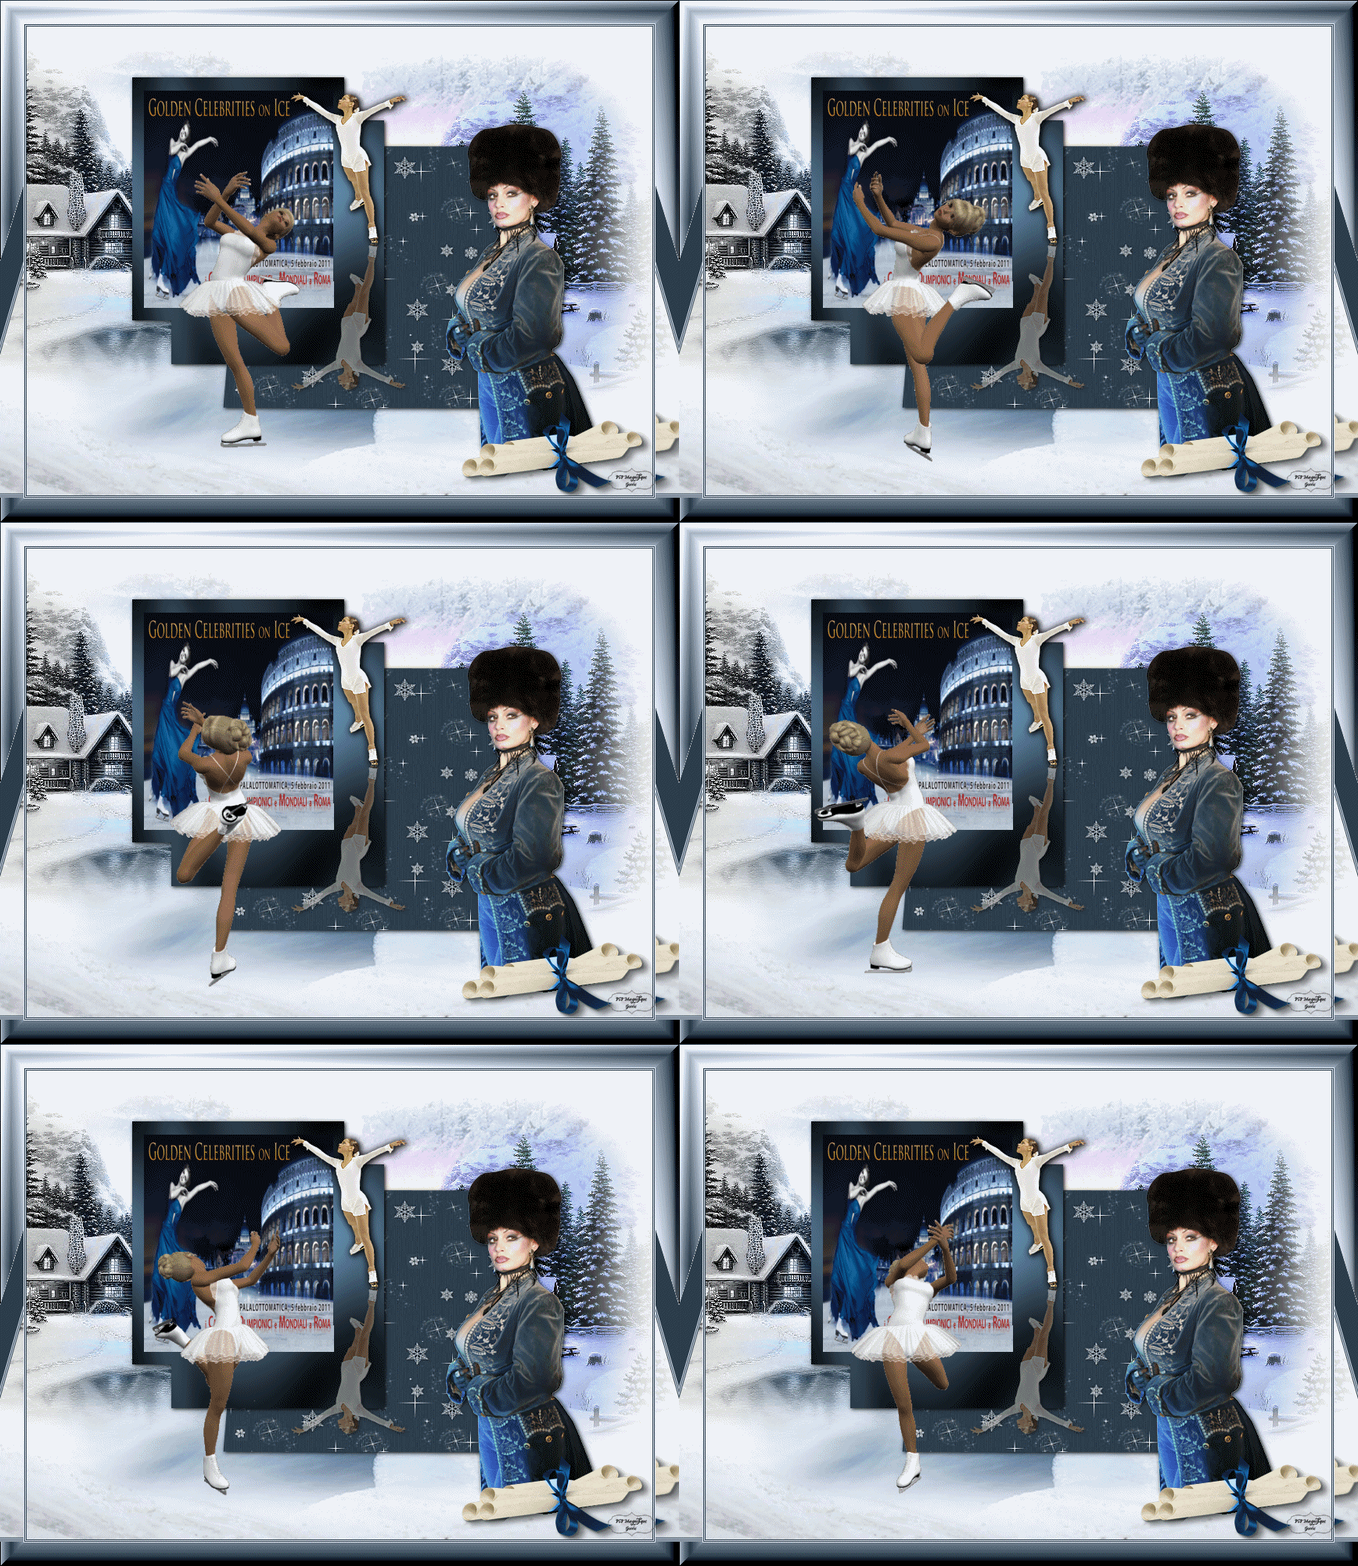
This tutorial was made with PSP 14 but can be done with other versions of Psp
The colours may vary significantly depending on the Psp used. . .
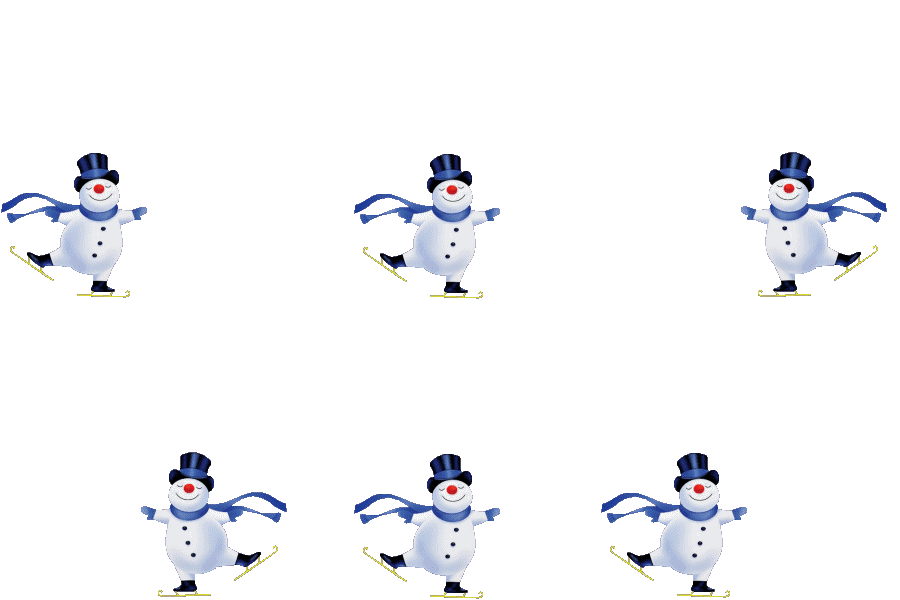
Animation pearlewithe
**Take a person's tube of your choice**
I have added several posters to the additional materials, then you have more choice
Permission tubes
Hier
Filters
Andromeda - Perpective
Greg's Factory Output Vol.II
-
Pool Shadow
Unlimited 2.0 - Buttons en Frames - Glass Frame1
Material
Tube are from, A-Giovanni. Restored_Suzan_M, Doucelijne.
If there is a tube of yours, please let me know so I can add your name.
Thank you makers and creators for making these wonderful tubes.
Leave the watermark of the tube intact
The copyright belongs to the original artist.
Leave credit with the creator.
****
The colors, blend mode and layer density in this lesson, are chosen for these materials
Using your other materials, adjust blend mode/coverage in your layers palette as you see fit.
Do you work with other colors
From your background color, write down the K and V for a moment.
****
Step 1
Take from your tube a light Foreground color and a dark Background color
Preparation
Material Properties: Set your Foreground color to color
#e0e8f7
Set your Background color to color #2c3e4c.
Step 2
Open Alpha Channel -Alfa magic of skating
Duplicate and close Original
Step 3
Selections - Select All
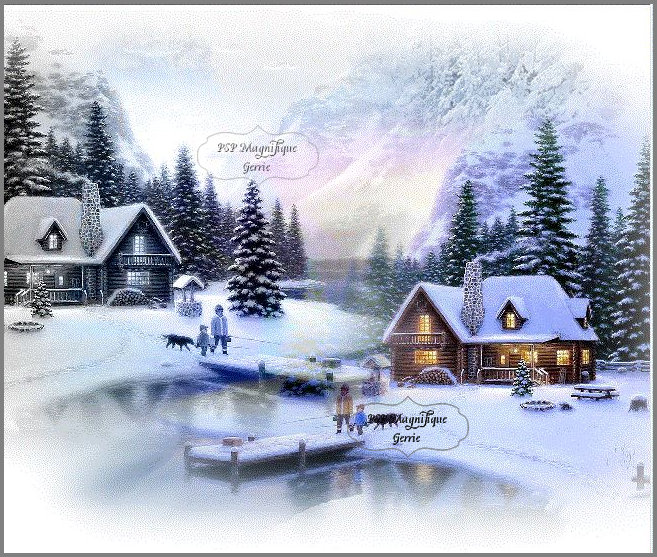
Open - achtergrond 1
Or choose a picture of your own choice
Edit - Copy
Activate your work.
Edit - Paste Into Selection
Selections - Select None
Step 4
Open the tube - Restored Suzan M
Edit - Copy
Activate your work.
Edit - Paste as new layer
Put it on the right side -( See finished image)
Pick Tool: (K) on your keyboard -Enter these parameters on the toolbar

Press ( M ) to close the Pick Tool
Step 5
Layers - Duplicate
Image - Mirror - Mirror Horizontal (Image - Mirror in older versions of PSP)
Step 6
Pick Tool: (K) on your keyboard -Enter these parameters on the toolbar

Press ( M ) to close the Pick Tool
Layers-Properties-Change the Blend Mode to "Luminance Legacy"
The Result
Step 7
Open the tube - tube la_snow
Edit - Copy
Activate your work.
Edit - Paste as new layer
Objects- Align - Bottom
Step 8
Layers- New Raster Layer
Step 9
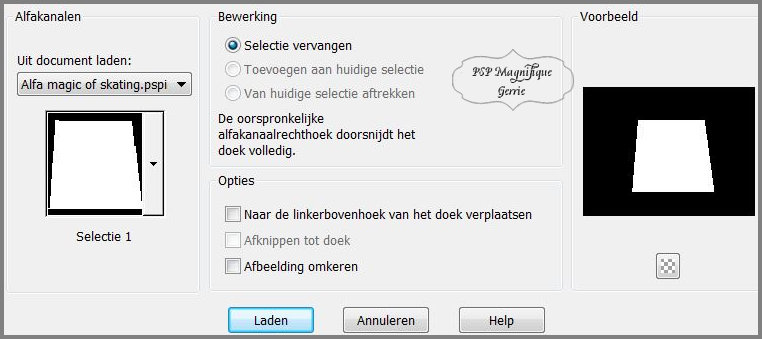
Selections-Load/Save Selection-Load Selection from Alpha Channel.-Selectie 1
Step 10
Open - paper 2
Edit - Copy
Activate your work.
Edit - Paste Into Selection
Selections - Select None
Step 11
Adjust-Sharpness-Unsharp Mask 1-64-4.
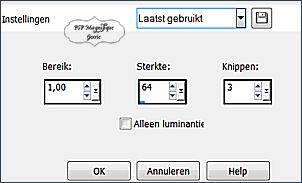
Step 6
Pick Tool: (K) on your keyboard -Enter these parameters on the toolbar

Press ( M ) to close the Pick Tool
Step 12
Activate Preset Basic shape Tool (P) and select shape NR46 - with these settings

you can always adjust it to size.
Step 13
Select
shape -basisvorm - NR 46
This is included in corel by default
Step 14
Now draw a square - see my example
Activate vector layer
Layers - Convert to raster layer
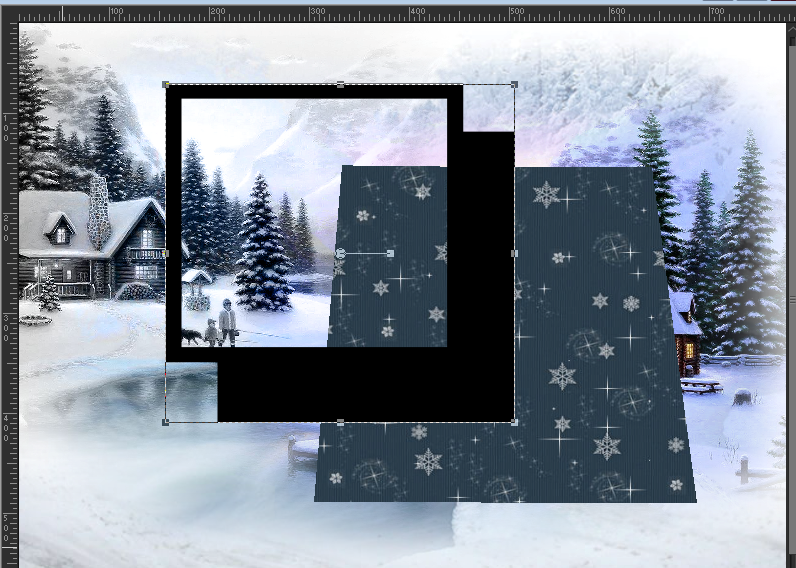
Step 15
Activate your Magic Wand with these settings

Step 16
Click 1x with your magic wand in the narrow part of your just drawn square
Step 17
Flood Fill Tool- Fill the selection with the Background color #2c3e4c
Or color of your choice
Step 18
Effects - Plugins - Greg's Factory Output
Vol.II
-
Pool Shadow
using the default settings

Step 19
Selections - Select None
Step 20
Click 1x with your Magic Wand in the large square area
Step 21
Activate your Background Image- (your own choice)
Edit - Copy
Edit - Paste Into Selection
Selections
Select None
Step 22
Adjust-Sharpness-Unsharp Mask : 1-64-4.

Step 23
Activate the tube - patineuse
Edit - Copy
Activate your work-Edit - Paste as new layer
Step 24
Place this on the edge of the square - (see finished image)
Step 25
Image-Resize 75%, resize all layers not checked
Step 26
Adjust-Sharpness-Unsharp Mask : 1-64-4.

Step 27
Effects- 3D- Effects- Drop Shadow
Horizontal and Vertical 2 - Opacity 65 - Blur 3 - Foreground color #e0e8f7
Step 28
Open your woman's tube
Edit - Copy
Activate your work-Edit - Paste as new layer
Put it on the right side -( See finished image).
Drop shadow of your own choice
Step 29
Activate the tube - MartencjaDesigns Winter Romanceelsh
Edit - Copy
Activate your work-Edit - Paste as new layer
Put it right under the woman.
*
Step 30
Effects- 3D- Effects- Drop Shadow with the same settings- Background color #2c3e4c
Step 31
Image - Add Borders-Symmetric checked: 1 pixel - Background color
#2c3e4c
Image - Add Borders-Symmetric checked: 1 pixel - Foreground color #e0e8f7
Image - Add Borders-Symmetric checked: 1 pixel - Background color #2c3e4c .
Image - Add Borders-Symmetric checked: 1 pixel - Foreground color
#e0e8f7
Image - Add Borders-Symmetric checked: 30 pixels - Background color#2c3e4c
Step 32
Activate your Magic Wand Tool with these settings -select the border with the 30 pixels.

Step 33
Effects - Plugins - Andromeda Perpective
First click on Reset
don't forget this or the edge won't be right
And then click once on the lower triangle - see the example below
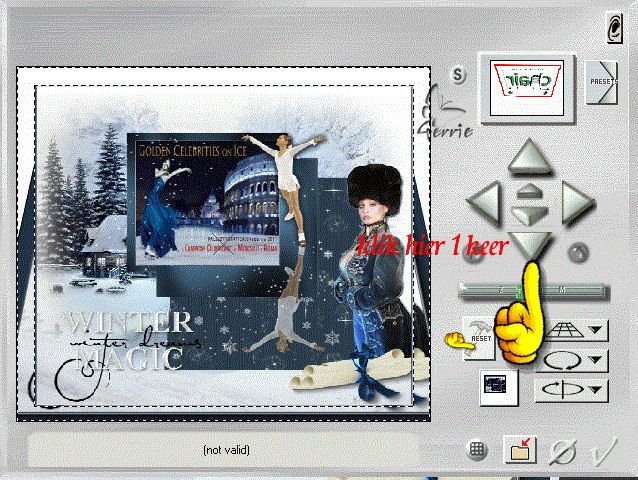
Step 34
Selections- Select None
Step 35
Take your Magic Wand Tool and select your top edge
And select the narrow bottom edge

Step 36
Properties Foreground- Prepare a Foreground/Background Linear Gradient configured like this
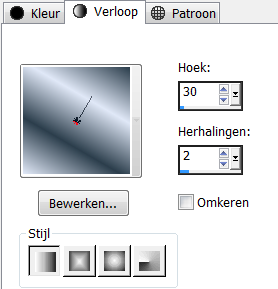
Stap 37
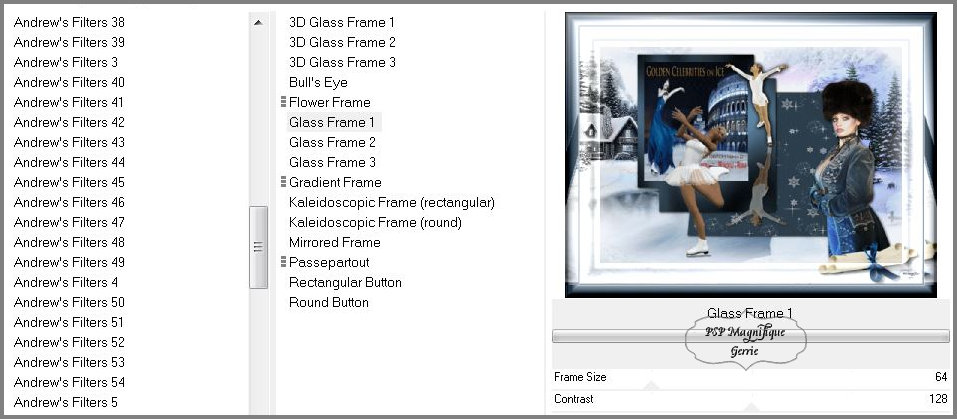
Effects - Plugins- Ulimeted 2.0 - Buttons en
Frames - Glass Frame1
using the default settings
Step 38
Selections - Select None
Step 39
Sign your work on a new layer
Step 40
Layers- Merge- Merge All ( flatten)
Edit - Copy
Step 41
Open Animation Shop
Edit-Paste-Paste as new image
Step 42
Now press your Ctrl button and key in the letter L 11 times.
You now have 12 frames.
Click into frame 1
Edit-Select All.
Step 43
File - Open.
Activate the animation pearlewithe.
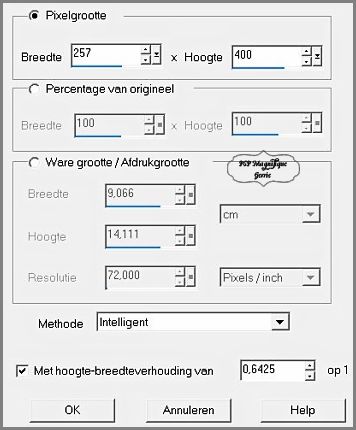
Animation - Resize animation 400 high
Step 44
Click into frame 1
Edit-Select All..
Edit - Copy
Step 45
Activate your work
Activate your work
Edit-Paste-Paste in the selected frame.
Place the animation to your liking
Step 46
Check your result clicking on View Animation
(this is the second to last icon on the right).
Step 47
Animation - Resize animation - to 800 pixels.
Step 48
Save your crea as a gif
Give your crea a name and Save it.
Posting your work in my gallery
Image-Resize, 800 Pixels width, resize all layers checked
Did you create a lesson and want to show it off?
Please send me an EMAIL
Size for the gallery maximum 800 PX
Additional example
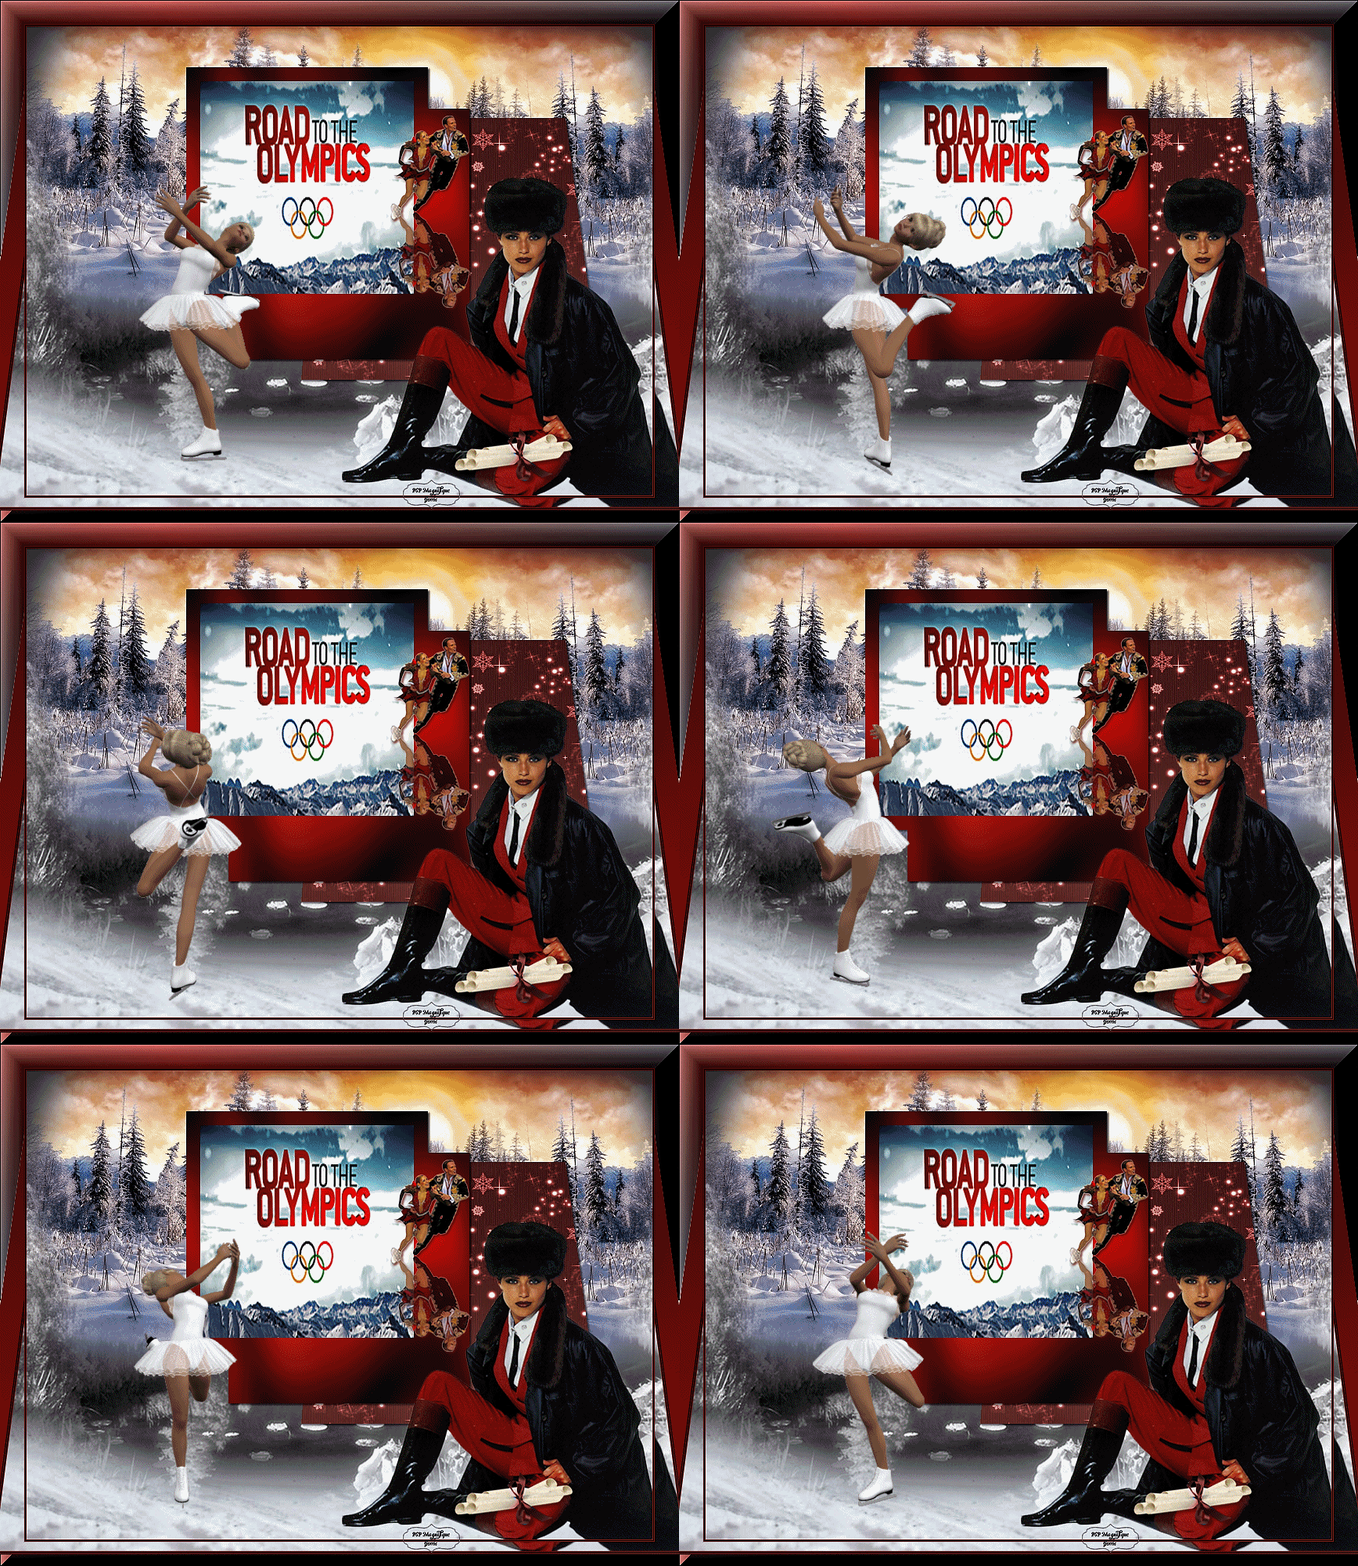
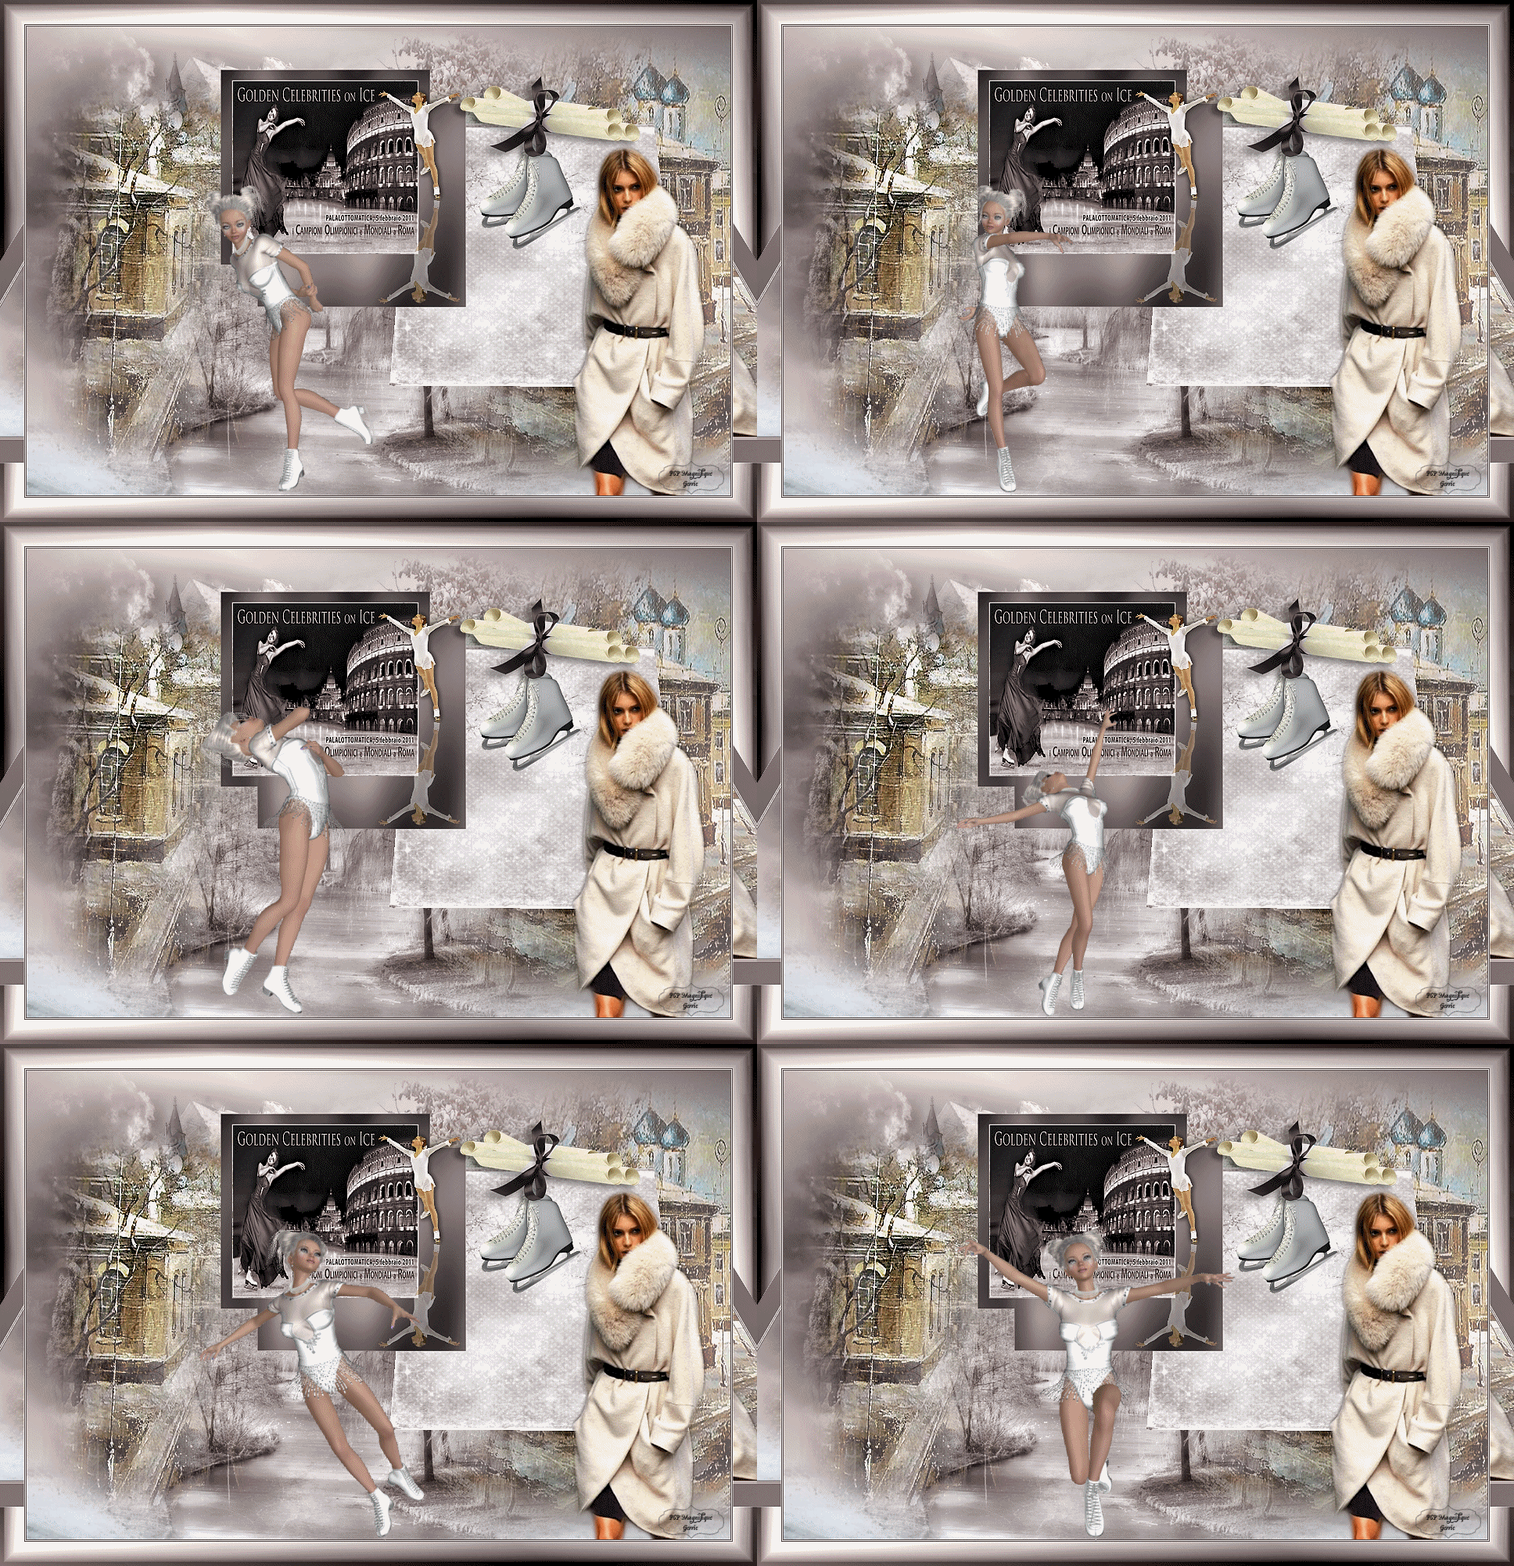
Thanks for testing the lesson
Jeanne

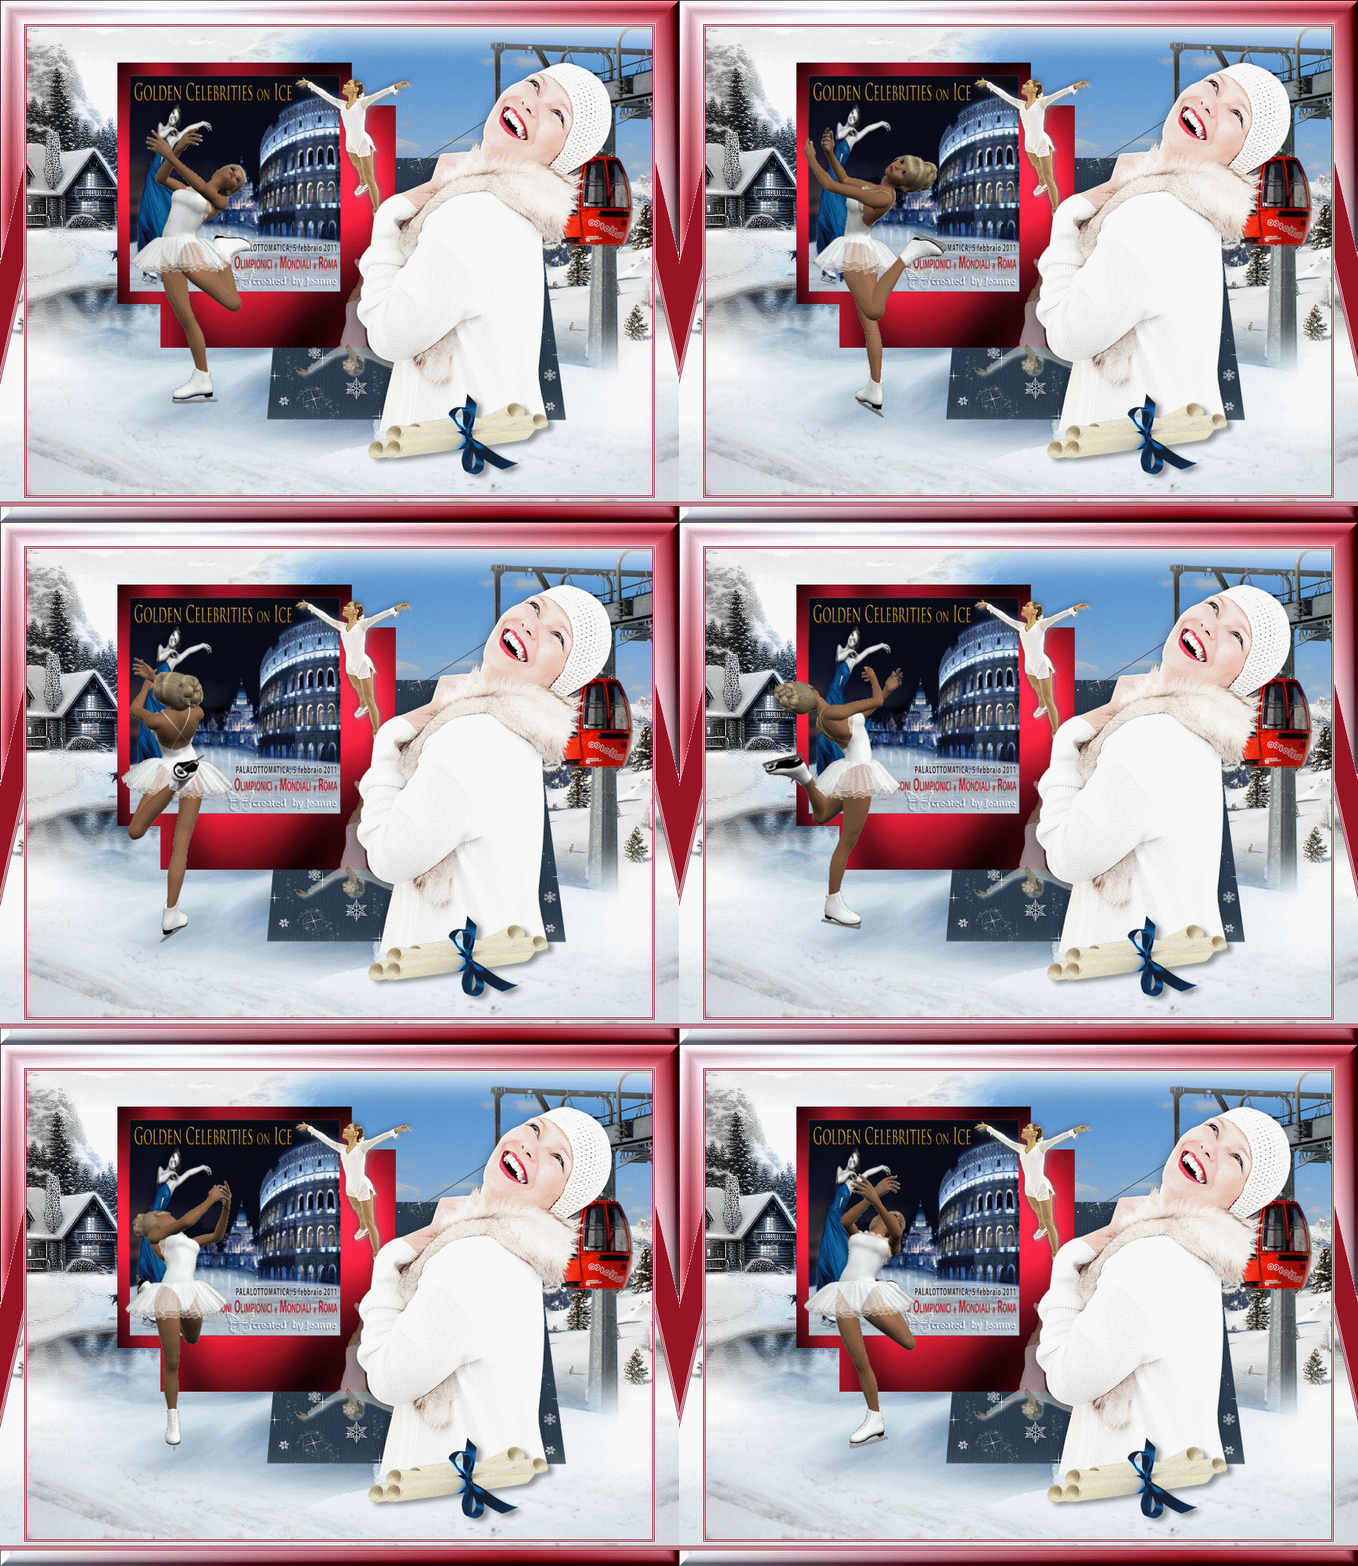
Thanks for testing the lesson
Keetje
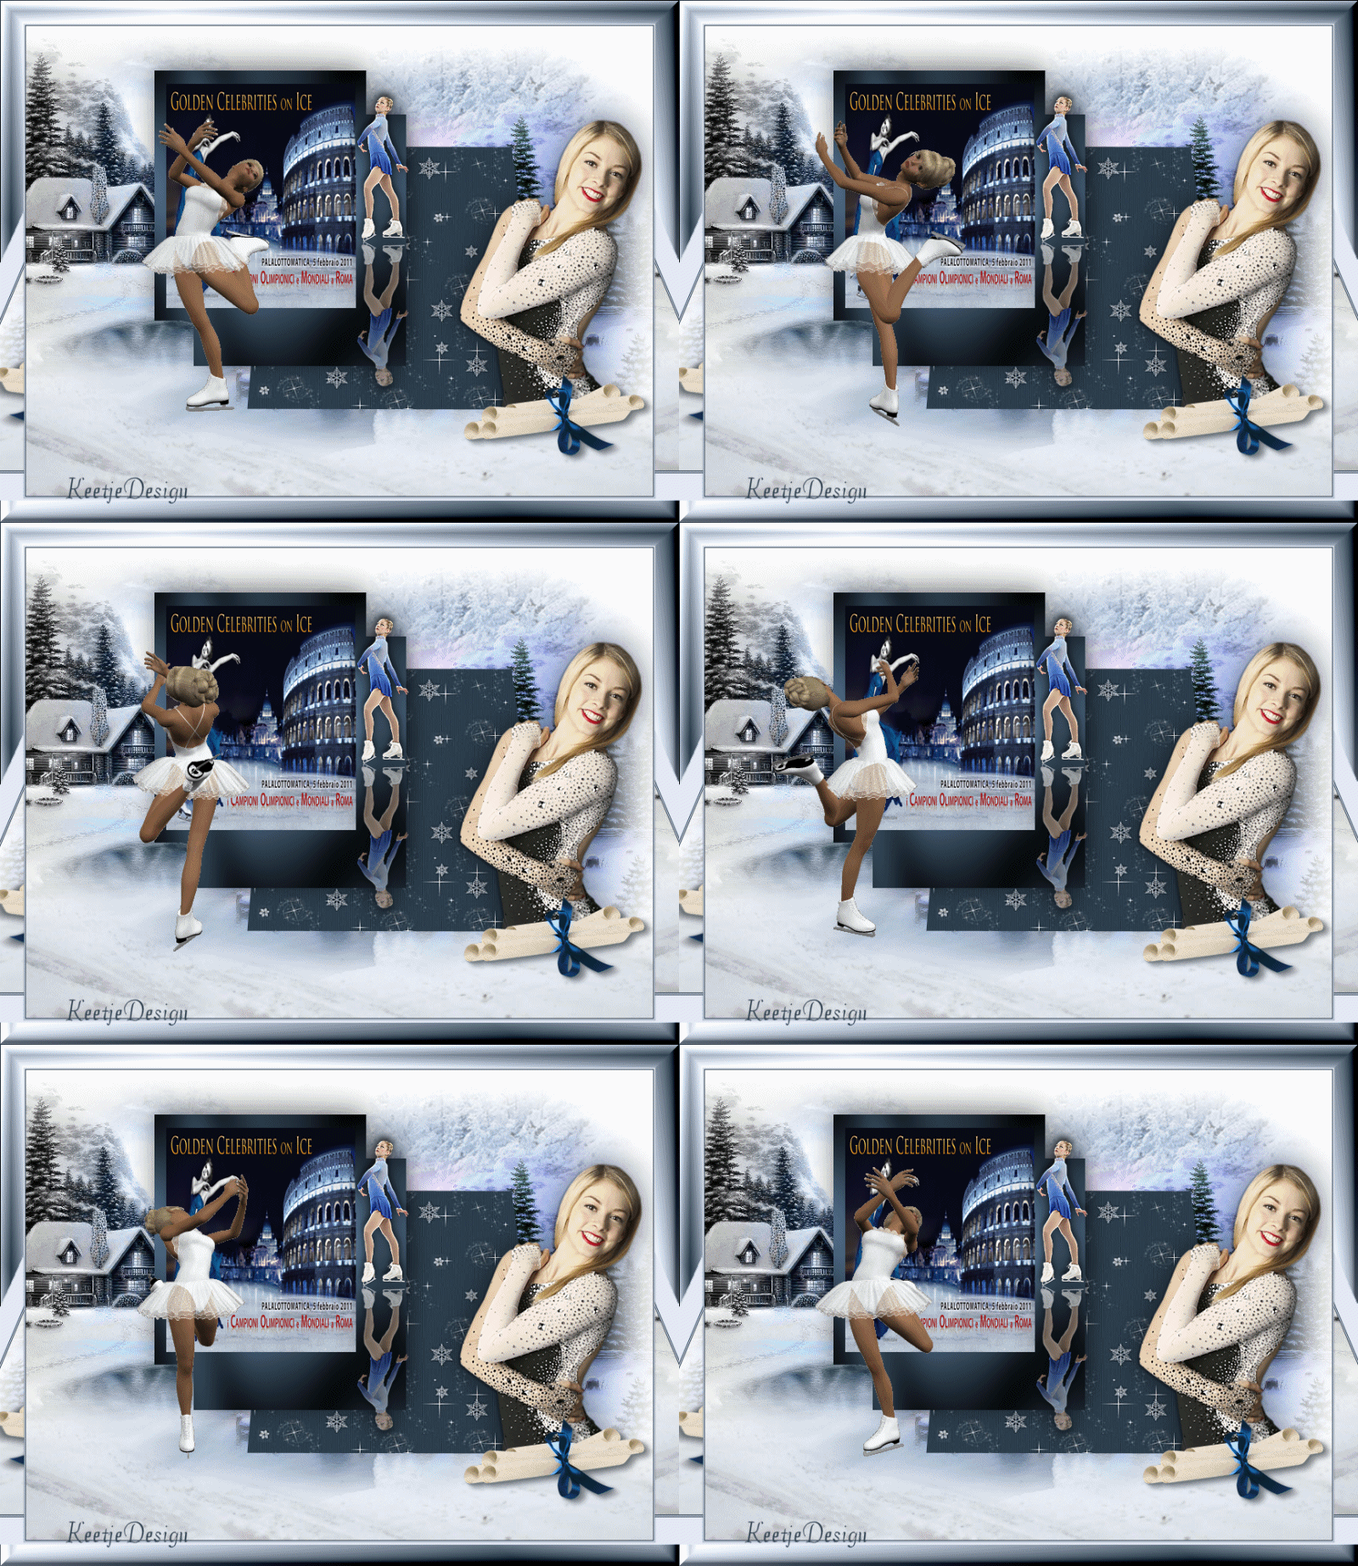
Thanks for testing the lesson
Annie:
.gif)
Thanks for testing the lesson
Hennie:
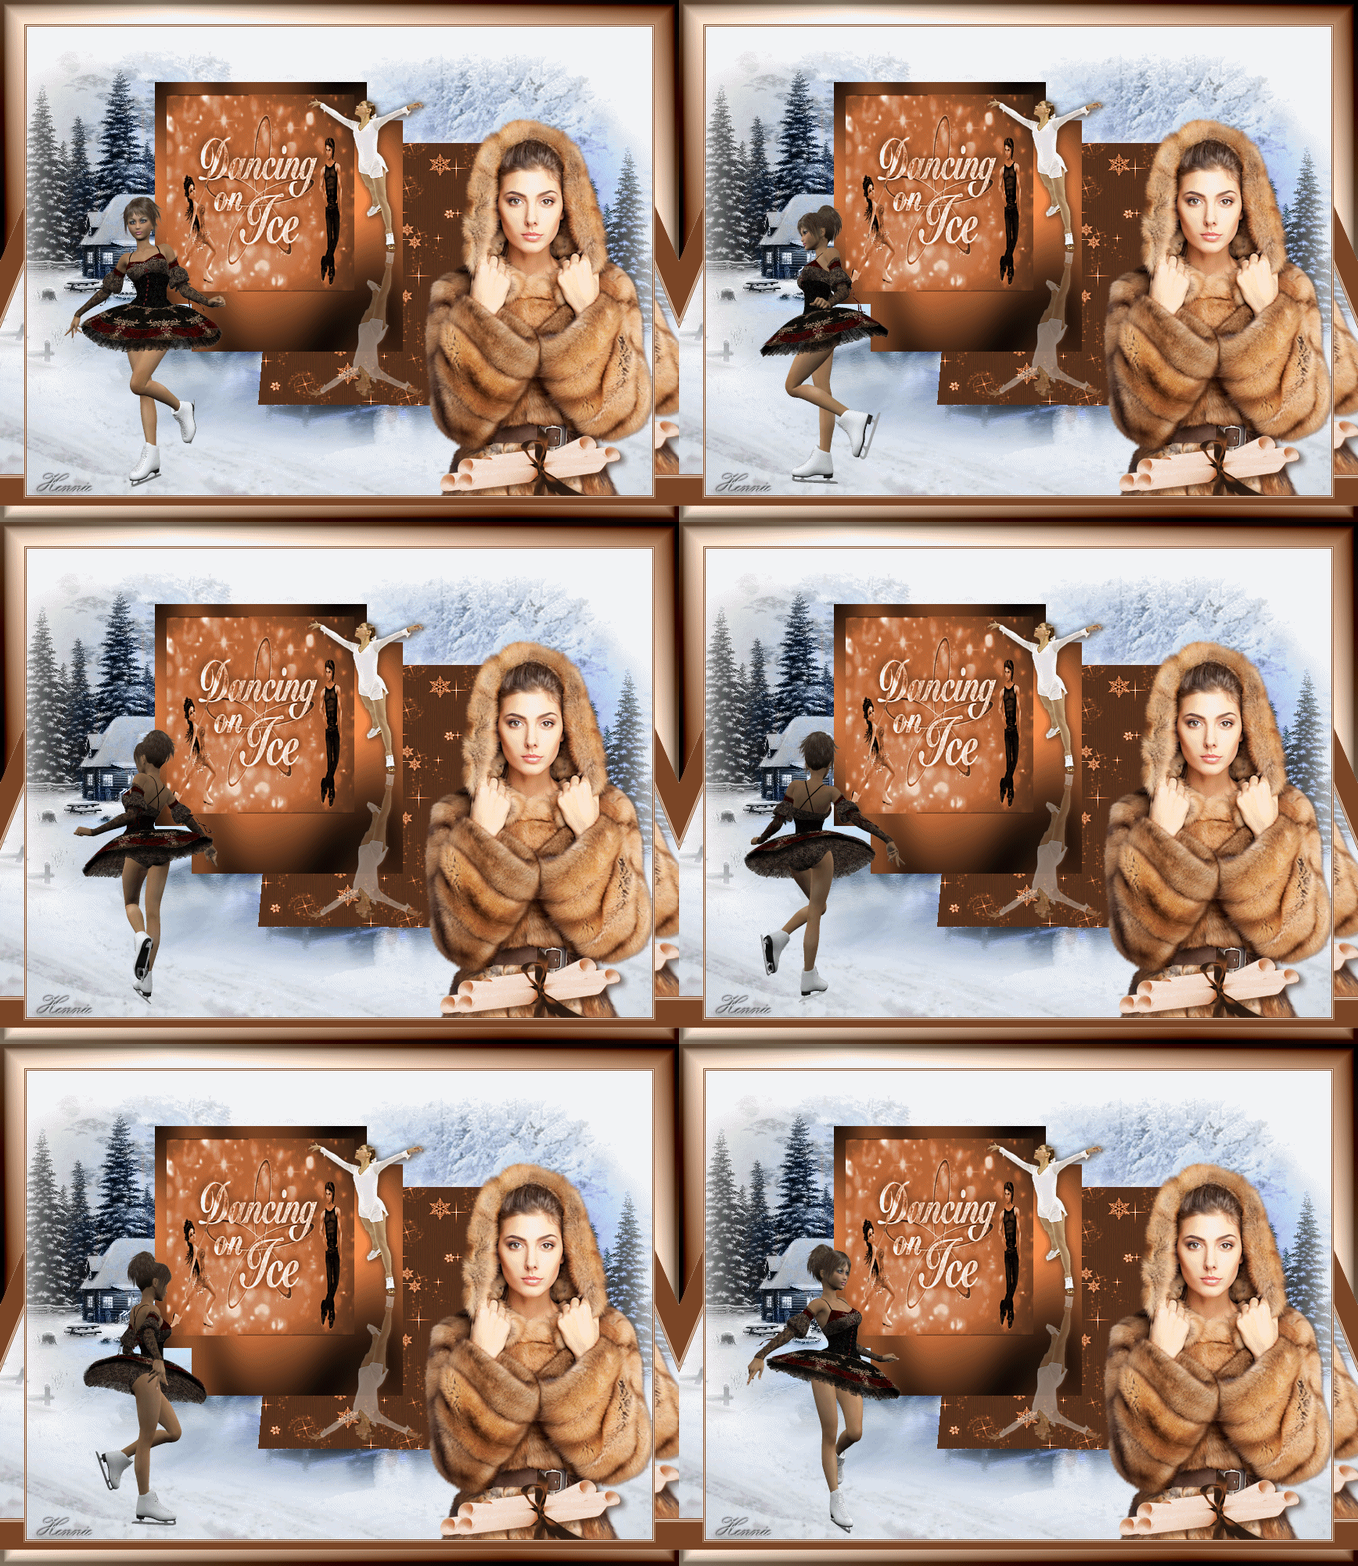
Thanks for your beautiful versions!
Your sent creation of the lesson is displayed below.
This lesson was written by Gerrie 26-10- 2011
This lesson is and remains the property of Gerrie
It is forbidden to copy or distribute them, without my written permission.
All my lessons are self-designed so any similarity is purely coincidental.
All my lessons are registered with TWI
prowd member

Seizoen Index
Home
|