|
Filters
Mehdi
– WavyLab 1.1
Flaming Pear Flexify 2
AAAFrame Foto Frame
AAA Filters Custom - Sharp
Graphics Plus Cross Shadow
VM Extravaganza Transmission
Unlimited – Distortion filters Smelter 2
Unlimited VM Distortion FlipChop
The tube(s) are from Nicole.
The tubes will be adjusted in the lesson at my discretion.
Use your own tubes, resize them as you see fit.
Is
there a tube of yours? If so, please let me know so I can put your name on
it.
I would like to
thank all the tube makers for
making these wonderful tubes.
Leave the watermark of the tube
intact.
The copyright belongs to the
original artist.
Leave the credit to the creator.
*****
If you work with your own images
and/or tubes, make them the same size!
Change the blend mode/opacity in your layers palette to your liking.
Adjust if necessary
****
Step 1
Material
Properties:
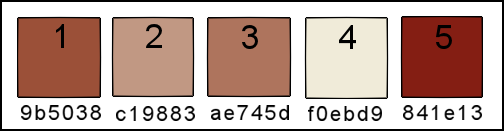
Choose a light foreground color
and a dark background color from
your Tube
Material
Properties: Set your Foreground
color to color #9b5038
Set
your Background color to color
#c19883
Additional color #841e13
Step 2
File - Open a new transparent image of this size : 900 x 600 pixels
Step 3
Effects- Plugins- Mehdi - Wavy lap 1.1 with these settings
Step 4
Adjust-Blur- Gaussian Blur-Radius 30 %

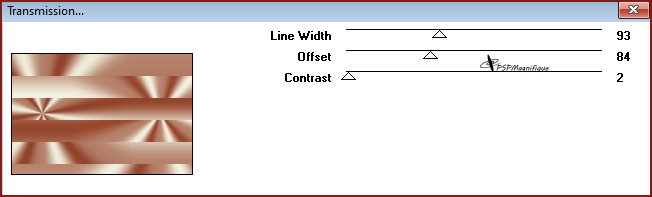
Step 5
Effects- Plugins- VM Extravaganza - Transmission use the settings below
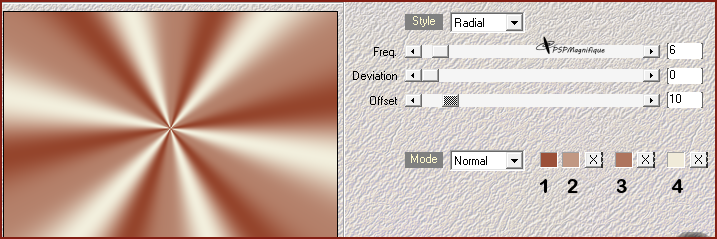
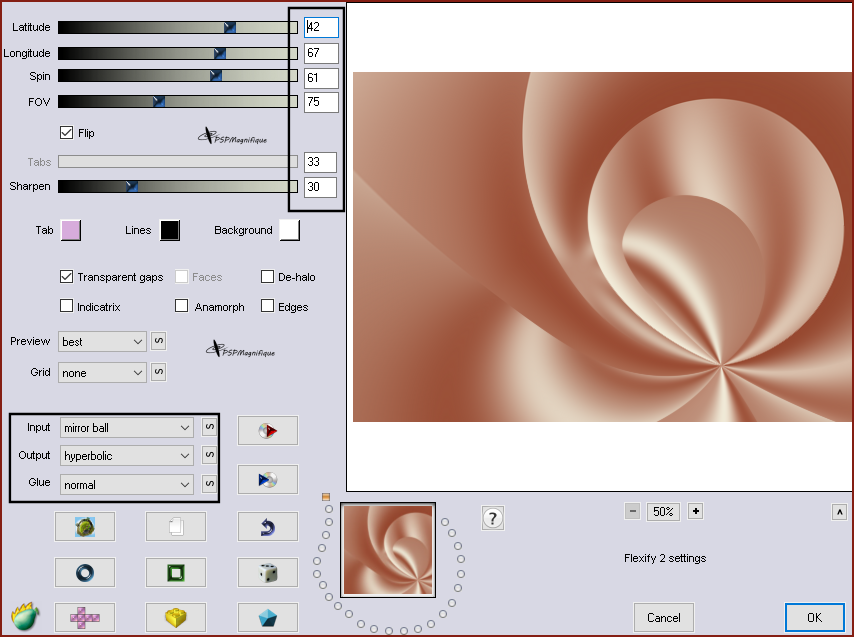
Step 6
Effects- Plugins- Flaming Pear-Flexify 2 use the settings below
Click on the red arrow select my file-Preset Flexify 1 settings.q2q-
can be used in any folder of your choice .Click on the preset and effect will apply
Step 7
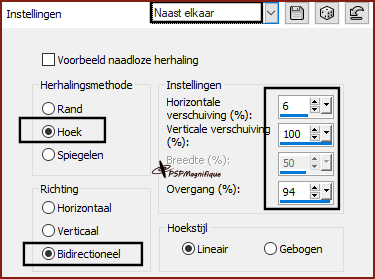
Effects- Image Effects-Seamless Tiling -
Side by side
Step 8
Effects- Image Effects-Seamless Tiling
-using the default settings
Step 9
Selection-Select All
Step 10
Image - Add Borders-Symmetric checked: 50 pixels -foreground color
#9b5038
Step 11
Selections -Invert
Step 12
-Material Properties: Set your foreground color to color
#9b5038
Set your background color to color
#c19883
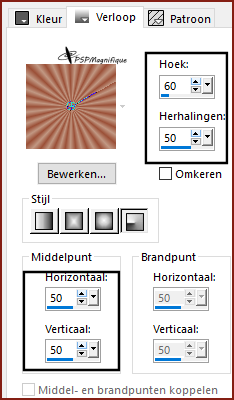
Replace your foreground color with a Foreground/Background Radial gradient. Configure it as follows
Flood Fill Tool -Fill the selection with the gradient
Step 13
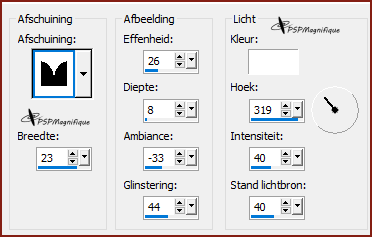
Effects-3D-Effects-Inner Bevel use the settings below
Step 14
Selections- Deselect All
Step 15
Effects- Image Effects-Seamless Tiling - Stutter Diagonal

Step 16
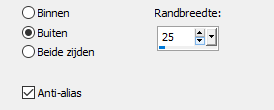
Image - Add Borders-Symmetric checked: 25 pixels -Additional color #841e13
Step 17
Effects- Image Effects-Seamless Tiling - Stutter Diagonal
Step 18
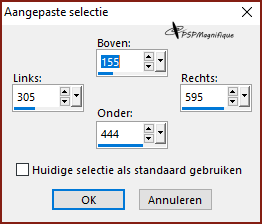
Activate Selection Tool -Custom Selection (S) -Rectangle with these settings
Step 19
Selections- Promote Selection to Layer
Step 20
Adjust-Blur- Gaussian Blur-Radius 30 %
Step 21
Activation of your - main tube or use my Tube-Nicole
Edit-Copy
Activate your work
Edit- Paste a new layer
Step 22
Image - Resize 3 times 80%
Image - Resize 1x 95%
Slide
it gently into the selection
Step 23
Selections -Invert and press
delete
Step 24
Selections -Invert
Step 25
Layers- Merge Merge Down
Step 26
Selections- Modify-Select Selection Borders 25 pixels outside checked
Step 27
Flood Fill Tool-Fill the selection with the gradient
Step 28
Effects-3D-Effects-Inner Bevel use the settings below
Step 29
Selections- Deselect All
Step 30
Pick Tool: (K) on your keyboard -Enter these parameters on the Toolbar
Position X 350--- Position Y182
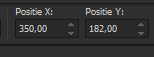
Press ( M ) to close the Tool
Step 31
Layers-Duplicate
Activate the layer underneath
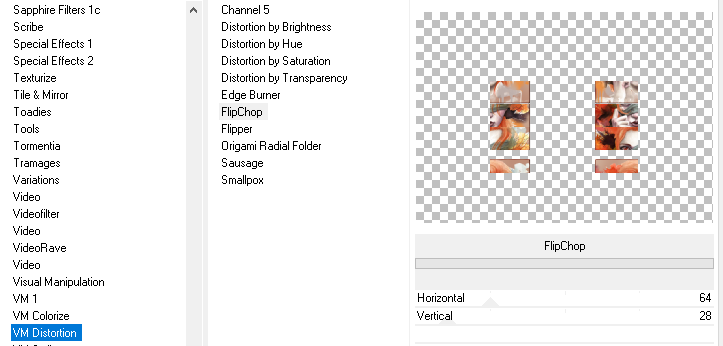
Step 32
Effects- Plugins-Filters Unlimited -VM Distortion - FlipChop: 64 28
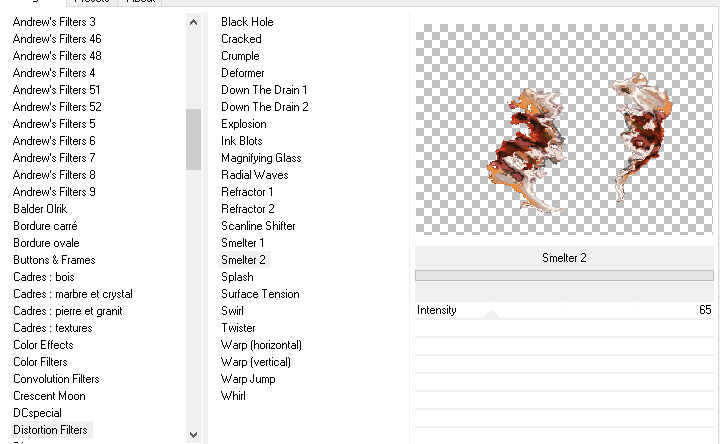
Step 33
Effects- Plugins-Filters Unlimited - Distortion Filters- Smelter 2 :65
Step 34
Activate the layer above
Step 35
Layers-Duplicate
Step 36
Layer palette - Activate the layer underneath
Step 37
Effects- Plugins- Toadies -Weaver using the default settings
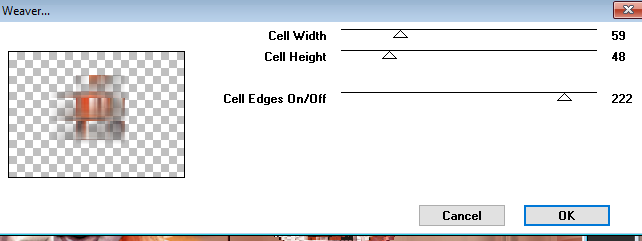
Step 38
Edit -Repeat -Weaver
Step 39
Layers-Properties-Set the Blend Mode to " Multiply"
Step 40
Layers-Duplicate
Step 41
Effects- Pluginss - Flaming Pear - Flexify
2 -
the settings are still correct.
Step 42
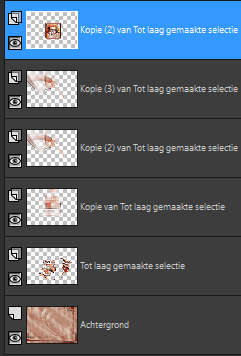
Layers-Duplicate
If you use other colors, please adjust
The result should look like the print screen below
Step 43
Activate the tube - Element_01
Edit-Copy
Activate your work
Edit- Paste a new layer
Step 44
Pick Tool: (K) on your keyboard -Enter these parameters on the Toolbar
Position X 16---Position Y 419
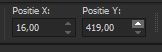
Press ( M ) to close the Tool
Step 45
Effects- Image Effects-Seamless Tiling -using the default settings
Step 46
Layers-Properties-Set the Blend Mode to " Dodge"
If you use other colors, please adjust
Step 47
Activate the tube - Element_02
Edit-Copy
Activate your work
Edit- Paste a new layer
Step 48
Pick Tool: (K) on your keyboard -Enter these parameters on the Toolbar
Position 460--Position Y 106
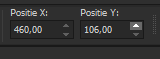
Press ( M ) to close the Tool
Step 49
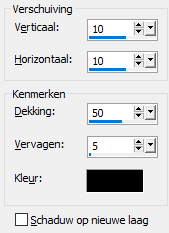
Effects- 3 D-Effects- Drop Shadow with these settings:
Horizontal and Vertical 10 - Opacity 50 - Blur 5 - color black.
Step 50
Selection-Select All
Step 51
Image - Add Borders-Symmetric checked: 10 pixels -Additional color #841e13 #5
Step 52
Selections -Invert
Step 53
Effects- Plugins - Graphics Plus - Cross Shadow -using the default settings
Step 54
Selections- Deselect All
Step 55
Edit - Copy !!!!
Step 56
Image - Add Borders-Symmetric checked: 45 pixels
color #ffffff
Step 57
Activate your Magic Wand – Tolerance at 0 and Feather at 0
Use your magic wand to select the border
Step 59
Edit- Paste into selection
Step 59
Adjust-Blur- Gaussian Blur-Radius 30%
Step 60
Effects-Texture Effects- Blinds use the settings below

Step 61
Selections -Invert
Step 62
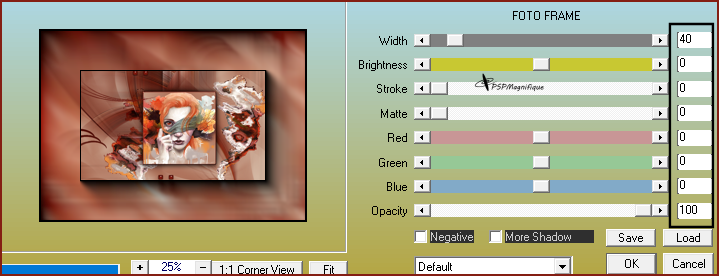
Effects- Plugins - AAA Frame - Foto Frame with these settings
Step 63
Effects- 3 D-Effects- Drop Shadow -
settings are still correct
Step 64
Selections- Deselect All
Step 65
Activate the tube - tekst Nicole
Edit-Copy
Activate your work
Edit- Paste a new layer
Step 66
Pick Tool: (K) on your keyboard -Enter these parameters on the Toolbar
Position 144 ---Position Y 167
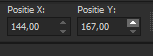
Press ( M ) to close the Tool
Step 67
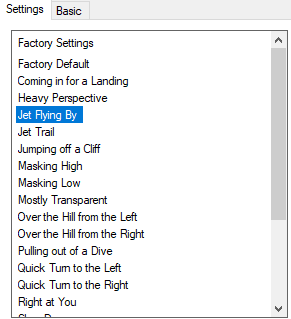
Effects- Plugins - Alien Skin - Eye Candy 5 Impact -Motion Trail
Settings tab - select
Jet Flying By
Step 68
Layers - New raster layer
Place your watermark
Step 69
Image - Add Borders-Symmetric checked: 1 pixel -color #000000
Step 70
Effects- Plugins - AAA Filter - Custom Sharp -
and click once on Sharp
See what looks good on you

Step 71
Image - Resize to 1000 pixels
.
Step 73
File - Export - JPEG, name the image and save it.
*
Have you created a lesson and want to share it?
send me an email
to pspmagnifique@gmail.com
*****
Additional example- tube Riet

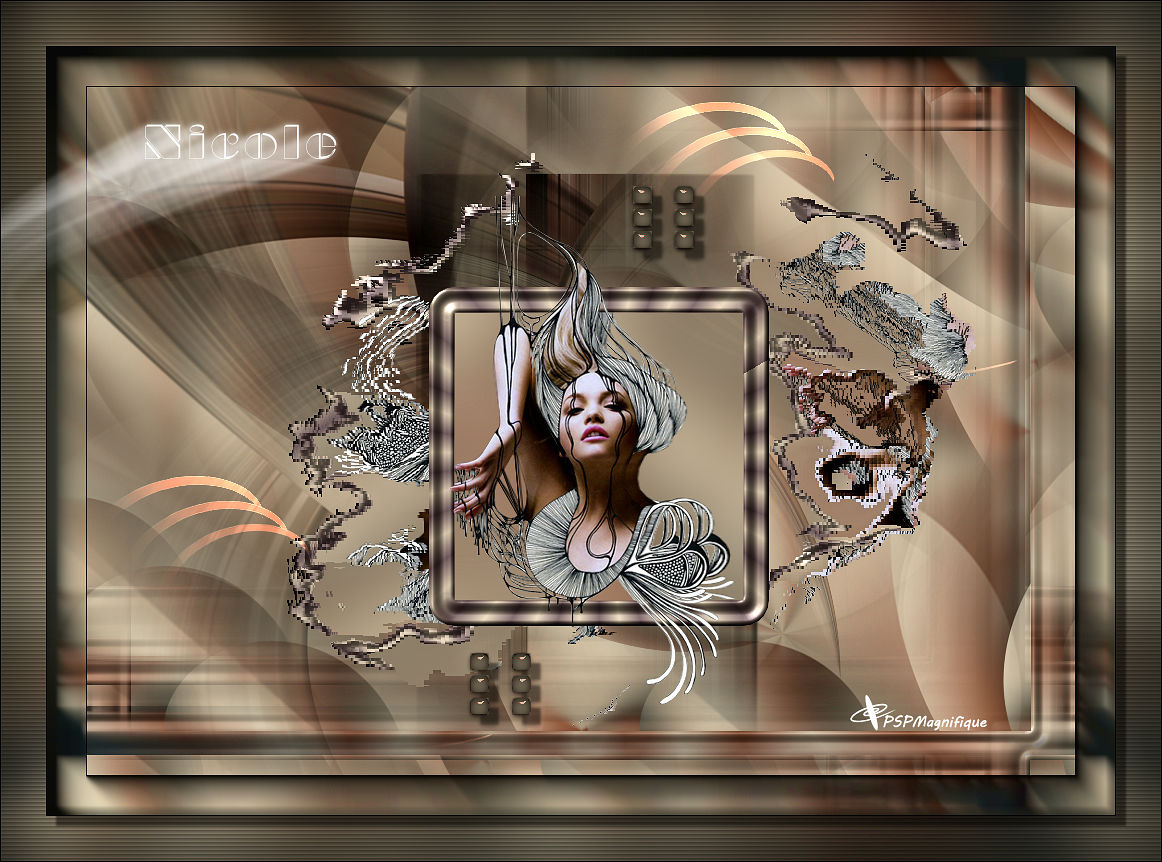
Additional example-tube Nicole
Thanks for testing the lesson
Jeanne

Thanks for testing the lesson
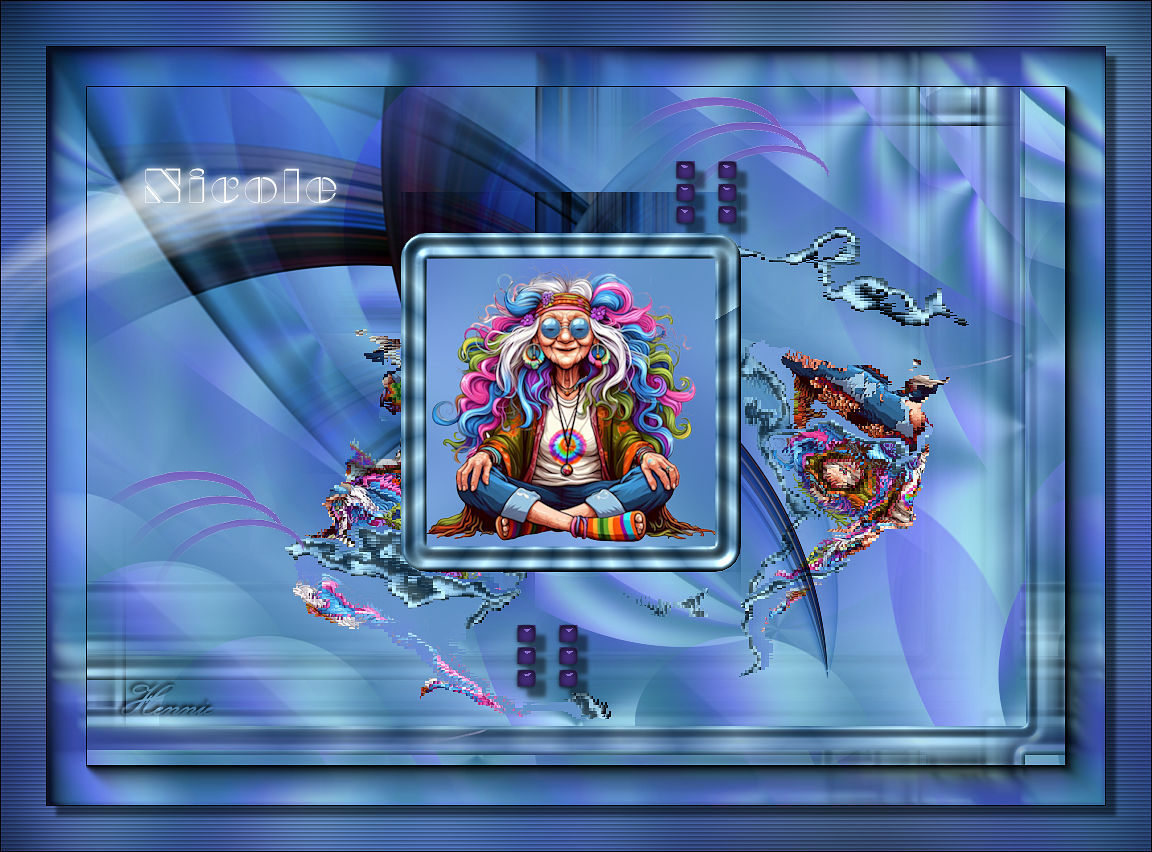
Hennie:
Thanks for testing the lesson
Ireen:
Thanks to Marion for translating the lesson
Thanks to
Alex
for translating the lesson
Thanks to Sylviane
for translating the lesson
Thank you for your beautiful versions!
Your submitted elaboration of the lesson can be seen below.
This lesson was written by
Gerrie on April 10, 2024.
This lesson is and will remain
the property of Gerrie.
It is forbidden to copy or
distribute it without my written
permission.
All my lessons are my own ....
so any similarity is purely
coincidental.
All my lessons are registered at
TWI
Tag Index
Home
© Gerrie 2011
Websitedesign:
| 

