|
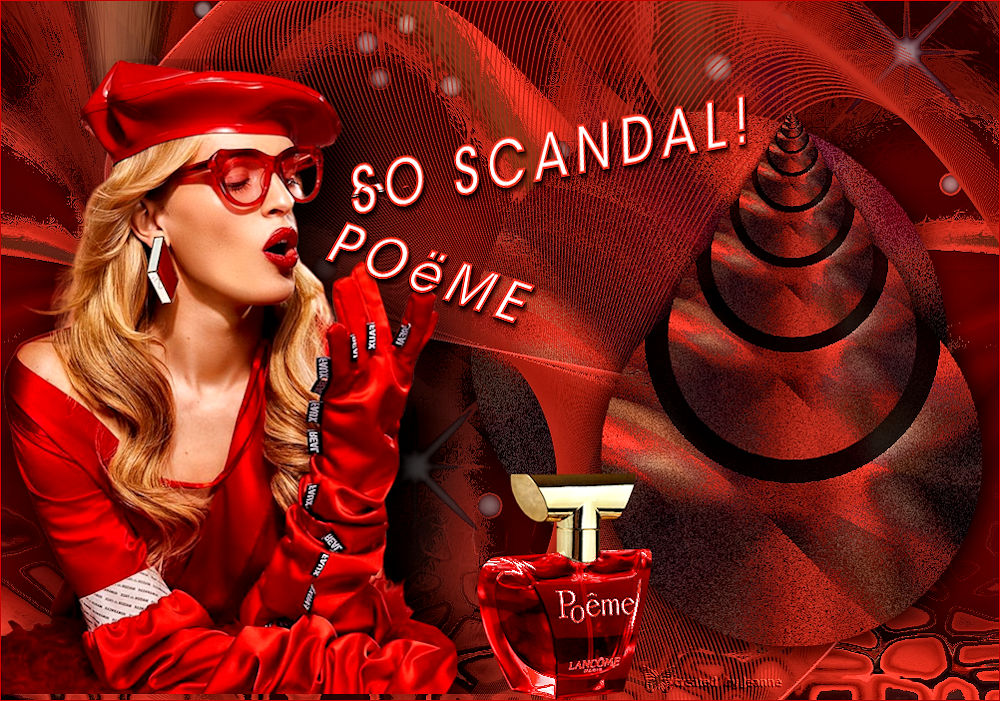
Scandal May
This tutorial was made with PSP 2022
but can be done with other versions of Psp
The colours may vary significantly depending on the Psp used. . .
Supplies:
A font of your choice
Permission tubes
HERE
Filters Reneegraphisme
Below:
Filters
Mehdi -Sorting Tiles
Flaming Pear - Flexify 2
Funhous - Moire Mirror
Distorsion Filters - Cracked
AAA Filters – Custom - Sharp
Mura's Meister – Perspective- Tiling
Mura’s Meister – Copies 1.3
Materials
The tubes are from, Gerrie
If there is a tube of yours, please let me know so I can add your name.
Thank you makers and creators for making these wonderful tubes.
Leave the watermark of the tube intact
The copyright belongs to the original artist.
Leave credit with the creator.
****
The colors, blend mode and layer density in this lesson, are chosen for these materials
Using your other materials, adjust blend mode/coverage in your layers palette as you see fit.
****
Step 1
Take from your tube a light Foreground color and a dark Background color
Preparation
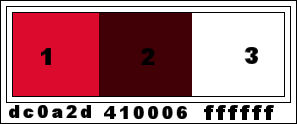
Material Properties: Set your Foreground color to color #dc0a2d
Set your Background color to color
#410006
Step 2
Open
Alpha Channel - Alfa_Scandal May
Shift+D Duplicate and close Original
Step 3
Selections-Select
All
Step 4
Activate your image: Magnifique_01 - Edit -Copy
or find your own beautiful perfume picture
Activate your
work. - Edit - Paste Into Selection
Step 5
Selections-Deselect All
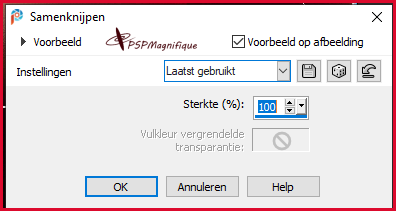
Step 6
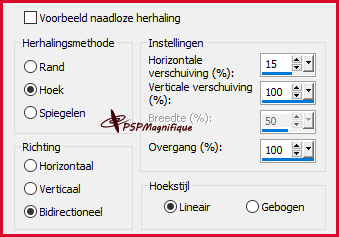
Effects- Image Effects- Seamless Tiling use the settings below
Step 7
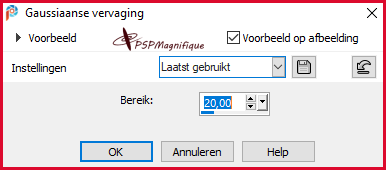
Adjust- Blur-Gaussian Blur-Radius 20%
Step 8
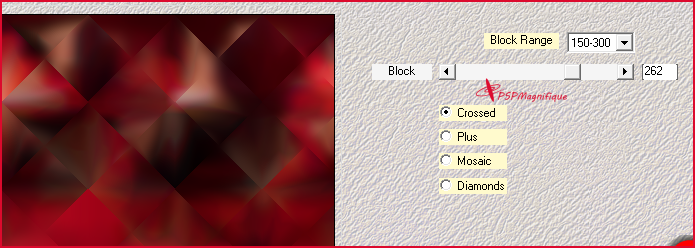
Effects-Plugins Mehdi -Sorting Tiles use the settings below
Step 8
Effects- Image Effects- Seamless Tiling with the same settings
Step 10
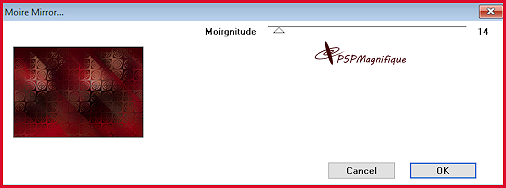
Effects-Plugins -Funhous - Moire Mirror with these
settings
Step 11
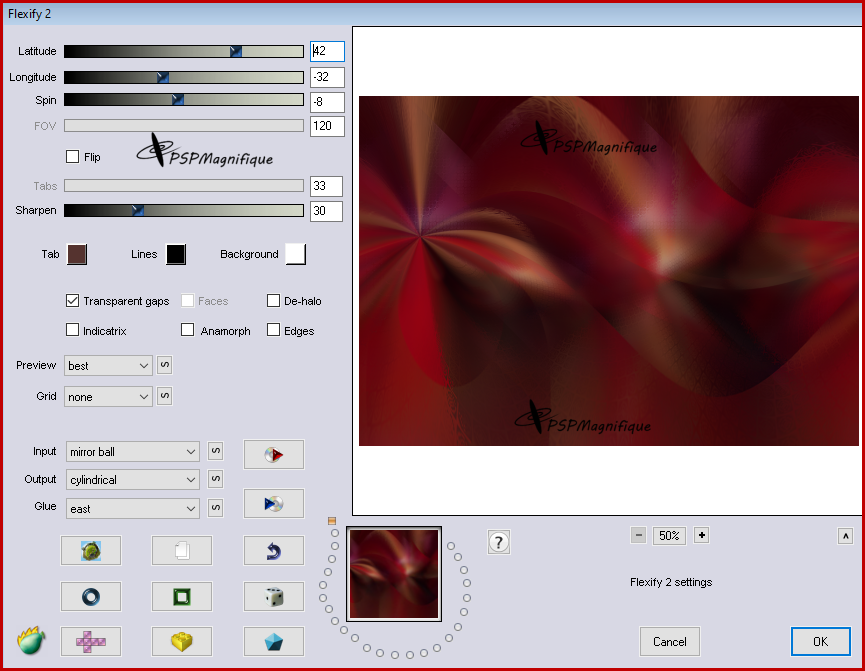
Effects-Plugins- Flaming Pear-Flexify 2
Click
on the red arrow select my file-
Preset Flexify 1
can
be used in any folder of your choice .Click on the preset and effect
will apply
-Or
manual settings as shown in the example below
Step 12
Adjust-Sharpness-Sharpen
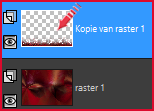
Step 13
Layers - Duplicate
Step 14
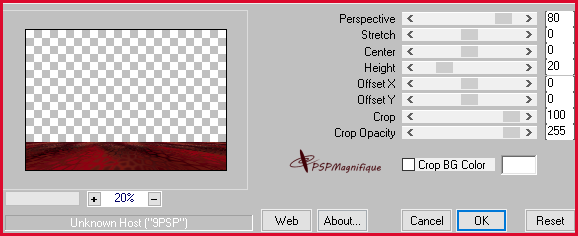
Effects-Plugins - MuRa's Meister - Perspective Tiling use the settings
below
Step 15
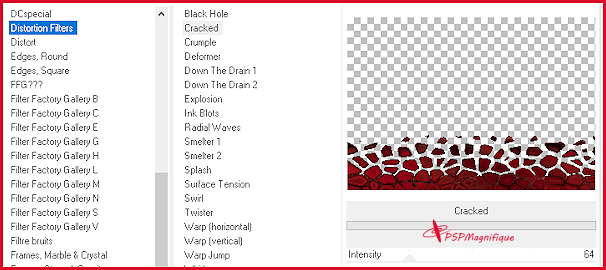
Effects - Plugins -Filter in Unlimited 2.0- Distortion Filters
-Cracked-64
:
Step 16
Activate your Magic Wand – Tolerance at 0 and Feather at 50

Step 17
Select the transparent area of this layer
Step 18
Hit your Delete key 2 times
Step 19
Selections- Deselect All
Step 20
Effects-3D-Effects- Drop Shadow with these settings-color black
.
Step 21
Activate the bottom of the layerpalette =Raster 1
Step
22
Selections-Load/Save Selection-Load Selection from Alpha Channel.-Selection
1
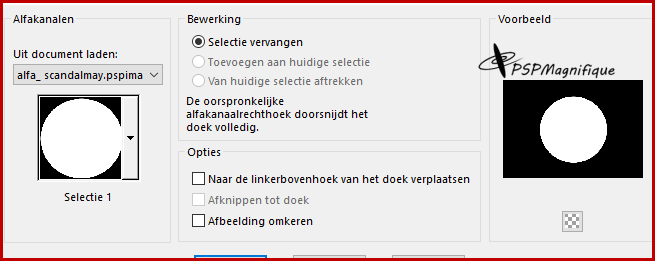
Step 23
Selections- Promote Selection to Layer
Step 24
Layers- Arrange- Bring to Top
Step 25
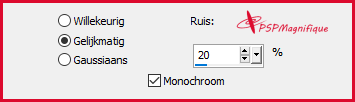
Adjust-Add/Remove Noise-Add Noise -20-Uniform
Step 26
Effects-3D-Effects- Drop Shadow with the same settings
Step 27
Selections-
Deselect All
Step 28
Layers - Duplicate
Image-Resize 80%, resize all layers not checked
Step 29
Effects-3D-Effects- Drop Shadow with thes same settings
Step 30
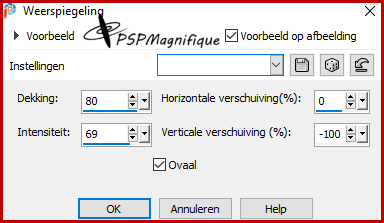
Effects-Reflection Effects-Feedback use the settings below
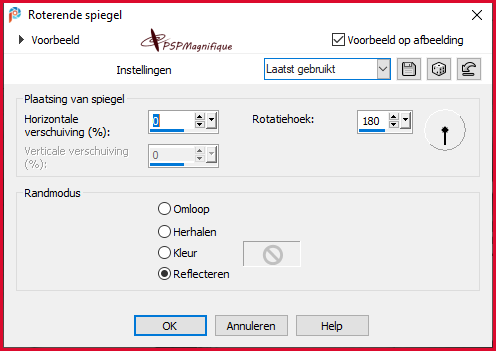
Step 31
Effects-Reflection Effects- Rotating Mirror use the settings
below
Step
32
Layer Palette: activate the promoted selection layer
Pick Tool: (K) on your keyboard -Enter these parameters on the
Toolbar
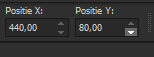
Press ( M ) to close the Tool
Step 33
Layer Palette: activate the copy of promoted selection layer
de toren
Pick Tool: (K) on your keyboard -Enter these parameters on the Toolbar

Press ( M ) to close the Tool
**********
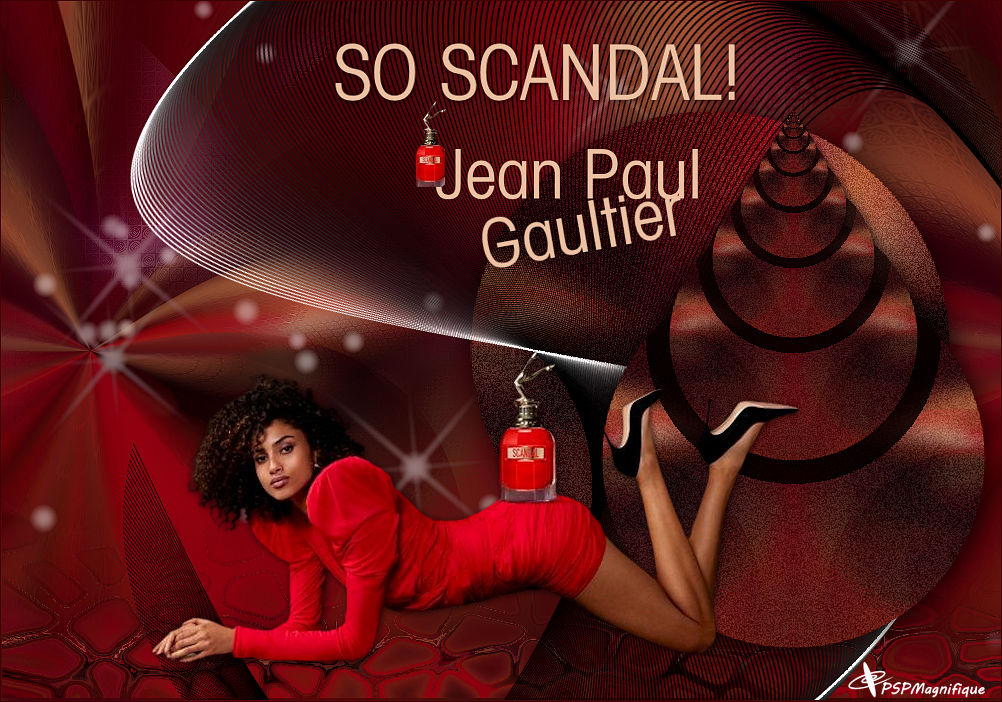
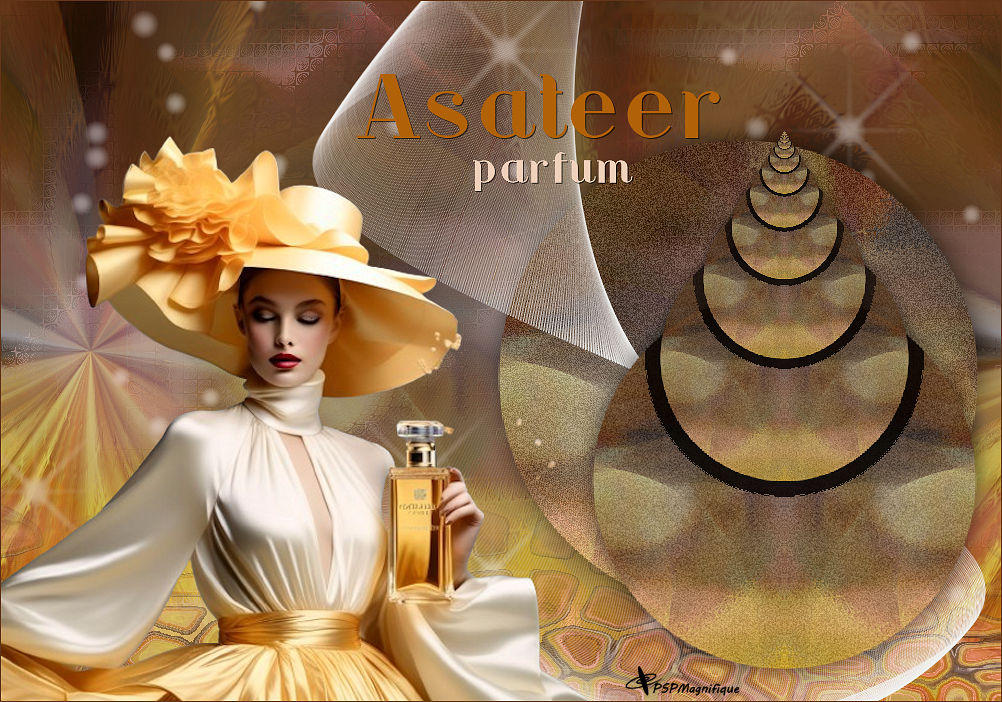
The Result
Step 34
Layers-New Raster Layer
Flood Fill Tool-fill the layer with #ffffff-color 3
Step 35
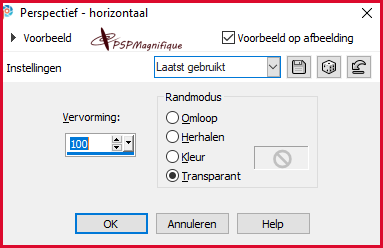
Effects - Geometric Effects - Perspective- horizontal
100-Transparent
Step 36
Image - Mirror - Mirror Horizontal (Image - Mirror in older versions of PSP)
Step 37
Effects - Geometric Effects - Perspective- horizontal
100-Transparent
Step 38
Effects - Distortion Effects - Pinch 100
Step 39
Edit -Repeat - Pinch
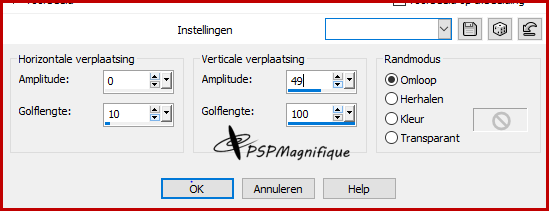
Step 40
Effects - Distortion Effects - Wave use the settings below
Step 41
Image - Mirror - Mirror Horizontal (Image - Mirror in older versions of PSP)
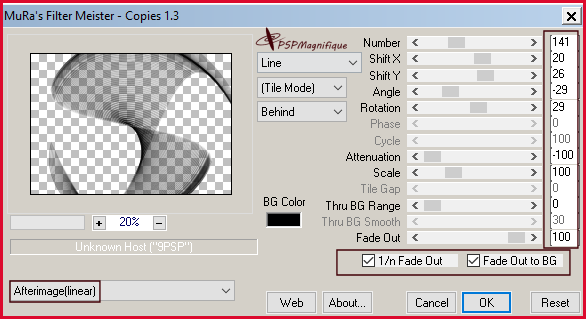
Step 42
Effects - Plugins- MuRa's Filter Meister - Copies 1.3use the settings below
Step 45
Activate your color changer- Click once or twice
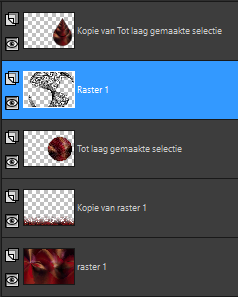
The border should be colored as shown in the example below
Layers - Arrange - Move Down
*********
The Result
Step 46
Activate the bottom of the layer palette = Raster 1
Step 47
Effects - Plugins- Alien Skin Xenofex 2 - Constellation use the settings below

Step 48
Activate the top of the layer palette
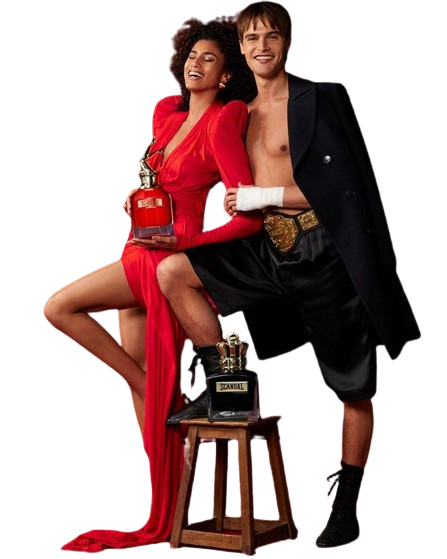
Activate your main tube - Gerrie_scandalmay
Edit Copy
Activate your work. - Edit- Paste as new layer
Step 49
Place the tube of your choice
Step 50
Effects-3D-Effects- Drop Shadow at your choise
Step 51
Color palette-set the Background color tot color #ffffff=white
Activate your Text Tool. find a nice font of your choice

Write the text with Caps Lock on- SO SCANDAL! with color #e2b99b
Or a color of your choice
Do you use a different perfume Type the text of that name
The size of your font depends on the font you are going to use
Step 52
Convert to raster layer
Place the text of your choice
Step 53
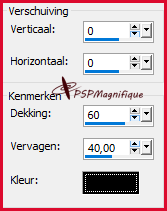
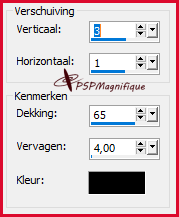
Effects - 3D-Effects -Drop Shadow use the settings below.
color black
Step 54
Edit-Repeat-Drop Shadow
Step 55
Open the Tube: tekst
- Gerrie_01
Edit Copy
Activate your work. - Edit- Paste as new layer
Place the tube of your choice
Step 56
Open the tube: parfum
Gerrie_scandal
Edit Copy
Activate your work. - Edit- Paste as new layer
Put this tube near the text (see finished image)
Step 57
Layers- New Raster Layer
Place your watermark
Image - Add Borders-Symmetric checked:1 Pixel with the Background color
Step 58
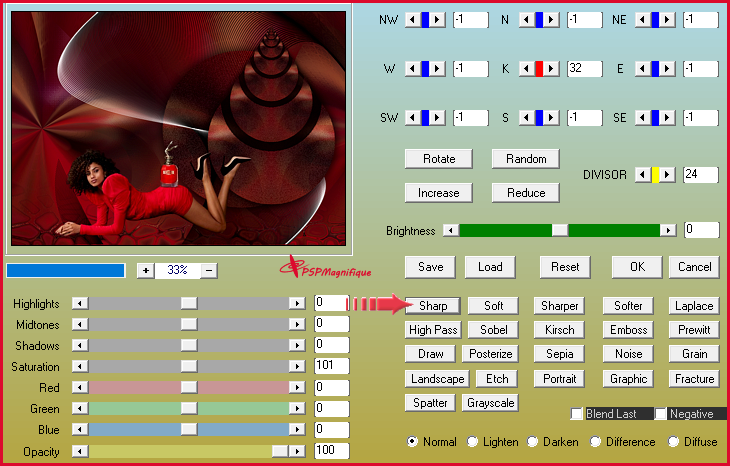
Effects-Plugins - AAA Filter- Custom- Sharp
Ok
Step 59
Did you create a lesson and want to show it off?
Image-Resize, 800 Pixels width, resize all layers checked
Step 60
Save as JPG
Give your crea a name and Save it.
Did you create a lesson and want to show it off
send me an email
pspmagnifique@gmail.com
Jouw lessen mogen niet groter zijn dan 800PX voor de Gallery
If you mail me your version, you can see it here,
Size for the gallery maximum 800 PX
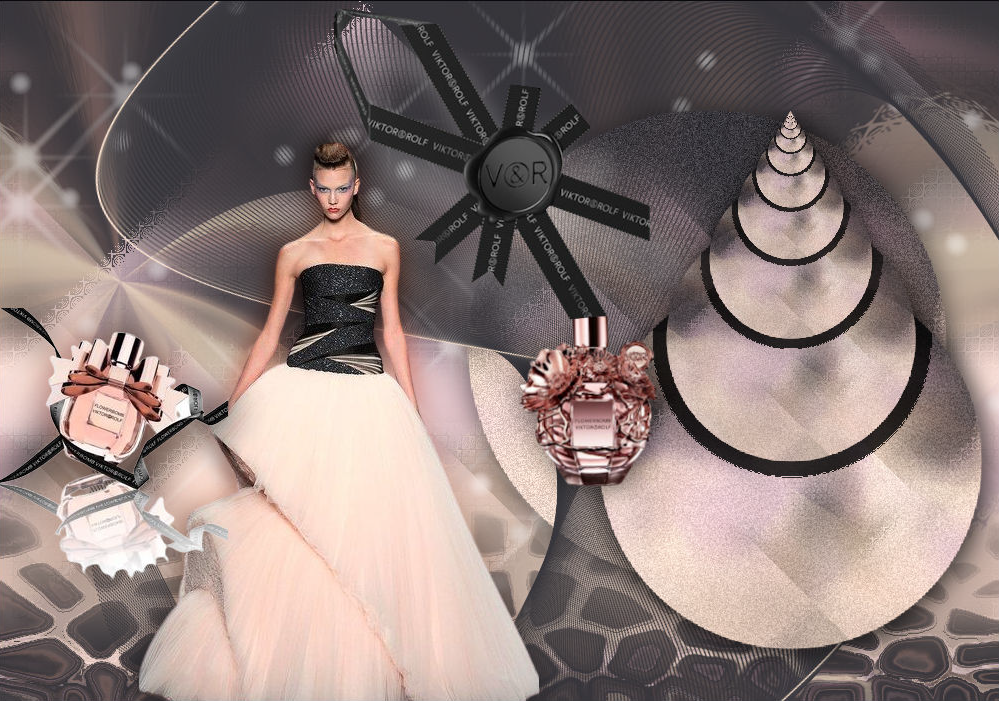
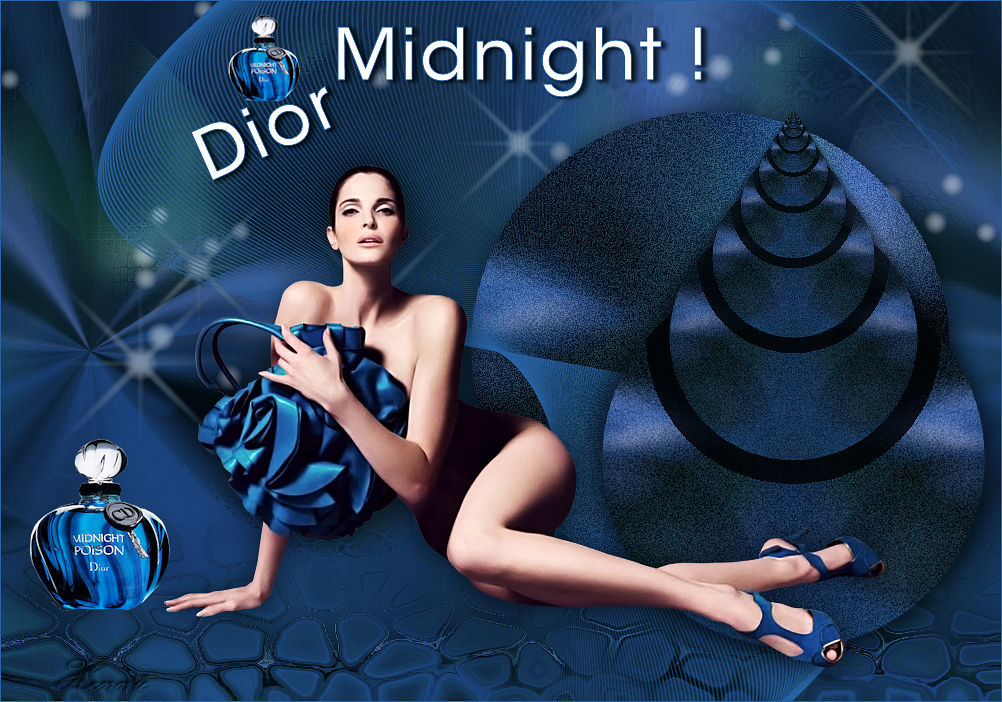
Additional example
Tubes all my own
Thanks for testing the lesson
Jeanne
Thanks for testing the lesson
Ireen
Thanks for testing the lesson
Hennie:
Thanks to Marion and Alex Sylviane for translating the lesson
Result Translators:
Thanks for your beautiful versions!
Your sent creation of the lesson is displayed below.
This lesson was written by Gerrie on Feb. 7, 2024
This lesson is and remains the property of Gerrie
It is forbidden to copy or distribute them, without my written permission.
All my lessons are self-designed so any similarity is purely coincidental.
All my lessons are registered with TWI prowd member

Erotisch Index Home
|