This tutorial was made with PSP 2018 but can be done with other versions of Psp
The colours may vary significantly depending on the Psp used. .
Supplies.
Mask: Mask MapReta -27 Open and minimize the mask in PSP psp
To import presets Eye candy 5 / Double-click the file it will automatically install *
PLUGINS
Filter Unlimited2.0
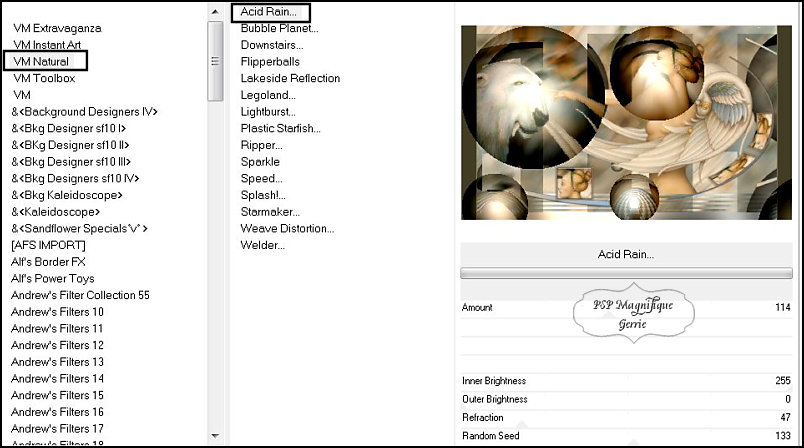
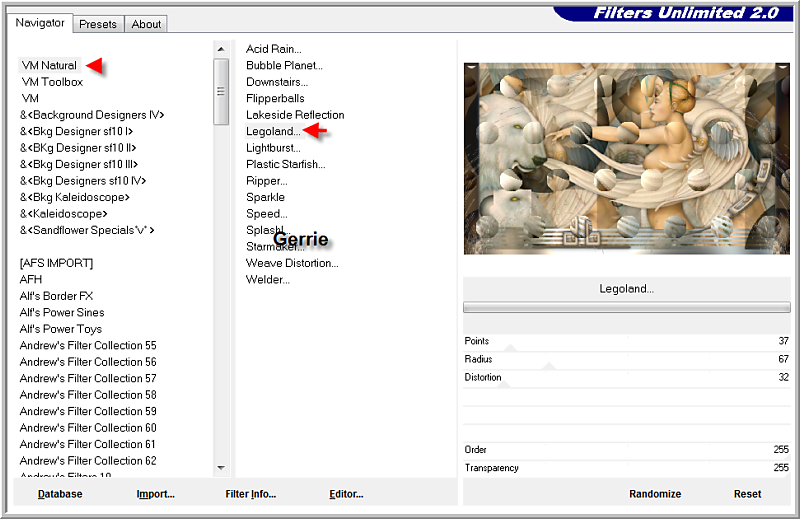
VM Naturel VM Naturel
- Acid Rain
MuRa's Meister- Perspective
Copies
Greg’s Factory Output Vol.II
- Poolshadow
Alien
Skin Eye Candy 5: -Impact Glass.
Permission Tubes
Here
Materials
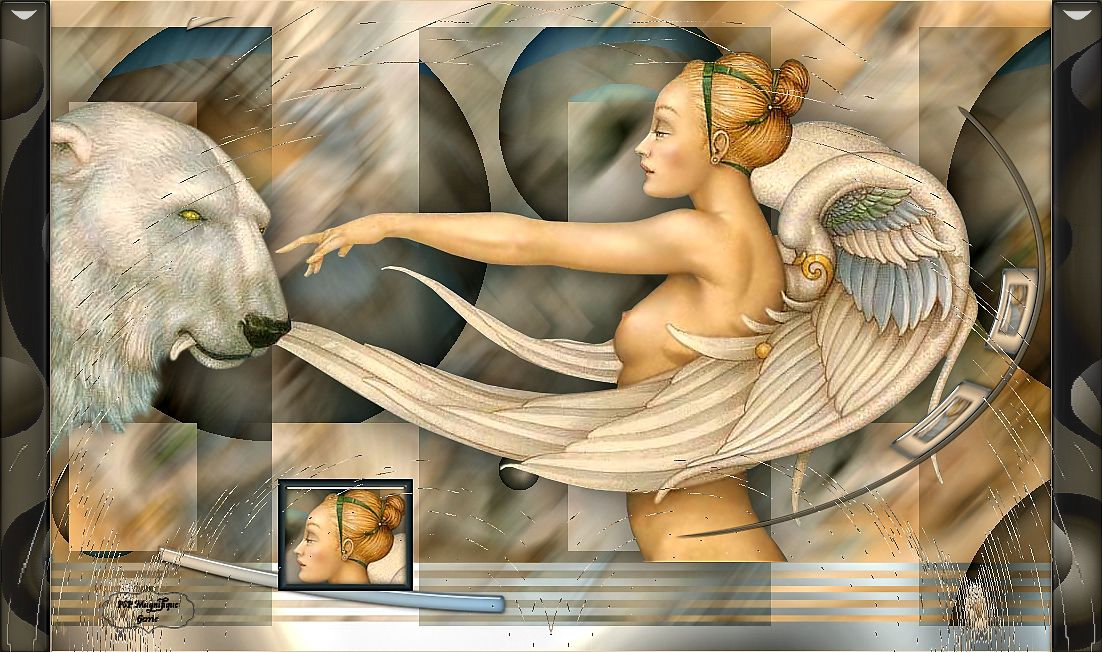
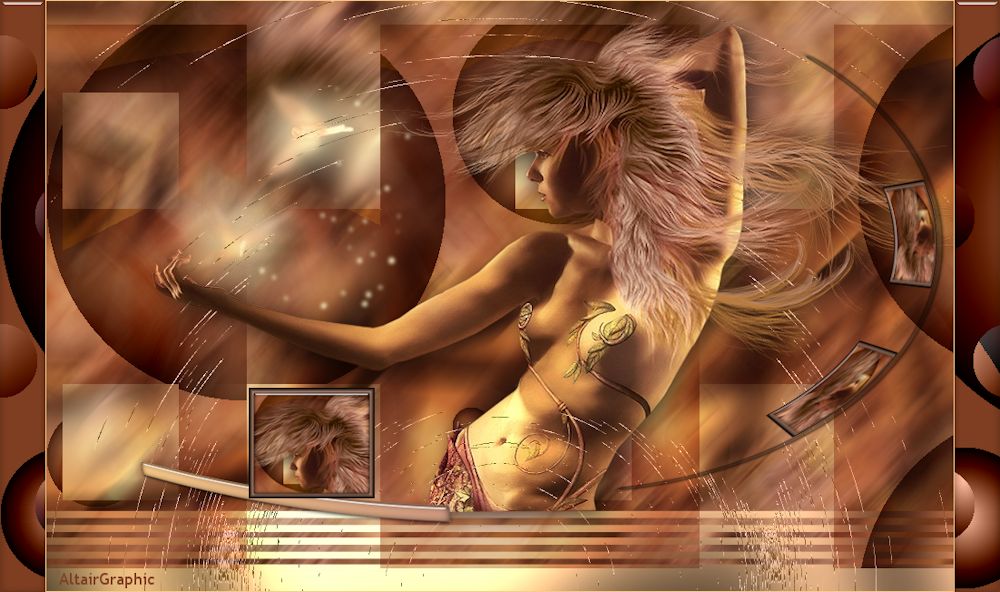
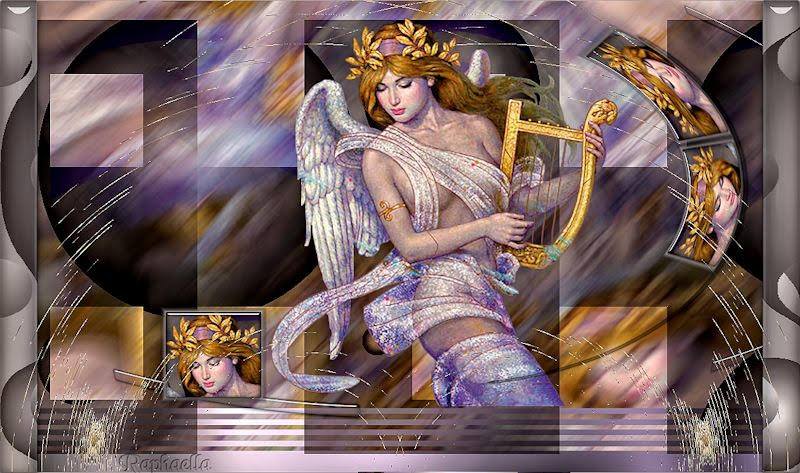
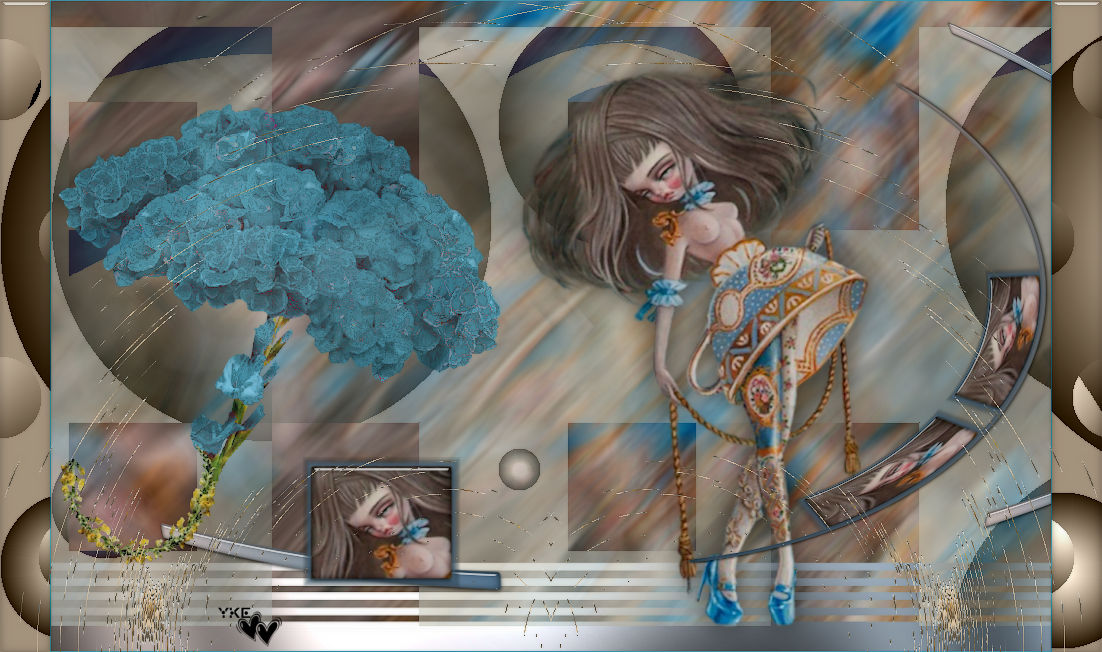
The tube is from, Claudiaviza.
If it is your intention to share these tubes or these lessons in a group, please ask permission to the owner .
The tube may not be send without the lesson .
Please do not make changes to the tube, because this tube was made for this lesson only.
It is forbidden to share this tutorial without a link to the original lesson.
****
The colors, blend mode and layer density in this lesson, were chosen for these materials
If you work with your own images and/or Tubes , make them the same size !!!
****
Step 1
Open your tubes and resize.
Adjust - Scharpness - Unsharp Mask : 1-64-4.
Step 2
Take from your Tube a light foreground color and a dark background color
Preparation:
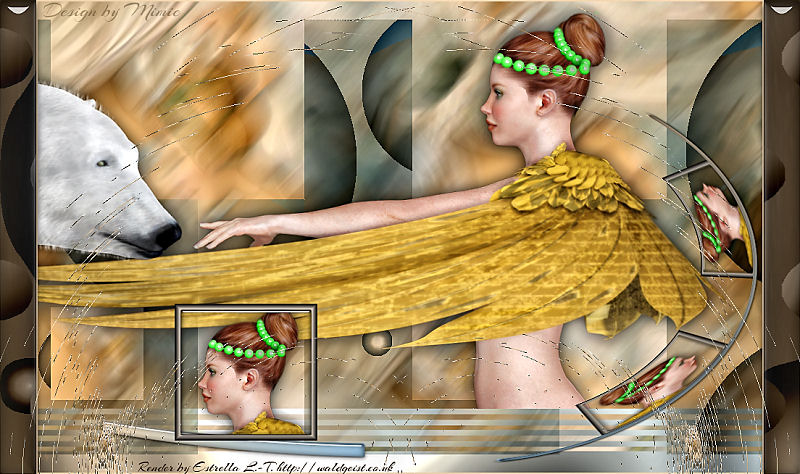
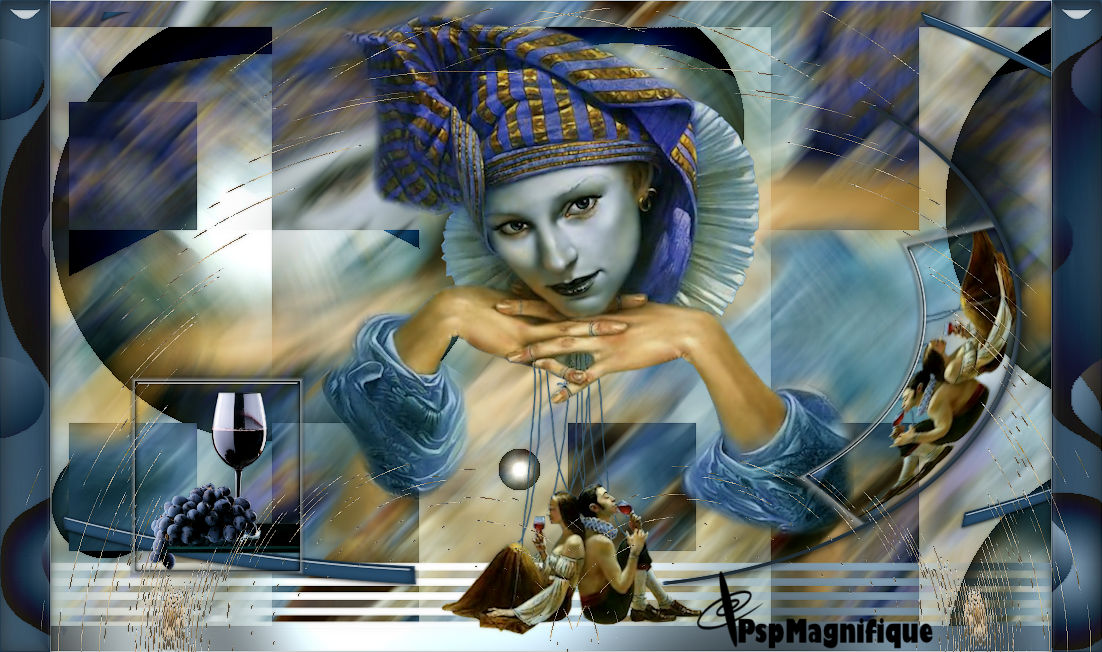
Material Properties: Set your Foreground color to color #edc599
Set your Background color to color #9ec3dd
Additional color #3f2f1b
Step 3
File-Open a New Transparent Image in this size : 1000 x 650 Pixels
Step 4
Selections - Select All
Step 5
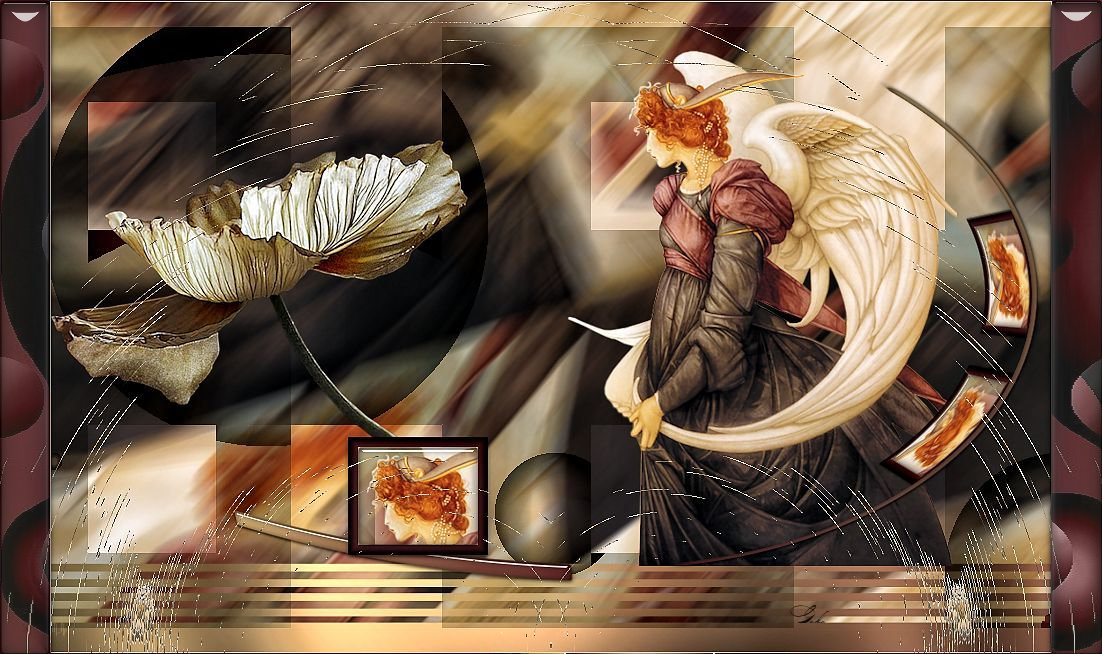
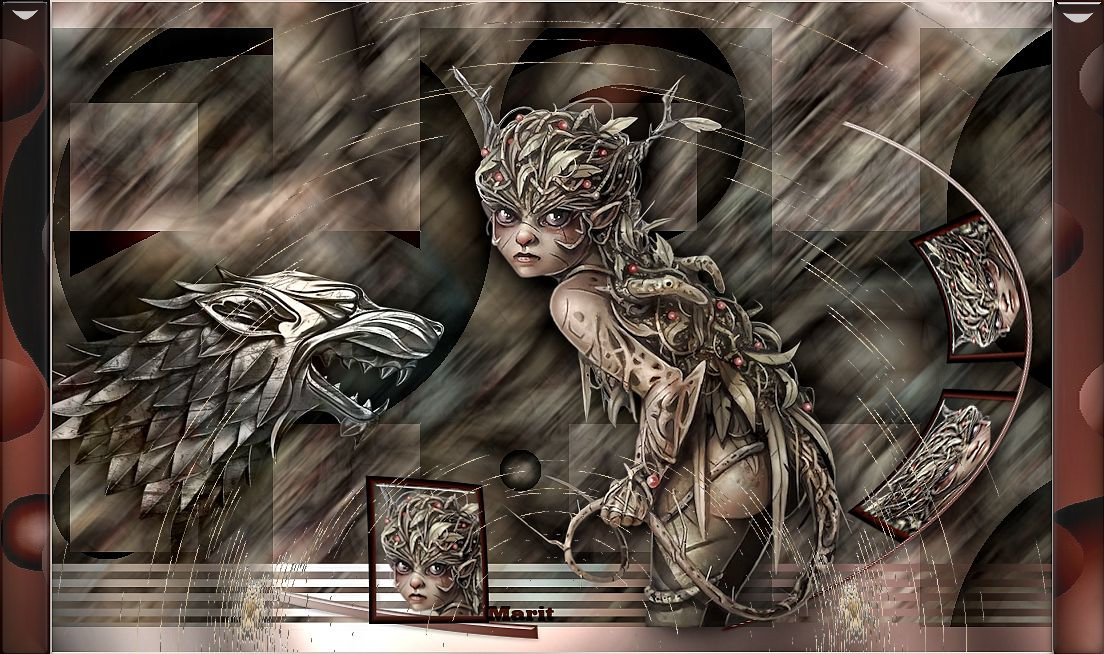
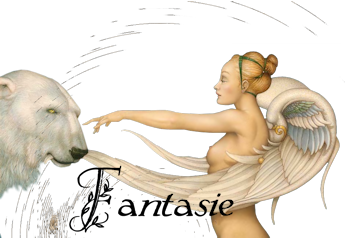
Activate your main tube-or Open the tube claudiaviza-fantasia202
Edit - Copy
Step 6
Activate your work. Edit - Paste Into Selection
Selections - Select None
Step 7
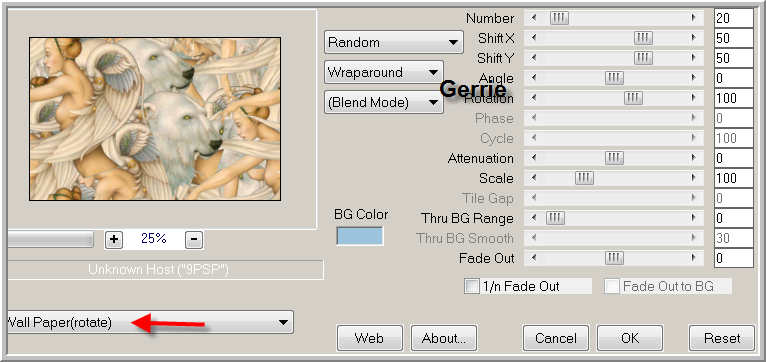
Effects - Plugins - MuRa's Meister - Copies - use the settings below
Step 8
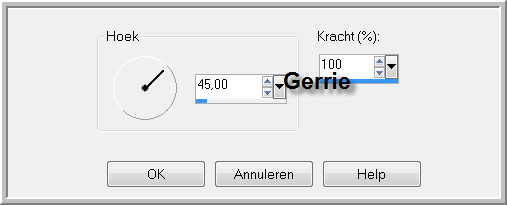
Adjust - Blur - Motion Blur- Angle 45 - Strenght 100.
Step 9
Open the tube - Elementfantasie1
Edit - Copy
Activate your work -Edit - Paste as new layer
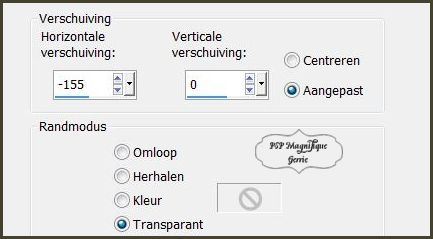
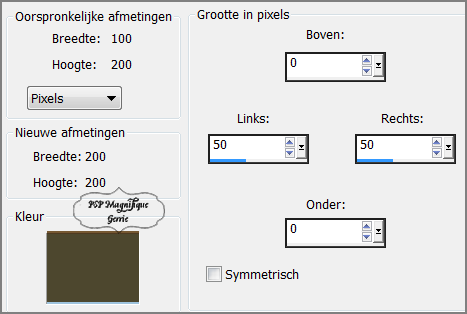
Effects - Image Effects- Offset use the settings below
Step 10
Effects - Effects- Image Effects- Seamless Tiling use the settings below
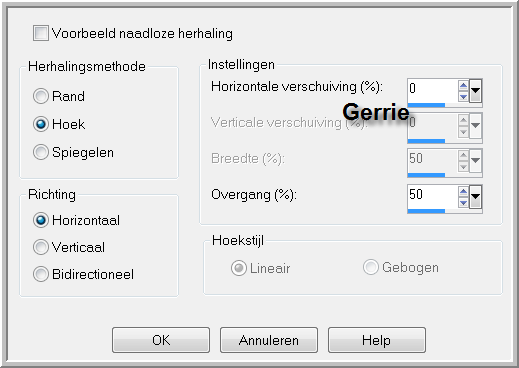
Step 11
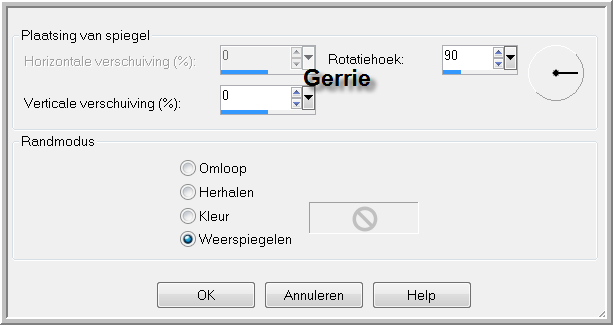
Effects – Reflection Effects – Rotating Mirror use the settings below
Step 12
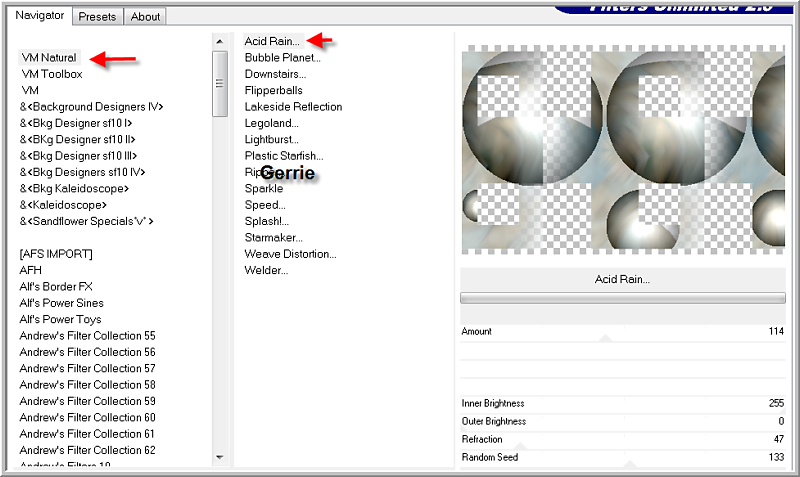
Effects- Plugins-Filters in Unlimited2.0 - VM Naturel Acid Rain use the settings below
Step 13
Layers-Properties-Set the Blend Mode to " Multiply "
or a blend mode of your choice depending on your color and tube
Step 14
Activate the bottom of the layer palette
Step 15
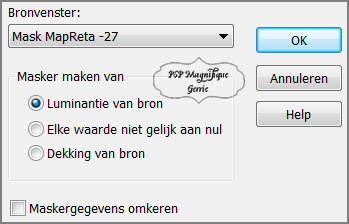
Layers- New Mask Layer-From Image and select Mask: Mask MapReta -27
op
Source Luminance checked /Invert Maske data not checked
Step 16
Layers- Merge- Merge Group
Step 17
Layers- New Raster Layer
Step 18
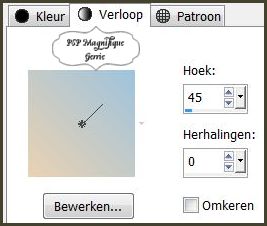
- Replace your Foreground color with a Foreground/Background Linear Gradient configured like this
Angle 45 - Repeats 0 - Invert not checked
Step 19
Flood Fill Tool – Fill the layer with the Gradient
Step 20
Layers- Arrange- Move Down
Step 21
Effects - Plugins-Greg’s Factory Output Vol.II - Poolshadow -using the default settings
Step 22
Activate the top of the layer palette
Step 23
Activate your main tube-or- open the tube claudiaviza-fantasia202
Edit -Copy.
Activate your work -Edit - Paste as new layer
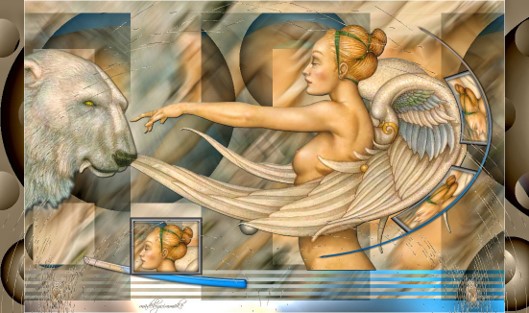
Move on the left side, place on top of the dashed border - (see finished image)
Step 24
Effects - 3D- Effects - Drop shadow of your choice.
.
Step 25
Layers- Merge- Merge All
Step 26
Open the tube of the character you are using for your creation
Selection Tool (s) Rectangle - Make a Selection around the woman's head
Selections-Promote Selection to Layer
Step 27
Effects - Plugins - Alien Skin Eye Candy 5: - Impact Glass - Clear-Default
Step 28
Effects - 3D Effects - Chisel use the settings below
Step 29
Effects - Plugins - Alien Skin Eye Candy 5: - Impact Glass - Clear- Default
Step 30
Selections - Select None
Step 31
Layers - Duplicate
Step 32
Layer palette: Close the layer of woman's head
You will need it again soon
Step 33
Layers- New Raster Layer
Step 34
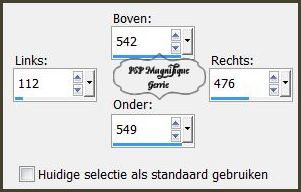
Activate Selection Tool -Custom Selection (S) -Rectangle with these settings

Flood Fill Tool-Fill the selection with the Gradient
Selections - Select None
Step 35
Effects - Plugins- Alien Skin Eye Candy 5: - Impact - Glass Clear-Default
Step 36
Go to your editing of the head
Image- Resize- by 4 x 80% -Resize all layers NOT checked
See if this works out well for you
Put the head on top of the bar
Image - Mirror - Mirror Horizontal (Image - Mirror in older versions of PSP)
Step 37
Layers - Duplicate
Put this in the right place
Step 38
Layer palette - stand on the layer of the narrow bar again
Layers- Merge- Merge Down
Repeat : Layers- Merge- Merge Down
Step 39
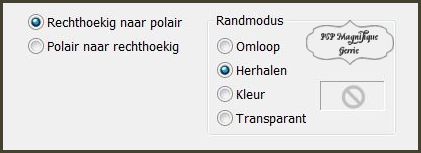
Effects-Distortion Effects-Polar Coordinates-Rectangular to Polar
Step 40
Image - Mirror - Mirror Horizontal (Image - Mirror in older versions of PSP)
Step 41
Layers- New Raster Layer
Step 42
Activate Selection Tool -Custom Selection (S) -Rectangle with these settings |
Flood Fill Tool-Fill the selection with the Gradient
Selections - Select None
Step 43
Effects - Plugins - Alien Skin Eye Candy 5: - Impact - Glass - Clear-Default
Step 44
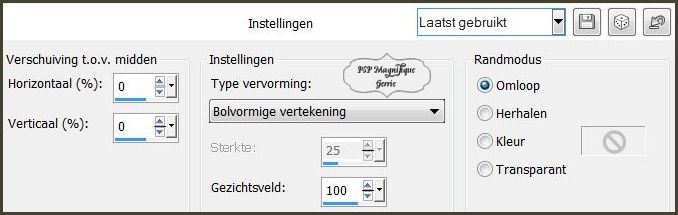
Effects - Distortion Effects-Lens Distortion-Fishey (spherical)use the settings below
Step 45
Open the closed layer in the layers palette( woman's head)
Layers- Arrange- Bring to Top
Image- Resize- by 2 x 80% -Resize all layers NOT checked
Place the head on top of the bar (see finished image)
Step 46
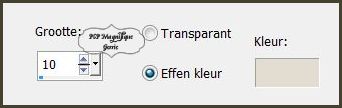
Image - Add Borders-Symmetric checked: - 1 Pixel -Foreground color
*
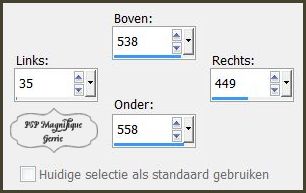
Image - Add Borders-Symmetric NOT checked:
Top and Bottom 0 Pixels
- Left and Right 50 Pixels -Dark color #3f2f1b
Step 47
Activate your Magic Wand and select the dark border with 50 Pixels

Step 48
Effects - Plugins-Filters in Unlimited 2.0 - VM naturel Acid Rain - Default
Step 49
Effects - Plugins-Filters in Unlimited 2.0 - VM Naturel Legoland use the settings below
Step 50
Effects - Plugins -
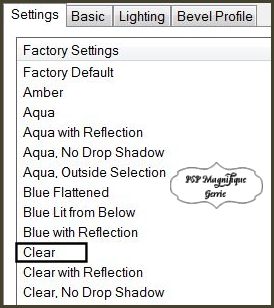
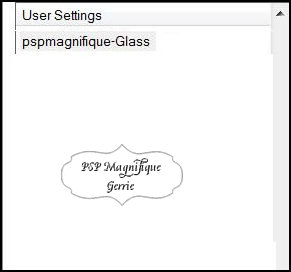
Alien Skin Eye Candy 5: Impact -Glass
Tab- Settings- User Settings and select my file -Preset -pspmagnifique-Glass and OK
Step 51
Selections - Select None
Step 52
Open the tube "Elementfantasie4"
Edit-Copy
Activate your work -Edit - Paste as new layer
Place on the left side- (see finished image)
Step 53
Layers -Duplicate-
Image - Mirror - Mirror Horizontal (Image - Mirror in older versions of PSP)
Step 54
Add you watermark on new layer
Step 55
Layers- Merge- Merge All .
Step 56
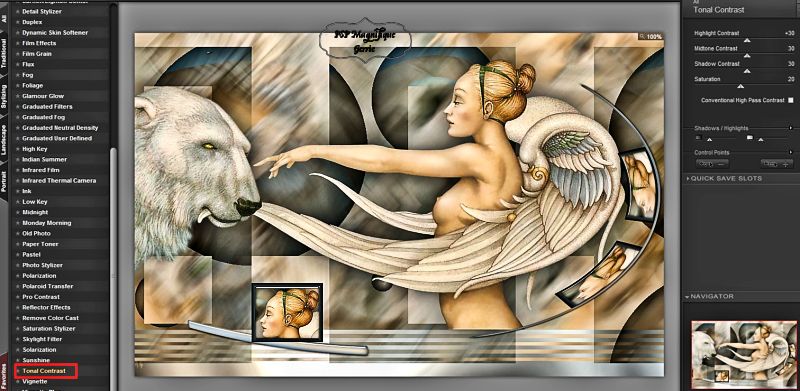
Effects - Plugins- Nik Software Colar Efex Pro3.0 Complete - Tonal Contrast
Step 57
Posting your work in my gallery
Image-Resize-800 Pixels width
Step 58
Save as JPG and Give a name
Have you created a lesson and want to show it off
Please send me your lesson to:
pspmagnifique@gmail.com and I will post your lesson in my gallery
The lesson should not exceed 800 Px for the Gallery
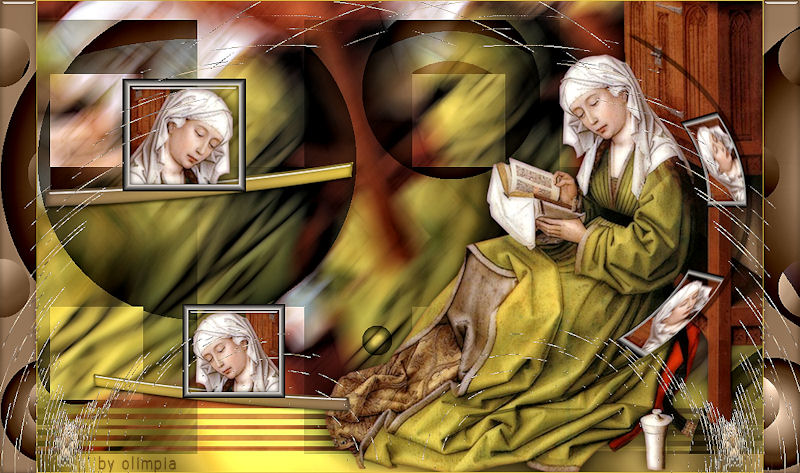
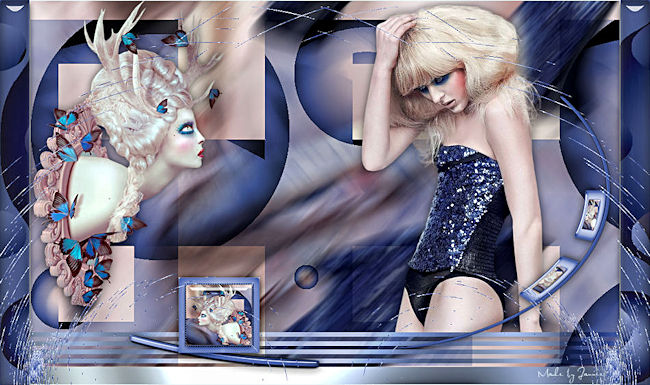
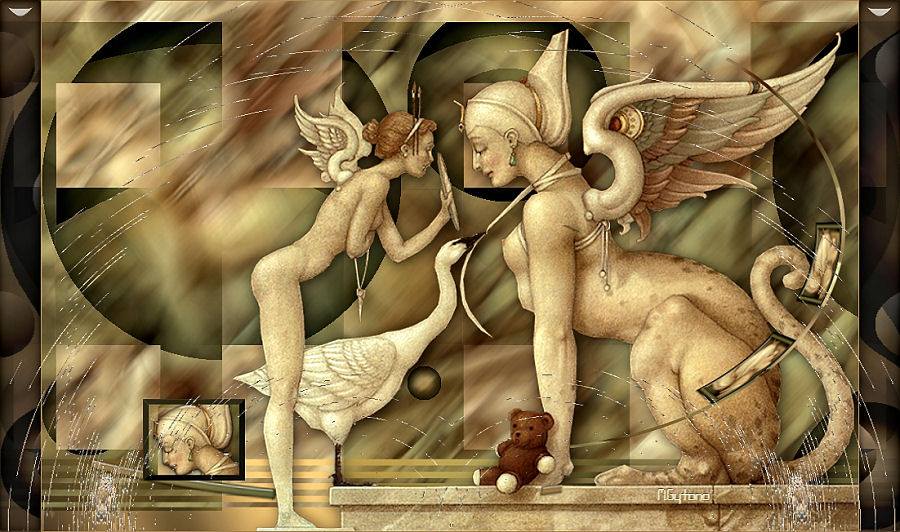
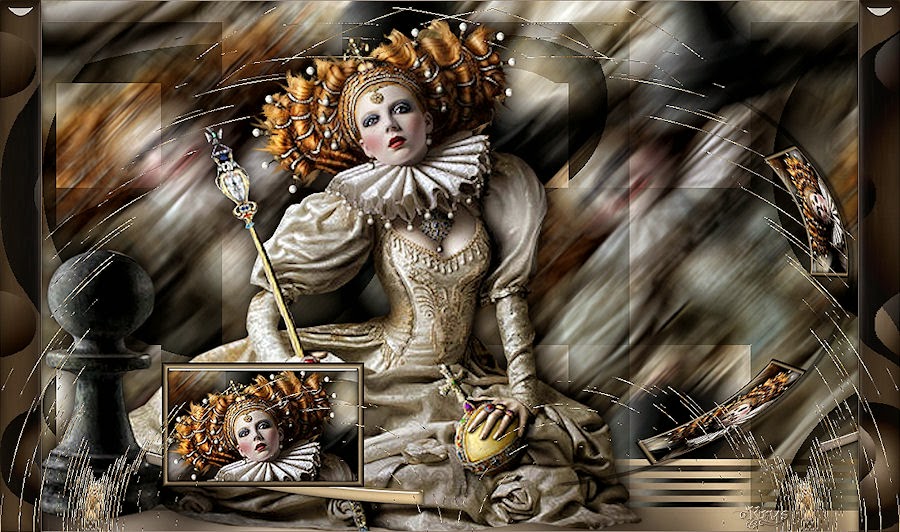
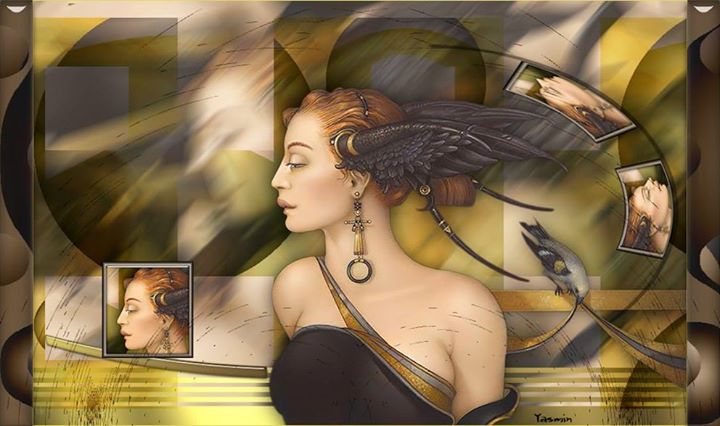
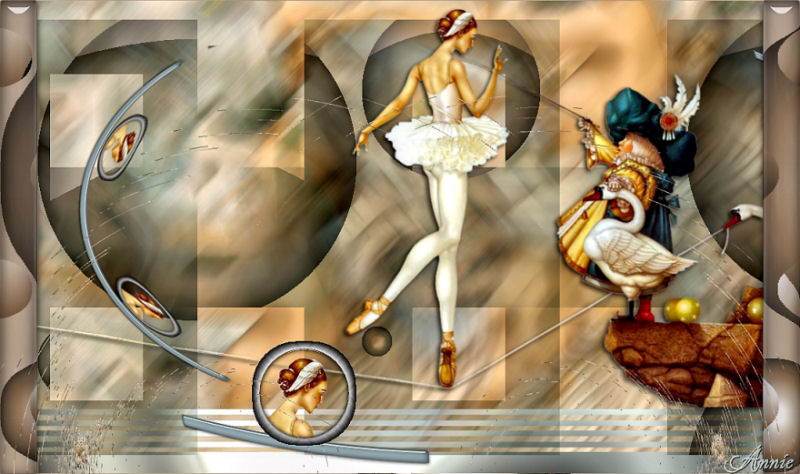
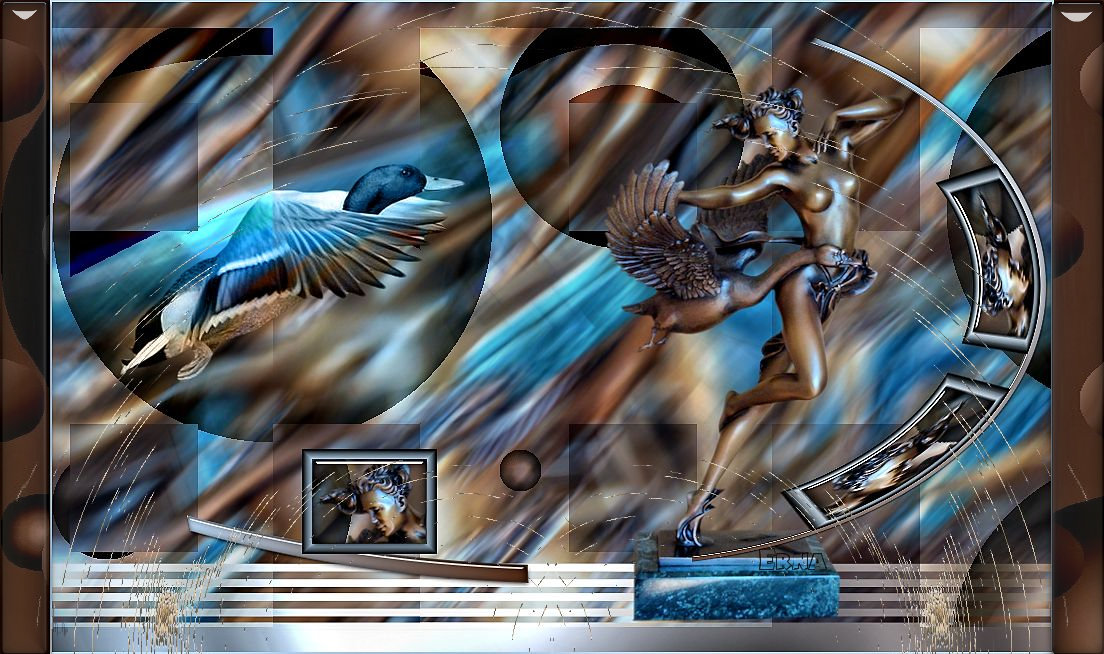
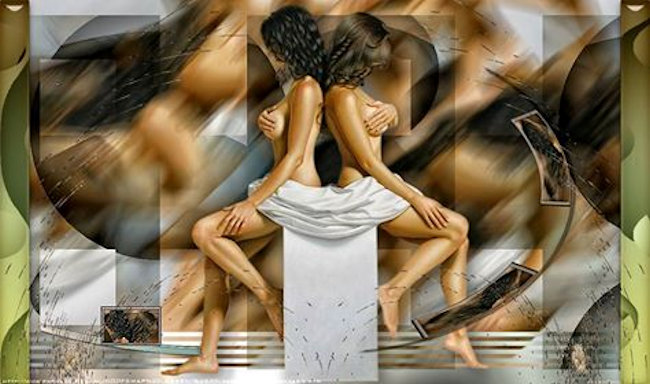
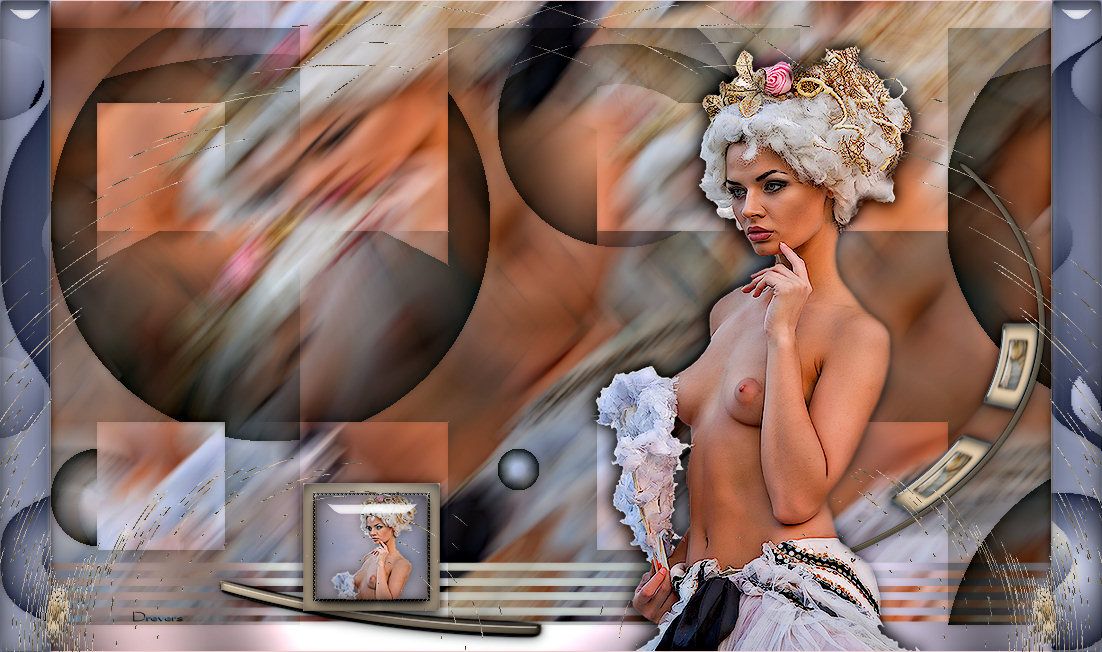
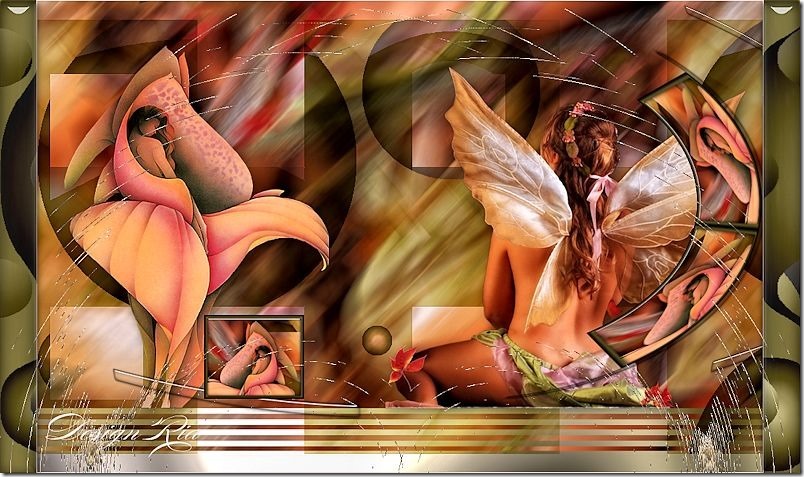
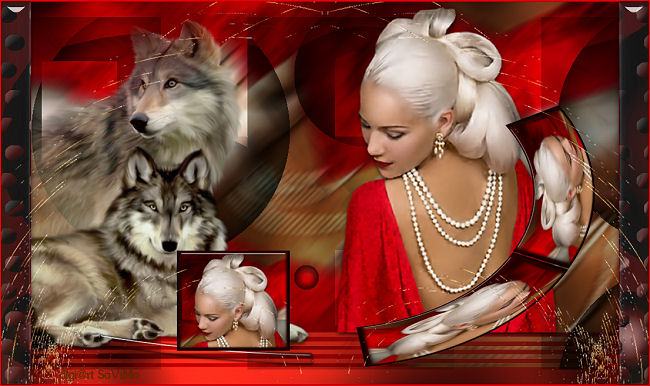
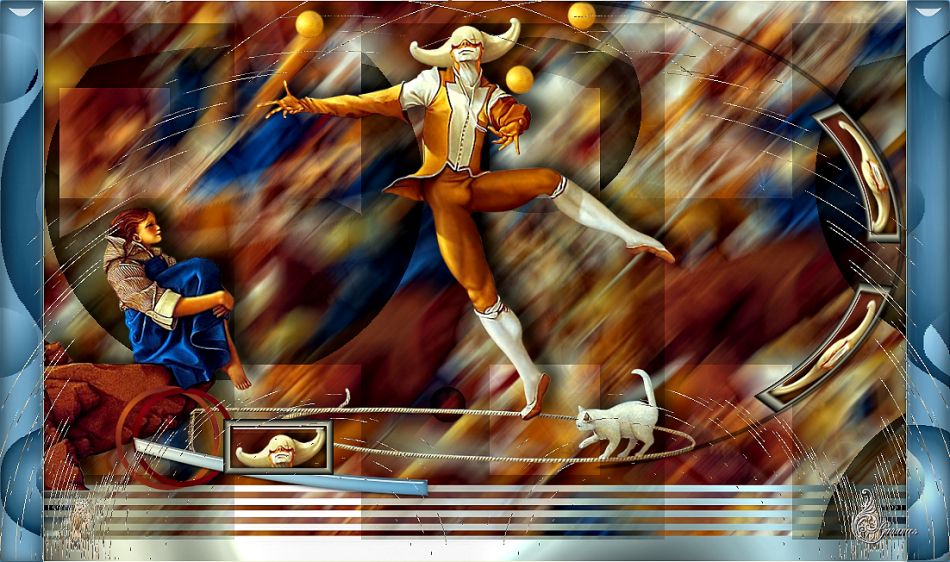
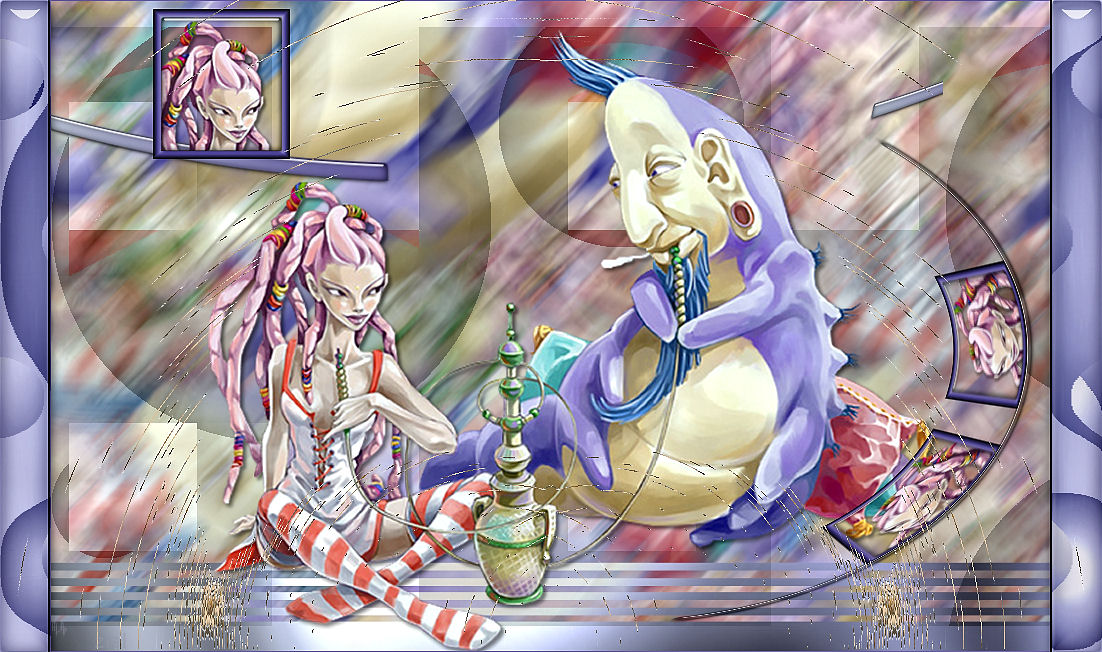
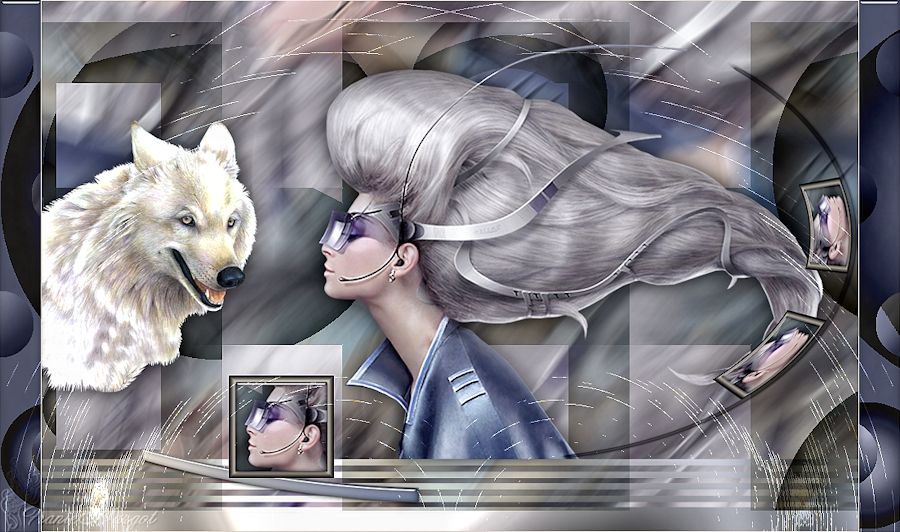
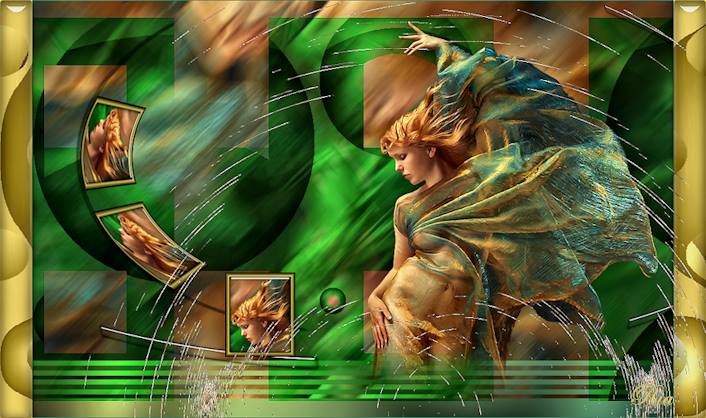
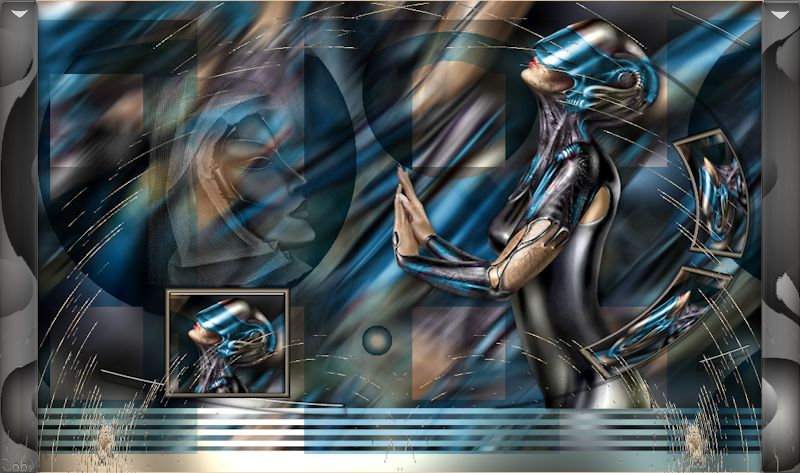
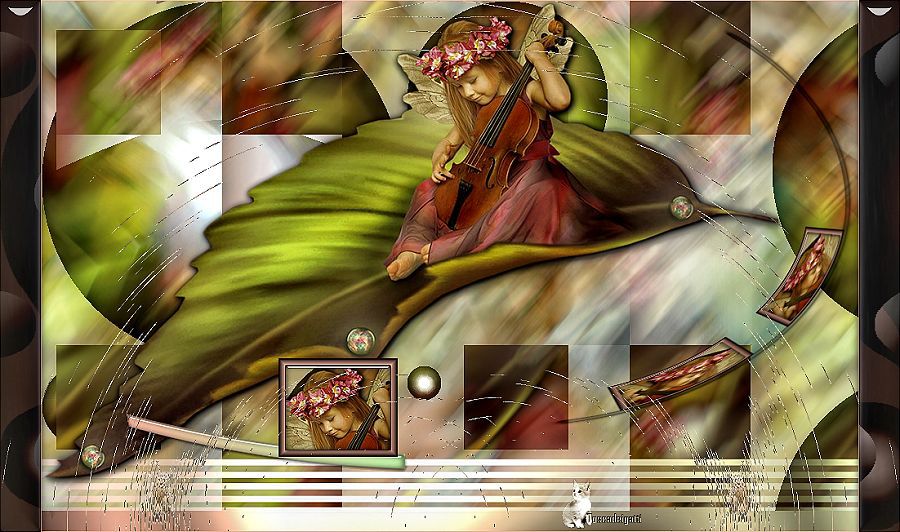
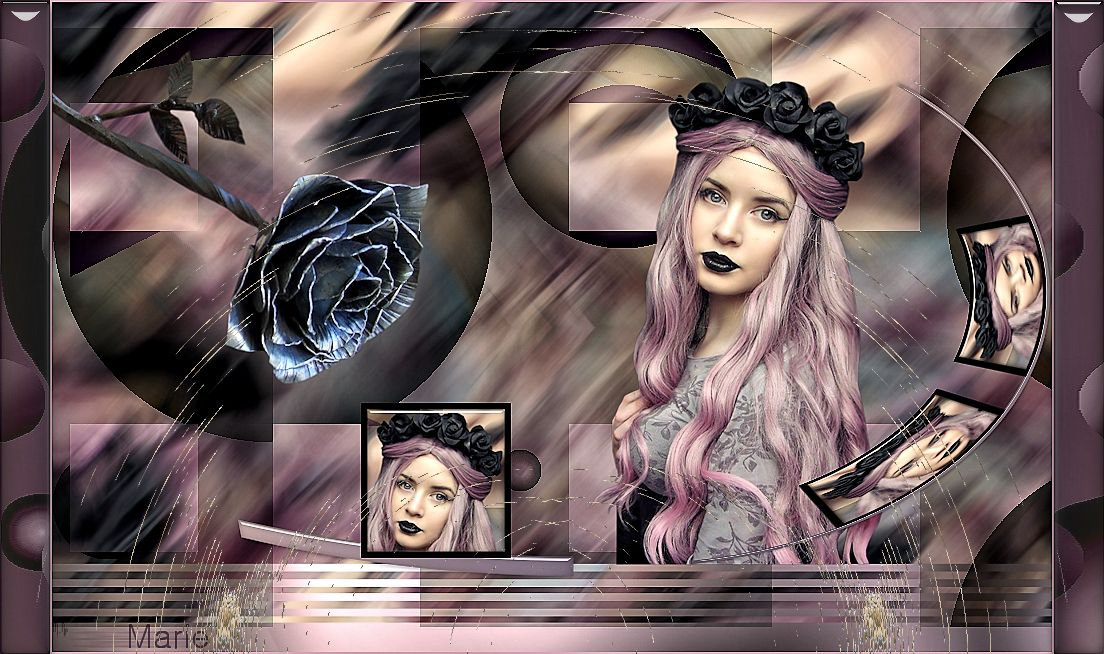
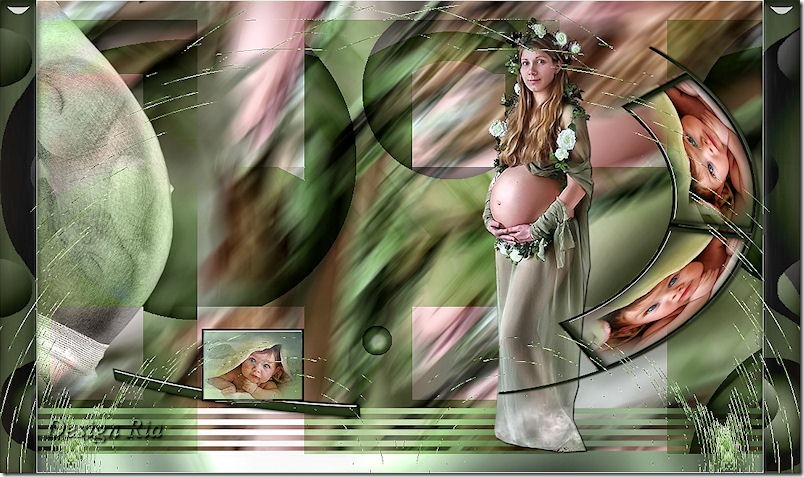
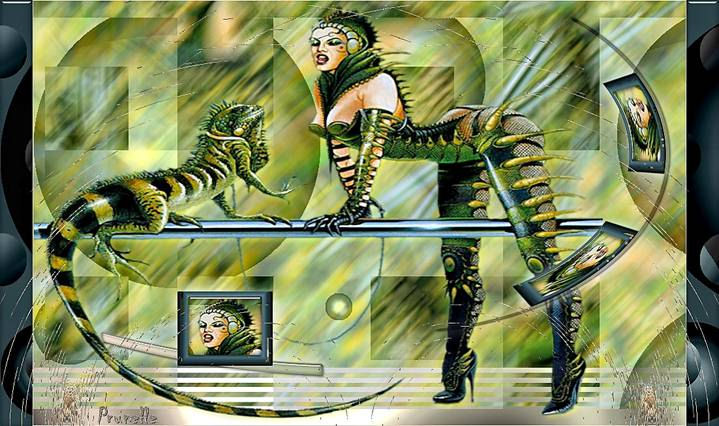
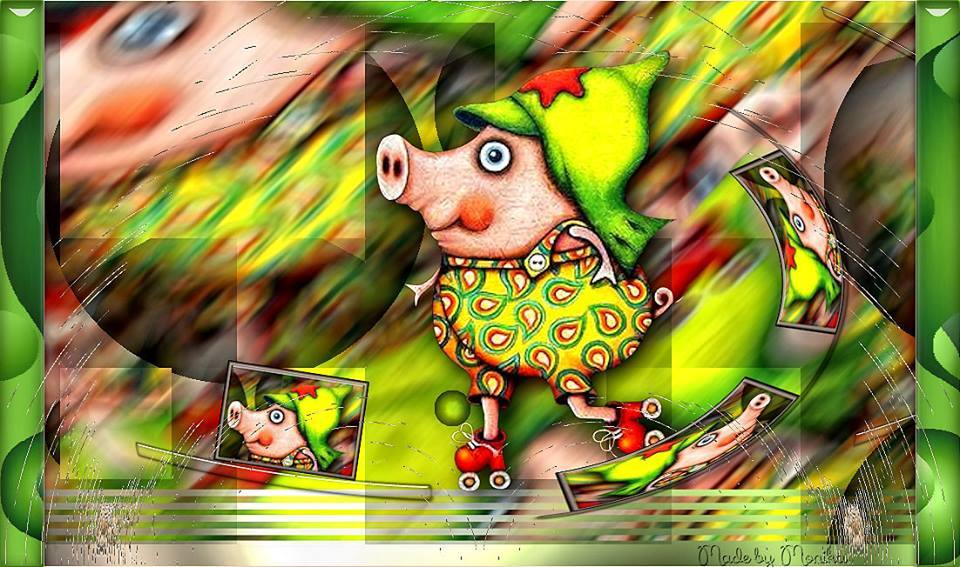
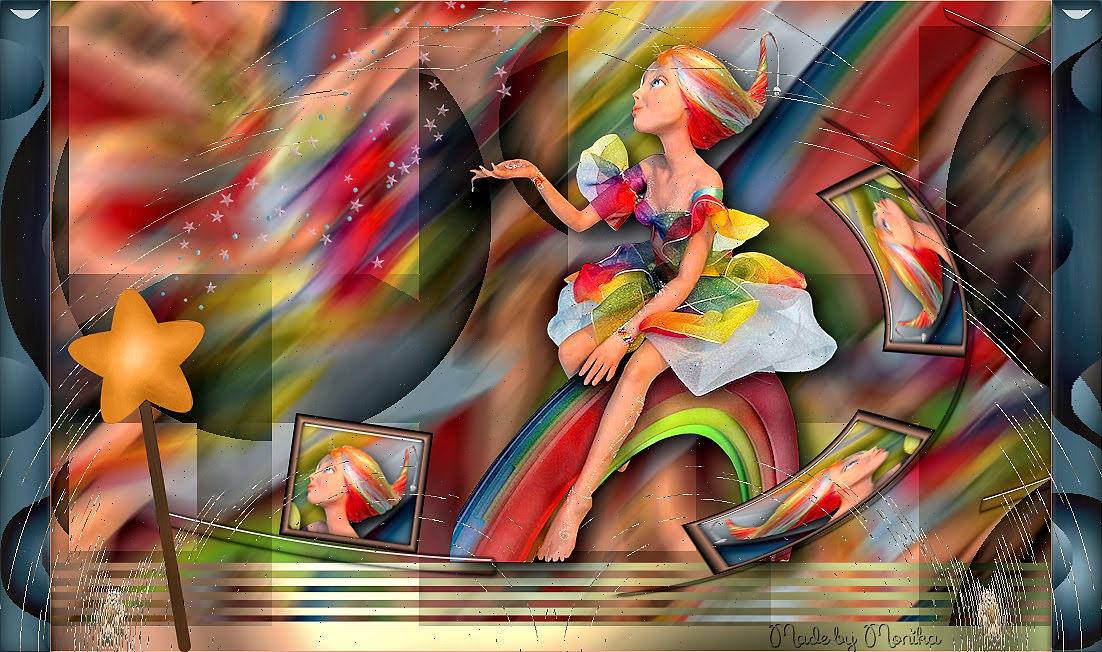
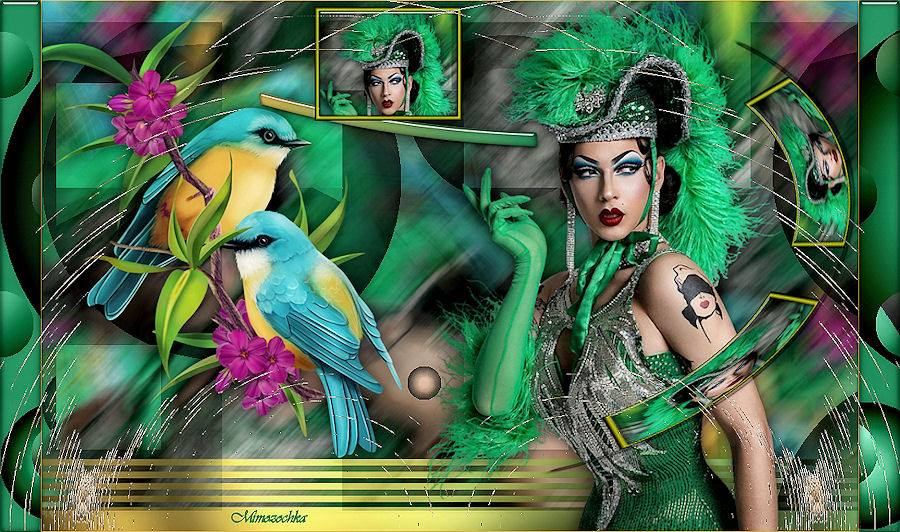
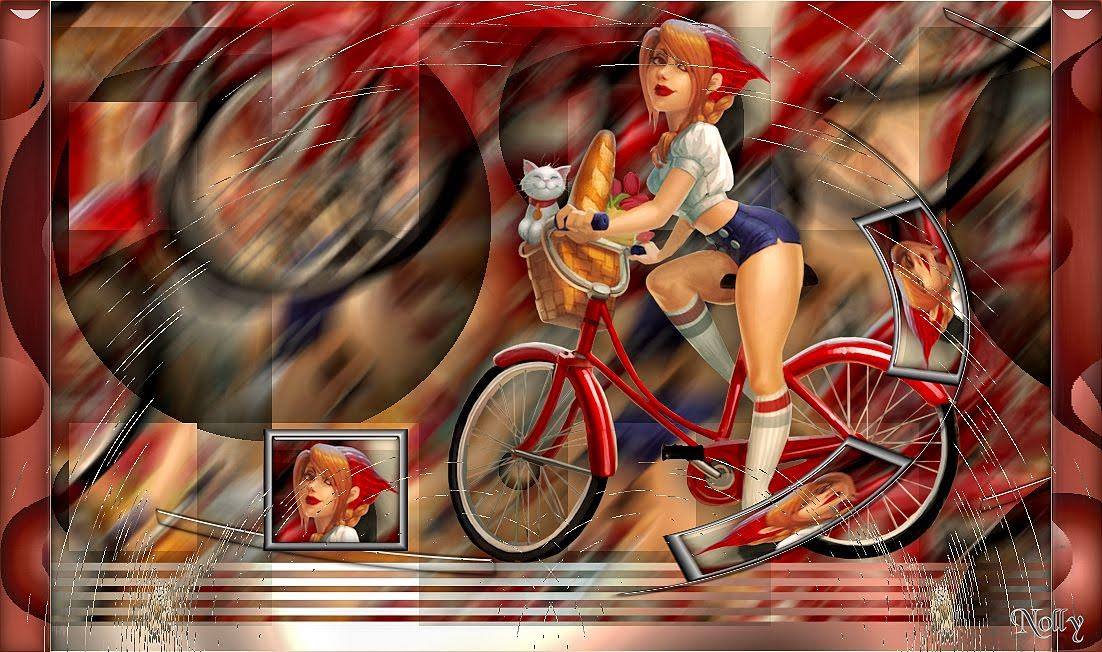
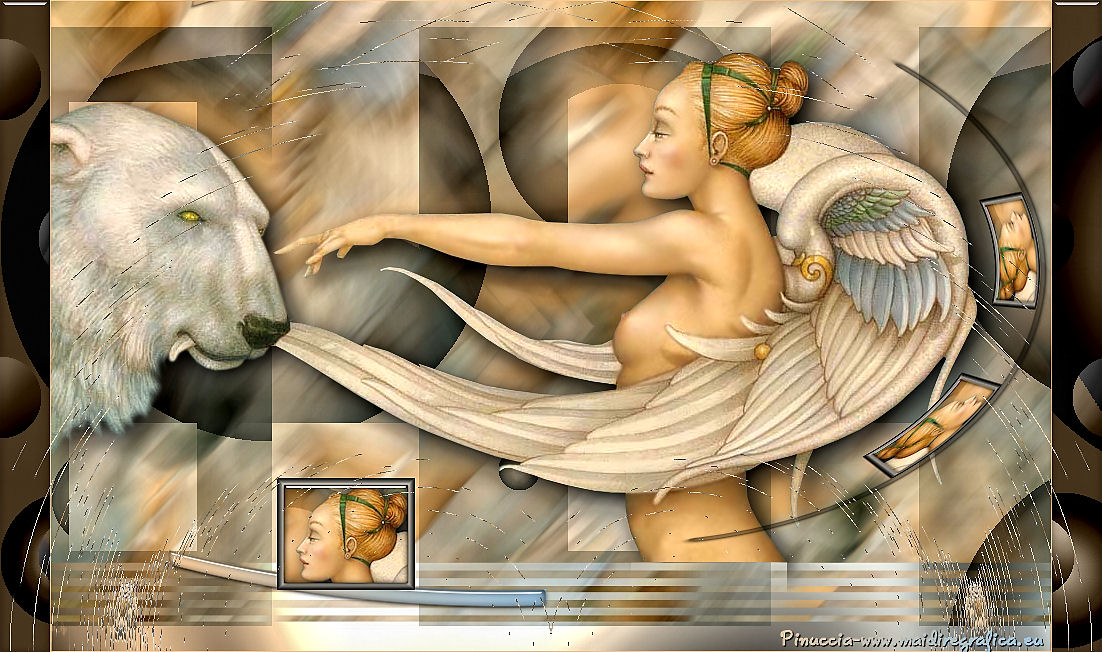
Additional example
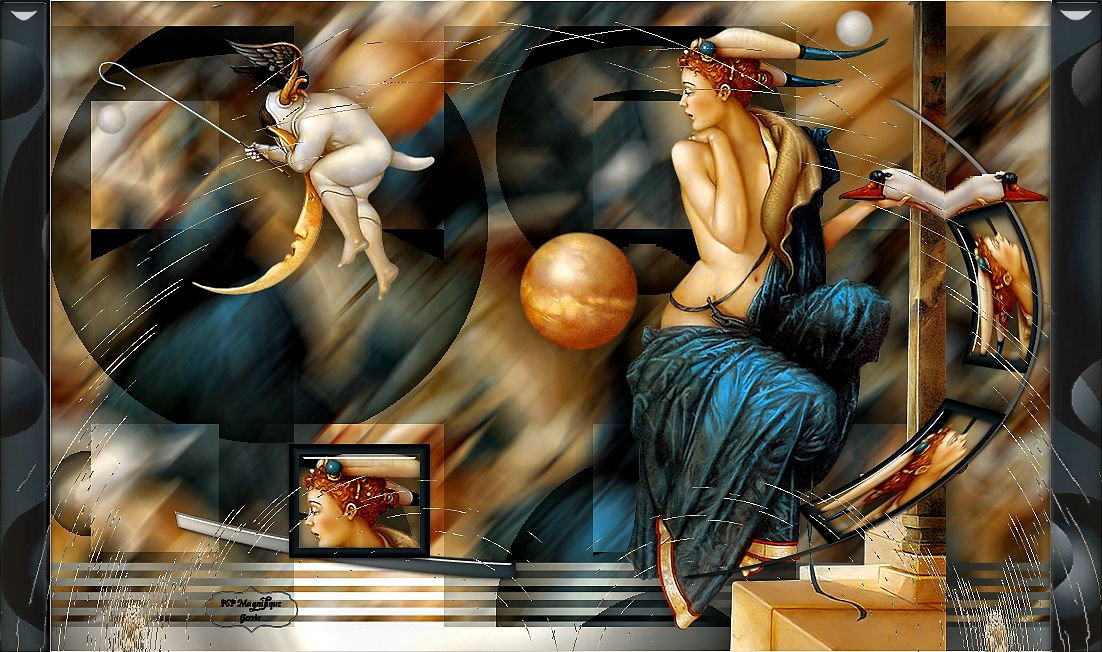
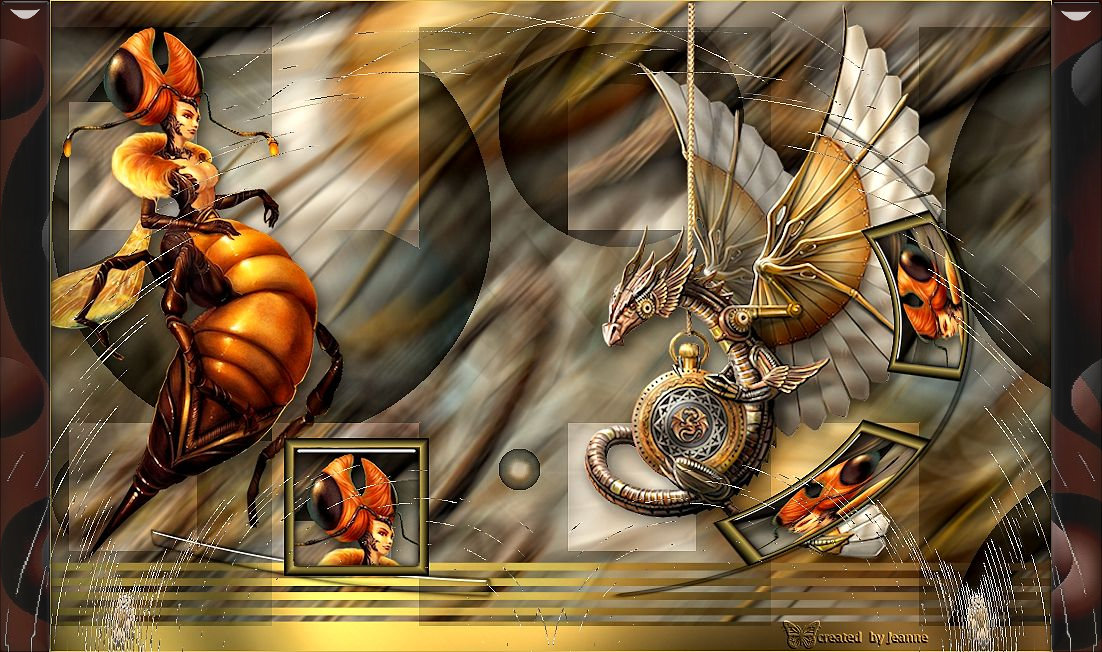
Thanks for testing the lesson Jeanne

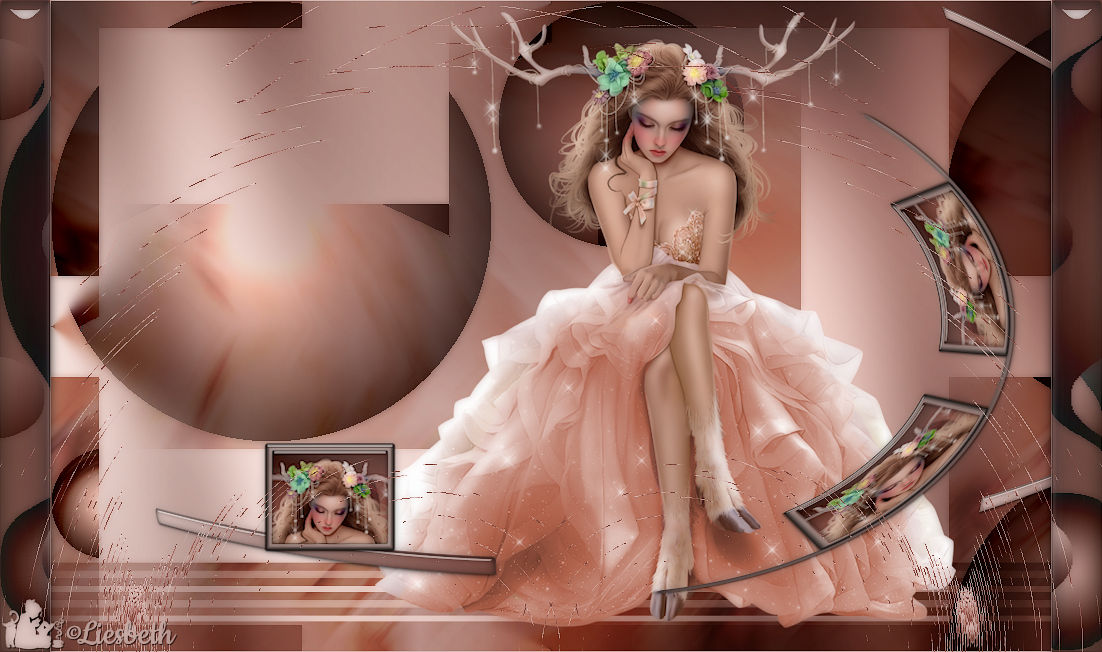
Thanks Liesbeth for testing the lesson
Thanks Hennie for testing the lesson
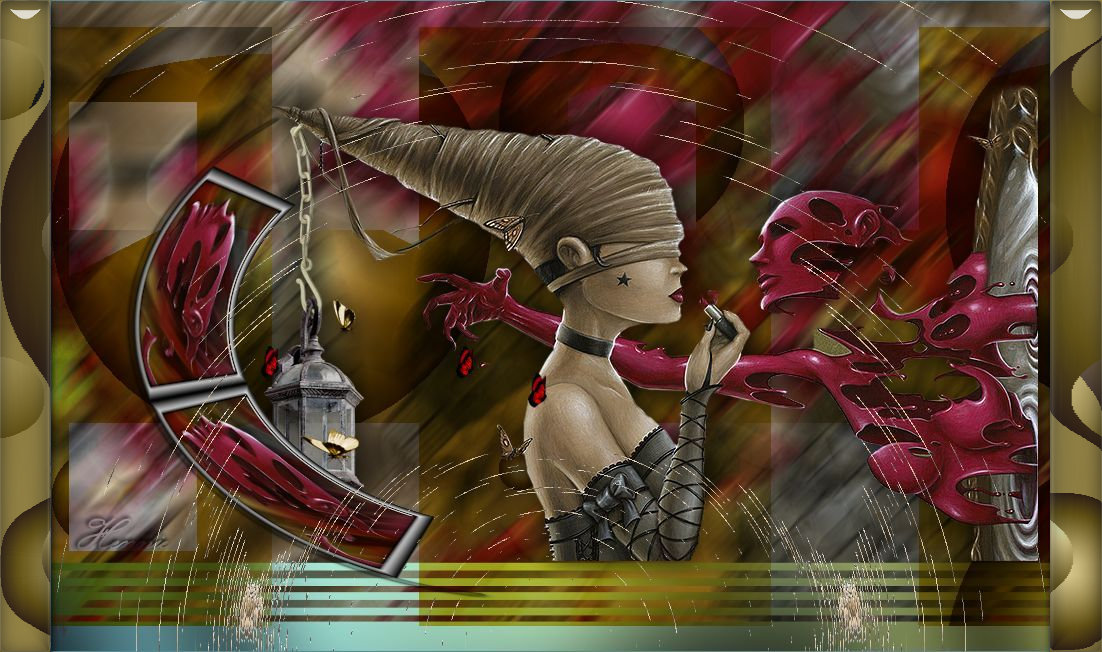
Thanks
for your
beautiful
versions!
Your sent creations are now online
This lesson was written by Gerrie on June 21, 2013
This lesson is and remains the property of Gerrie
They may not be copied or distributed without my written permission.
All my lessons are self-designed so any similarity is purely coincidental.
All my lessons are registered with TWI
proud member

Tag Index Home